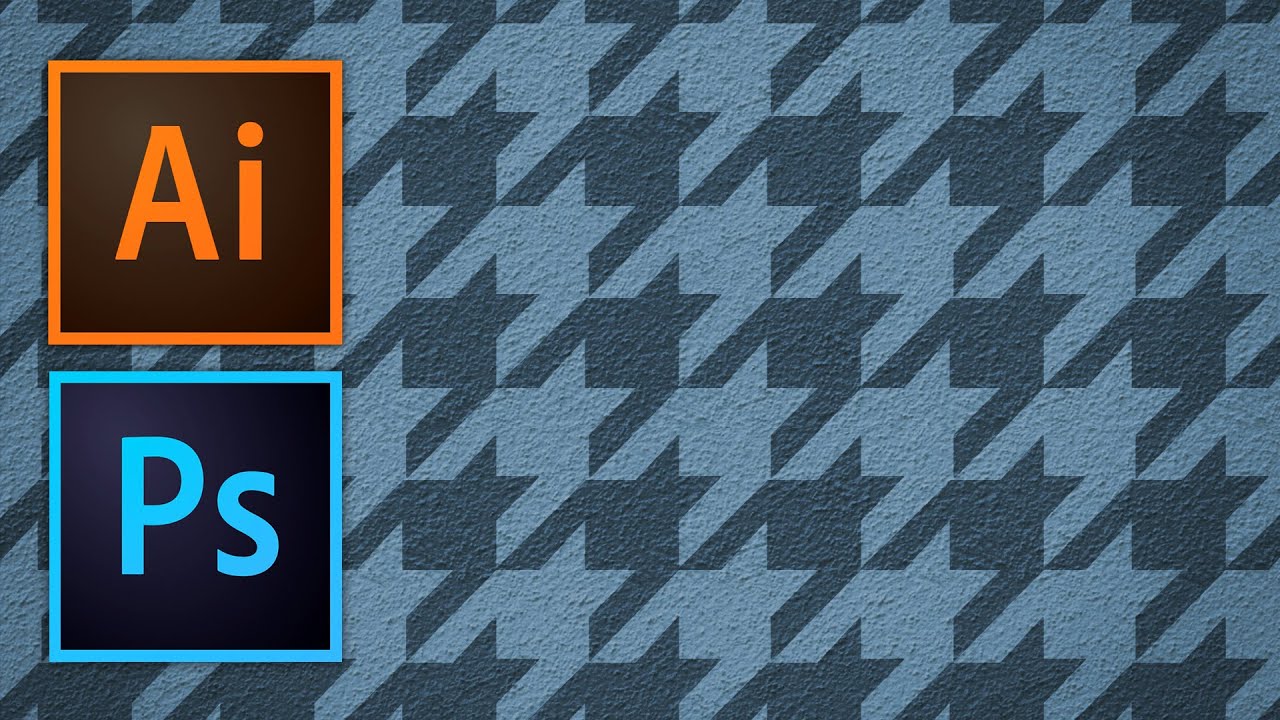
There’s a specific kind of embarrassment that hits when a client zooms into a background you made and asks, “why does it look like a grid?” You tiled a texture. You could see the seams. You said nothing and hoped they wouldn’t notice. They noticed. I’ve been there more times than I’d like to admit, and for a while I just avoided pattern work entirely because I didn’t have a clean, reliable method for making textures that actually repeat without looking like wallpaper from a 1994 bathroom.
That changed when I worked through this Kelvin Designs tutorial on building seamless patterns in both Photoshop and Illustrator. Watch the full tutorial on YouTube. Kelvin walks through two distinct workflows: turning a photo of a real-world texture into a seamless tile, and building a vector pattern (specifically a houndstooth) from scratch in Illustrator. Both are faster than you think, and both solve problems that come up constantly in web backgrounds, packaging, branding, and surface design work.
What I like about this approach is that it starts before Photoshop even opens. The pre-processing step in Lightroom isn’t optional vanity, it’s actually load-bearing for the whole technique. Here’s how the whole thing breaks down.
Step 1: Fix Your Source Image in Lightroom First
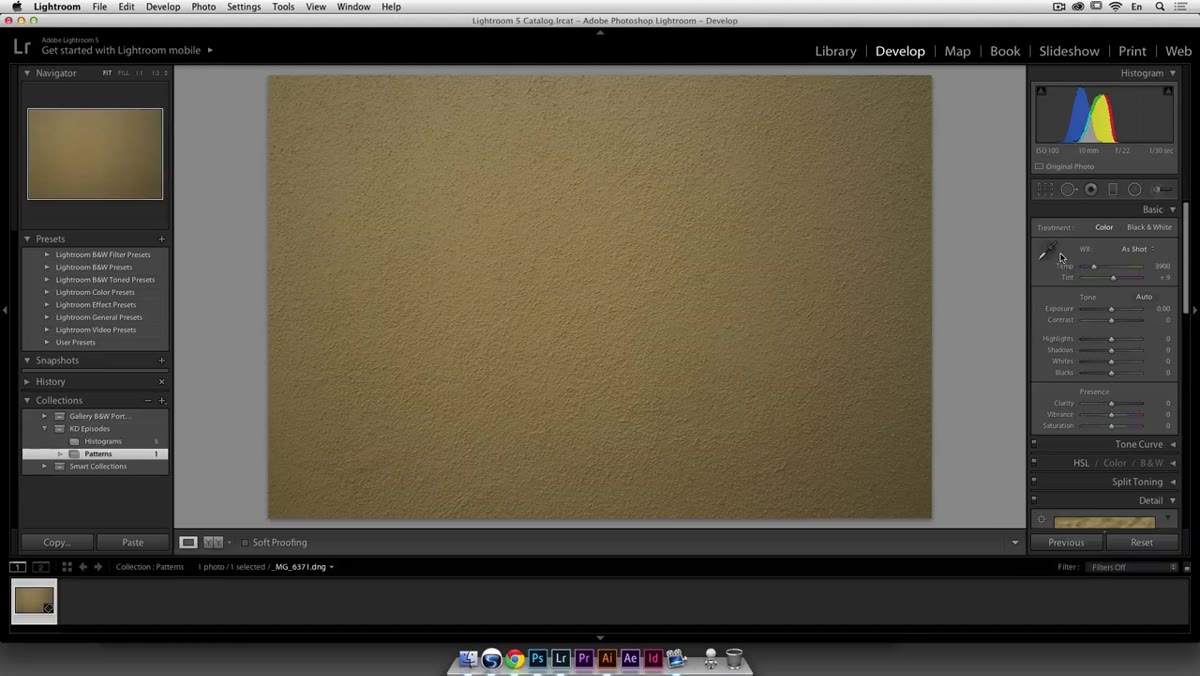 Lightroom Develop module open with wall texture photo
Before you drag anything into Photoshop, do your color correction in Lightroom. Kelvin opens a photo of a wall he shot and immediately corrects the white balance using the eyedropper tool, clicking on a neutral area to reset the color cast. He also enables lens profile correction to remove vignetting from the edges. The goal here is a flat, even image with consistent luminosity across the whole frame. If your source photo has hot spots or color drift from one corner to another, your pattern seams will be twice as obvious. Get it flat in Lightroom, then export directly into Photoshop using “Edit In Adobe Photoshop.”
Lightroom Develop module open with wall texture photo
Before you drag anything into Photoshop, do your color correction in Lightroom. Kelvin opens a photo of a wall he shot and immediately corrects the white balance using the eyedropper tool, clicking on a neutral area to reset the color cast. He also enables lens profile correction to remove vignetting from the edges. The goal here is a flat, even image with consistent luminosity across the whole frame. If your source photo has hot spots or color drift from one corner to another, your pattern seams will be twice as obvious. Get it flat in Lightroom, then export directly into Photoshop using “Edit In Adobe Photoshop.”
Step 2: Understand Why Seams Happen
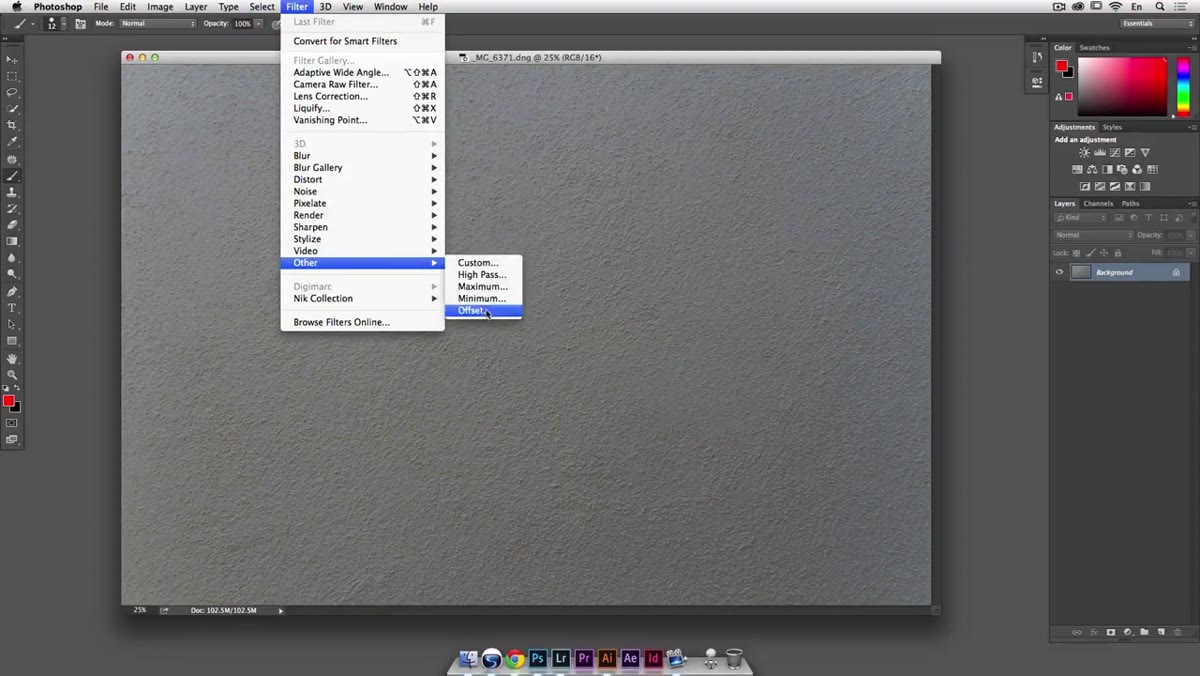 Offset filter showing mismatched corners of the wall texture
Once you’re in Photoshop, Kelvin demonstrates the actual problem before solving it, which I appreciated. He runs the Offset filter (Filter > Other > Offset) and shifts the image by a large value, something in the range of 2,000 to 3,500 pixels in both directions. What you see is ugly: the four corners of the tile don’t match. Different luminosity, different color, visible hard lines. That cross-shaped seam is exactly what shows up when you tile a texture naively. The Offset filter is your diagnostic tool here. If your image doesn’t pass the offset test, it’s not seamless. Keep this filter handy, because you’ll use it to verify your work at the end too.
Offset filter showing mismatched corners of the wall texture
Once you’re in Photoshop, Kelvin demonstrates the actual problem before solving it, which I appreciated. He runs the Offset filter (Filter > Other > Offset) and shifts the image by a large value, something in the range of 2,000 to 3,500 pixels in both directions. What you see is ugly: the four corners of the tile don’t match. Different luminosity, different color, visible hard lines. That cross-shaped seam is exactly what shows up when you tile a texture naively. The Offset filter is your diagnostic tool here. If your image doesn’t pass the offset test, it’s not seamless. Keep this filter handy, because you’ll use it to verify your work at the end too.
Step 3: Duplicate the Layer and Invert It
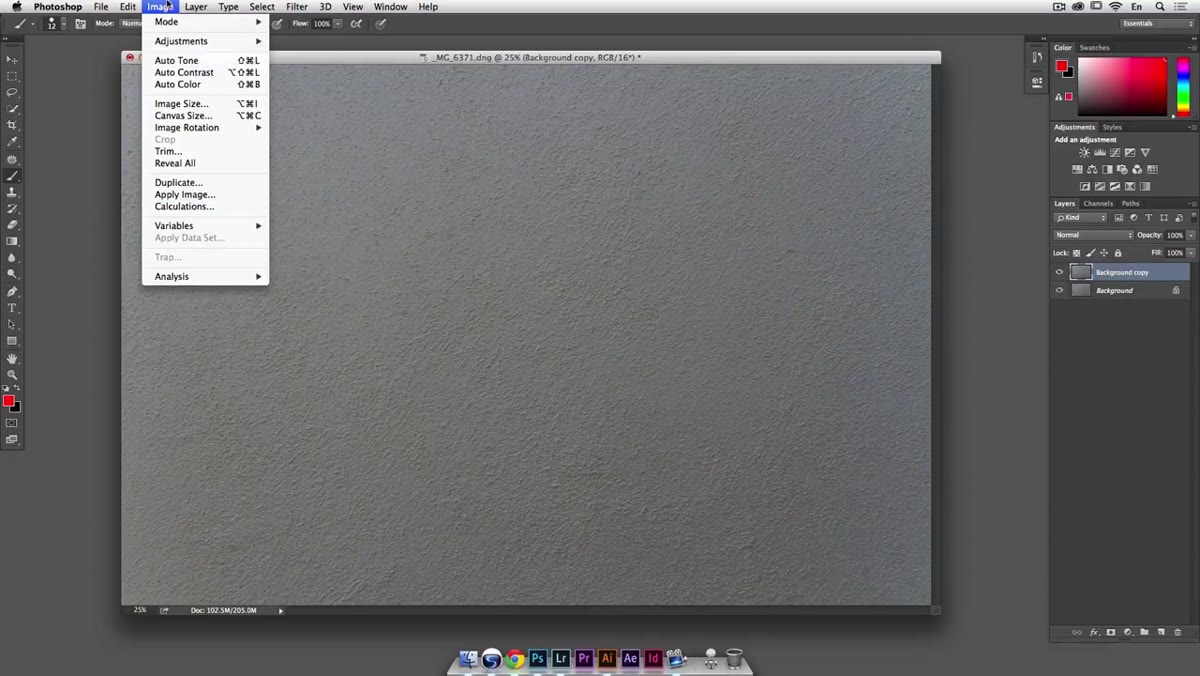 Inverted duplicate layer created above original in Layers panel
Here’s where the technique gets interesting. Kelvin duplicates the base layer and then inverts it (Image > Adjustments > Invert, or Command/Ctrl + I). The inverted copy sits on top. Before doing anything else with it, he right-clicks the layer and converts it to a Smart Object. This matters because the next step involves a Gaussian blur, and having it on a Smart Object means the blur becomes a Smart Filter, which you can go back and adjust non-destructively. If you’ve ever nuked an edit because you flattened too early, you know why this step is worth doing every time.
Inverted duplicate layer created above original in Layers panel
Here’s where the technique gets interesting. Kelvin duplicates the base layer and then inverts it (Image > Adjustments > Invert, or Command/Ctrl + I). The inverted copy sits on top. Before doing anything else with it, he right-clicks the layer and converts it to a Smart Object. This matters because the next step involves a Gaussian blur, and having it on a Smart Object means the blur becomes a Smart Filter, which you can go back and adjust non-destructively. If you’ve ever nuked an edit because you flattened too early, you know why this step is worth doing every time.
Step 4: Set the Inverted Layer to Overlay and Blur It
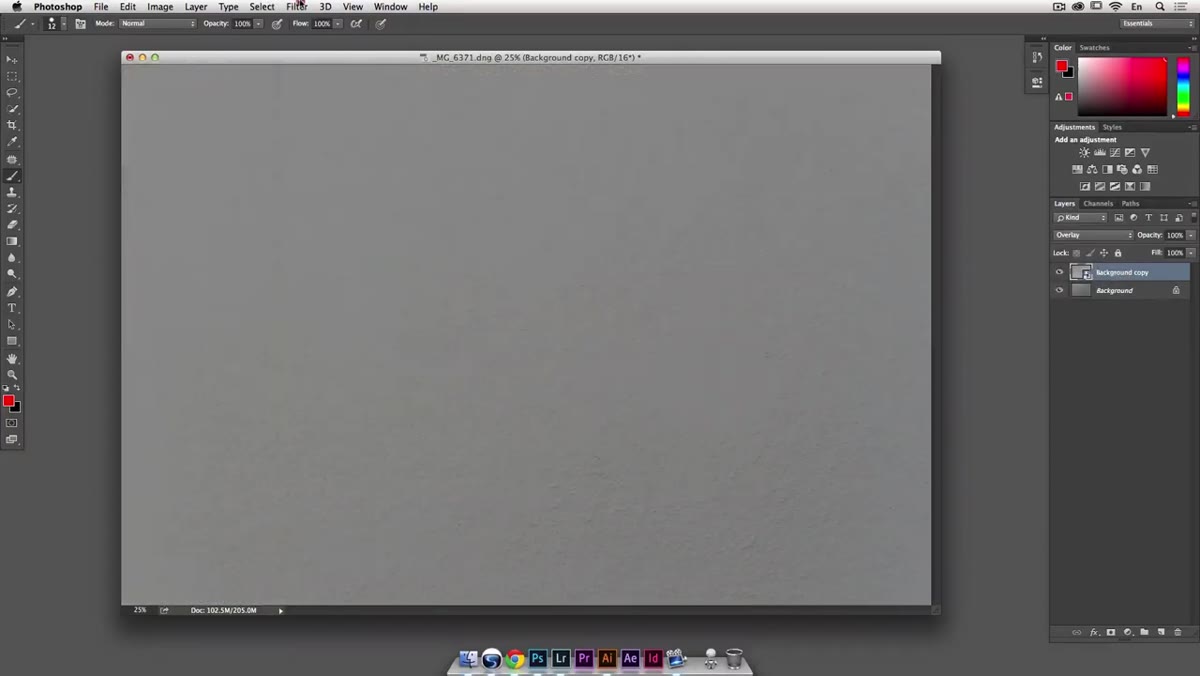 Inverted layer in Overlay blend mode with Gaussian blur applied
Change the blending mode of your inverted Smart Object layer to Overlay. At this point it looks strange, almost like a gray veil over everything, and that’s correct. Now apply a Gaussian blur (Filter > Blur > Gaussian Blur) and push the radius up significantly. Kelvin experiments with different values to find the sweet spot: too low and you still see grain and color variation; too high and you lose the detail that makes the texture feel real. The Overlay mode combined with the blur works to even out the tonal inconsistencies across the image, which is what kills visible seams. The Smart Filter means you can come back and dial in the blur radius without starting over.
Inverted layer in Overlay blend mode with Gaussian blur applied
Change the blending mode of your inverted Smart Object layer to Overlay. At this point it looks strange, almost like a gray veil over everything, and that’s correct. Now apply a Gaussian blur (Filter > Blur > Gaussian Blur) and push the radius up significantly. Kelvin experiments with different values to find the sweet spot: too low and you still see grain and color variation; too high and you lose the detail that makes the texture feel real. The Overlay mode combined with the blur works to even out the tonal inconsistencies across the image, which is what kills visible seams. The Smart Filter means you can come back and dial in the blur radius without starting over.
Step 5: Flatten, Crop, and Verify With Offset
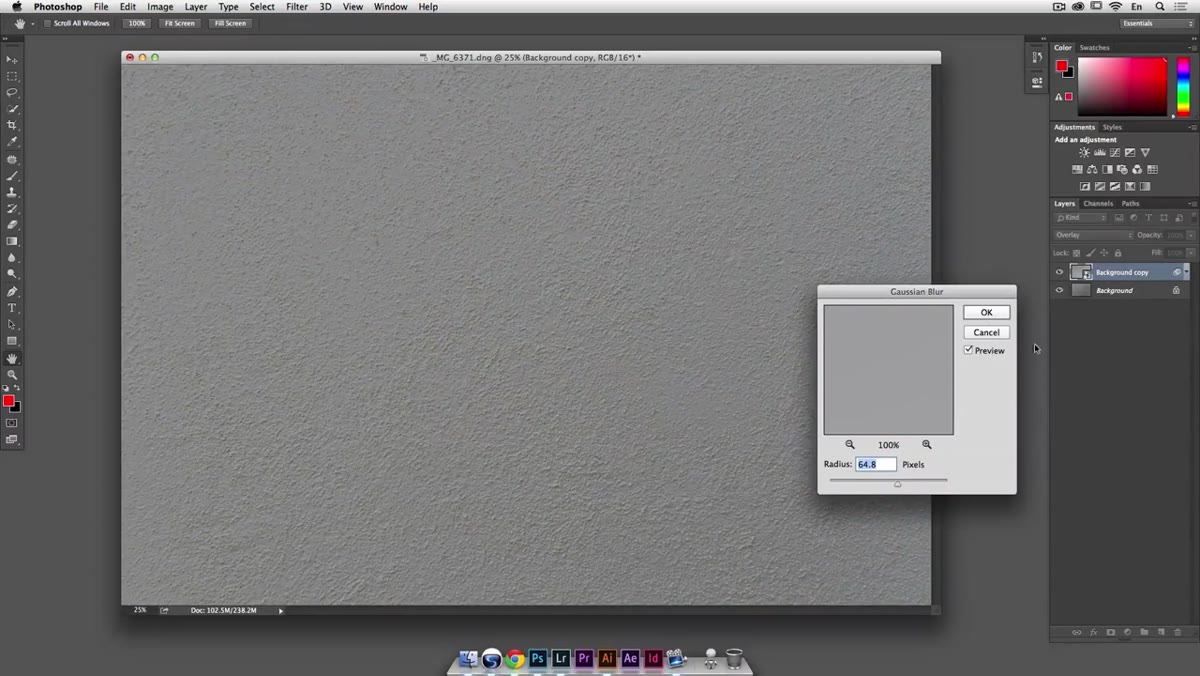 Flattened texture tile after applying Smart Filter blur
Once you’re happy with how the texture looks, flatten the result and crop it down to a manageable tile size. For most web use cases, something between 500 and 1,000 pixels square is practical. Then run the Offset filter again on your flattened tile. If the technique worked, the corners should blend together without a hard line. This is your pass/fail test. If you still see a seam, you either need more blur on the correction layer or your source image had too much variation to begin with. Pick a flatter patch of your photo and try again.
Flattened texture tile after applying Smart Filter blur
Once you’re happy with how the texture looks, flatten the result and crop it down to a manageable tile size. For most web use cases, something between 500 and 1,000 pixels square is practical. Then run the Offset filter again on your flattened tile. If the technique worked, the corners should blend together without a hard line. This is your pass/fail test. If you still see a seam, you either need more blur on the correction layer or your source image had too much variation to begin with. Pick a flatter patch of your photo and try again.
Step 6: Build a Vector Pattern in Illustrator
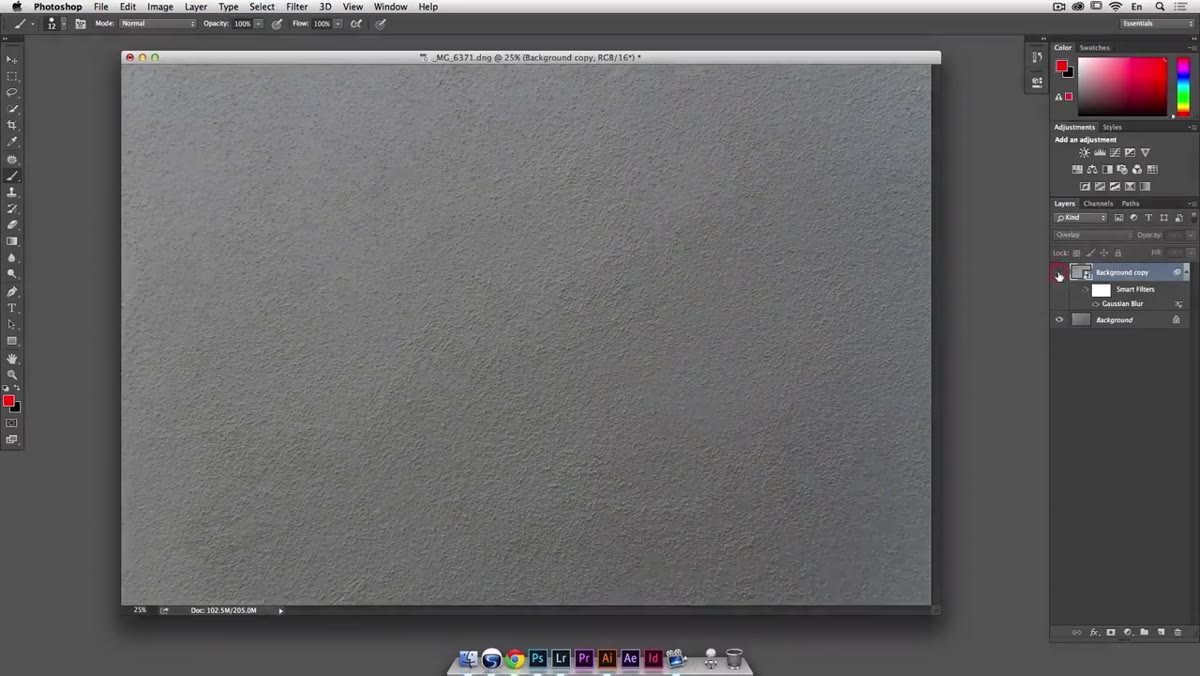 Illustrator artboard with houndstooth pattern elements arranged
The second half of the tutorial shifts to Illustrator and a completely different kind of pattern: a houndstooth built from vector shapes. Kelvin constructs the repeating unit manually, then uses Illustrator’s built-in Pattern Options panel (Object > Pattern > Make) to turn it into a seamless swatch. The key insight here is that Illustrator handles the math of repetition for you once you define the tile correctly. You define a single unit, tell Illustrator how it tiles (brick by row, brick by column, grid, etc.), and it handles the repeat. You can drag the finished pattern swatch directly from the Swatches panel onto any shape.
Illustrator artboard with houndstooth pattern elements arranged
The second half of the tutorial shifts to Illustrator and a completely different kind of pattern: a houndstooth built from vector shapes. Kelvin constructs the repeating unit manually, then uses Illustrator’s built-in Pattern Options panel (Object > Pattern > Make) to turn it into a seamless swatch. The key insight here is that Illustrator handles the math of repetition for you once you define the tile correctly. You define a single unit, tell Illustrator how it tiles (brick by row, brick by column, grid, etc.), and it handles the repeat. You can drag the finished pattern swatch directly from the Swatches panel onto any shape.
What I’d Add From My Own Workflow
The Lightroom step gets skipped by a lot of people who just grab a texture off a stock site and drag it straight into Photoshop. If you’re working with a JPEG you didn’t shoot yourself, do a quick curves adjustment in Photoshop first and try to flatten the luminosity before you run the inverted overlay trick. Also: save your pattern tile as a PNG with no compression before you define it as a Photoshop pattern swatch (Edit > Define Pattern). I once lost a set of custom swatches when I reinstalled Photoshop and hadn’t saved the source files. Keep the tiles, not just the swatches.
The inverted overlay method is also surprisingly effective on fabric and material textures from stock libraries, not just photographs you shoot yourself. I’ve used it on linen textures, concrete scans, and paper grain files with strong results across the board.
The single most useful thing this tutorial taught me is to test with Offset before and after, not just after. Knowing what the problem looks like makes the solution click faster. Watch the full tutorial on YouTube and follow along with your own texture photo. You’ll have a working seamless tile in under 15 minutes.
Comments (2)
Just used this on a wedding shoot edit. Client was thrilled.
This is exactly what I needed today. Been struggling with this for weeks.
Leave a Comment