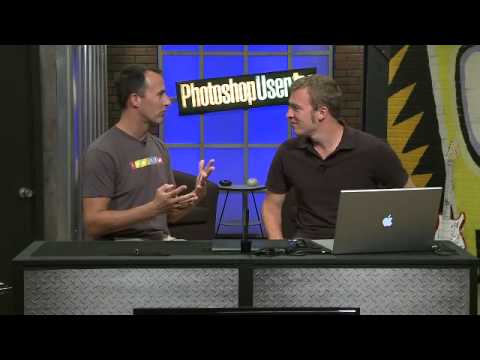
If you’ve ever finished a shoot, dumped a card full of RAW files onto your hard drive, and then stared at 800 nearly identical images wondering where to even start — this one’s for you. I’ve been there more times than I want to admit. My old system was basically “make a folder with the date, panic later,” and it worked right up until the point it absolutely didn’t. What changed things for me was watching RC Concepcion walk through his Lightroom organization method in Watch the full tutorial on YouTube, part of the KelbyOne Photoshop User TV episode 279. It’s a short segment but it’s dense with practical logic.
The core of what RC teaches is this: Lightroom’s collection sets and collections aren’t just fancy folders. They’re a nested organizational structure that maps to how you actually shoot, not just how your operating system stores files. Once you build the habit, sorting a card goes from “ugh, later” to something you can actually finish before you close your laptop.
Step 1: Import Your Card and Go Straight to Previous Import
 Lightroom library module showing a fresh card import
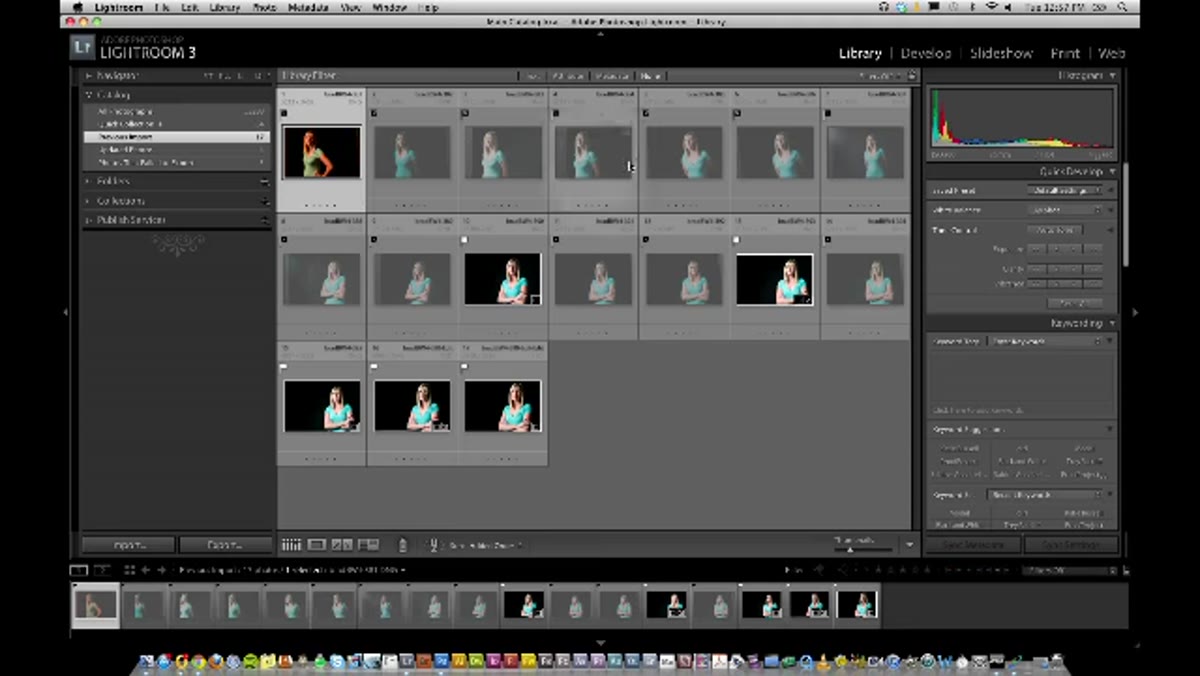
The moment your card is in the computer, resist the urge to start editing the one frame that looks promising. RC’s first move is to go straight to the “Previous Import” section in Lightroom’s Library module. This is the view that shows everything from your most recent import in one clean, unfiltered grid. No folders, no catalog nesting, just the full haul from that shoot sitting right in front of you.
This matters because it gives you a complete picture before you start making decisions. You’re not hunting through a folder tree to find out if you got the shot you wanted. It’s all there. Think of it as spreading everything out on a table before you start sorting.
Step 2: Do Your Picks and Rejects Before Anything Else
 Grid view with images flagged as picks and rejects in Lightroom
Before you touch a single slider in the Develop module, go through the whole shoot and flag images. Hit P to mark a keeper as a pick, X to mark a reject. Don’t overthink individual frames at this stage. The goal is a quick pass that splits the shoot into “yes,” “no,” and implicitly “maybe” (anything you didn’t flag).
RC is explicit about this: get the sorting done before you start processing. It sounds obvious but most people do it backwards. They fall in love with one image, spend 45 minutes editing it, and then discover they missed the sharper frame from two shots later. Sorting first keeps you from wasting time polishing images that weren’t going to make the cut anyway.
Step 3: Create a Collection Set for the Shoot
 Collections panel in Lightroom with right-click menu open
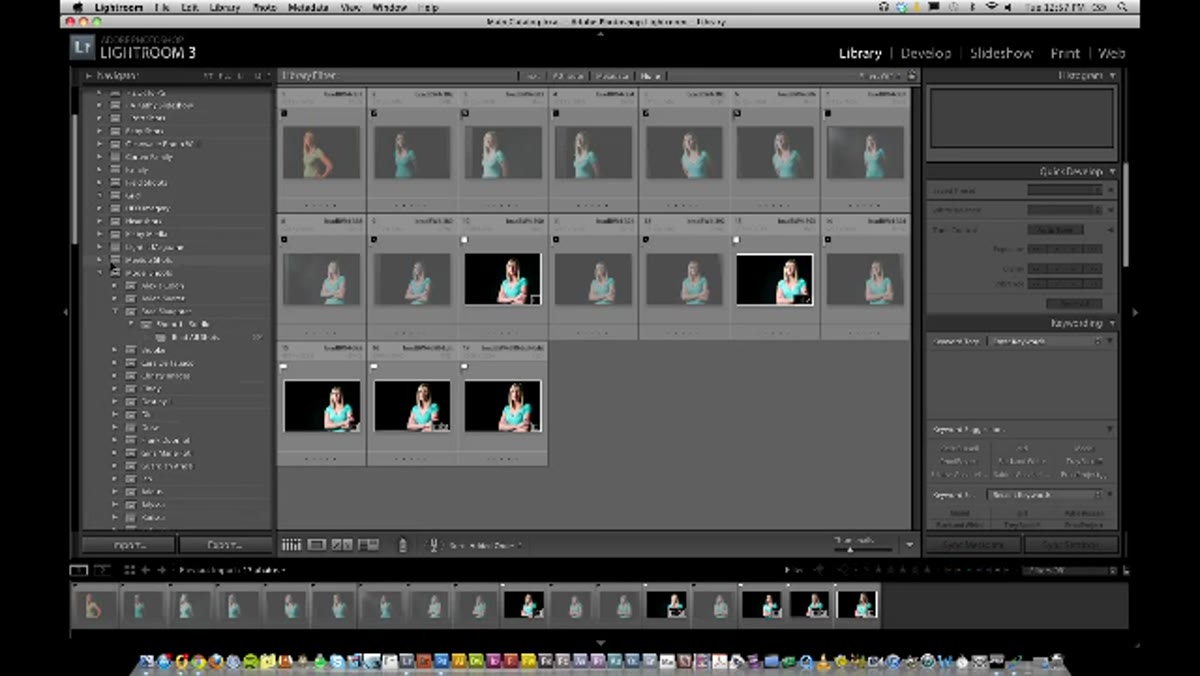
Head down to the Collections panel on the left side of the Library module. Right-click in the panel and choose “Create Collection Set.” A collection set is the top-level container, the equivalent of a project folder. RC names his sets with something descriptive and consistent, like the subject name for a portrait project.
For example, if you’re shooting a series of portraits, your top-level collection set might be the model’s name. That set then holds everything related to that person across multiple shoot dates. The naming convention is more important than it sounds. Six months from now, “shoot 1” means nothing. “Brad Slaughter - Studio 2011” tells you exactly what you’re looking at.
Step 4: Build a Collection Set Inside for Each Shoot Session
 Nested collection sets visible inside the Collections panel
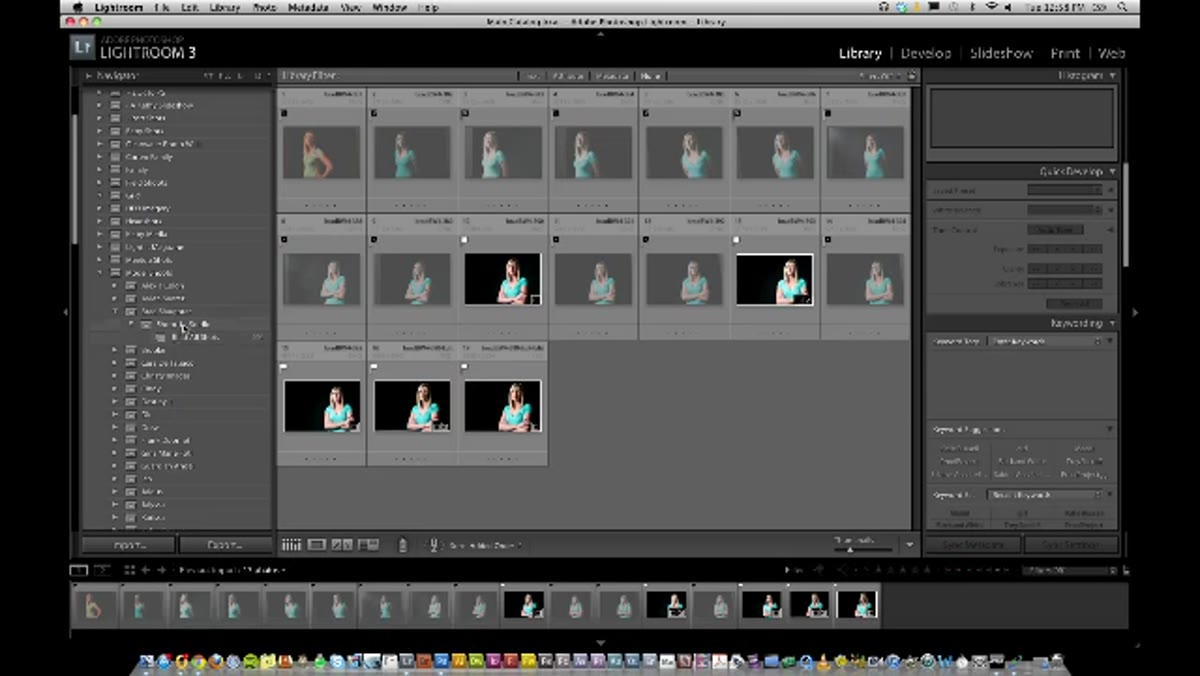
Inside the subject’s main collection set, create another collection set for the specific shoot. RC uses a label like “Shoot 1 Studio” to distinguish it from future sessions with the same subject. This nesting is where Lightroom’s system starts to feel genuinely useful rather than just bureaucratic.
The logic here is scalability. If you shoot Brad five times over a year, you don’t want five separate top-level entries. You want one entry for Brad, with five shoots living inside it. When a client calls asking about a specific session, you’re two clicks away from the right set of images instead of digging through date-stamped hard drive folders.
Step 5: Create Three Collections Inside That Shoot Set
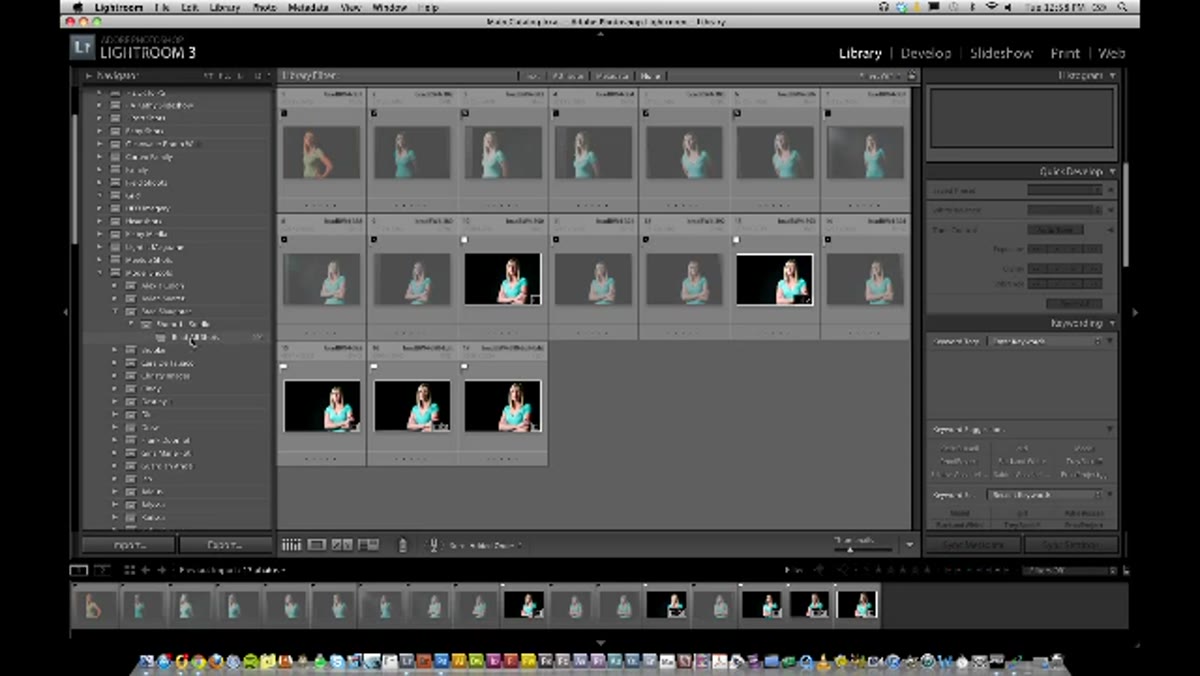 Three collections labeled All Shots, Picks, and Rejects inside a collection set
Right-click on the shoot-level collection set and create three collections inside it: “All Shots,” “Picks,” and “Rejects.” These three buckets do exactly what they say, and keeping them all in one set means you never lose anything.
The “Rejects” collection is worth pausing on. RC points out that you often can’t just delete rejected images outright. Clients sometimes want to see the outtakes. Sometimes you change your mind. Sometimes a “reject” from one shoot turns out to be the reference you need six months later. Keeping them in a named collection costs you nothing and has saved me more than once.
Step 6: Populate the Collections by Dragging Your Flagged Images
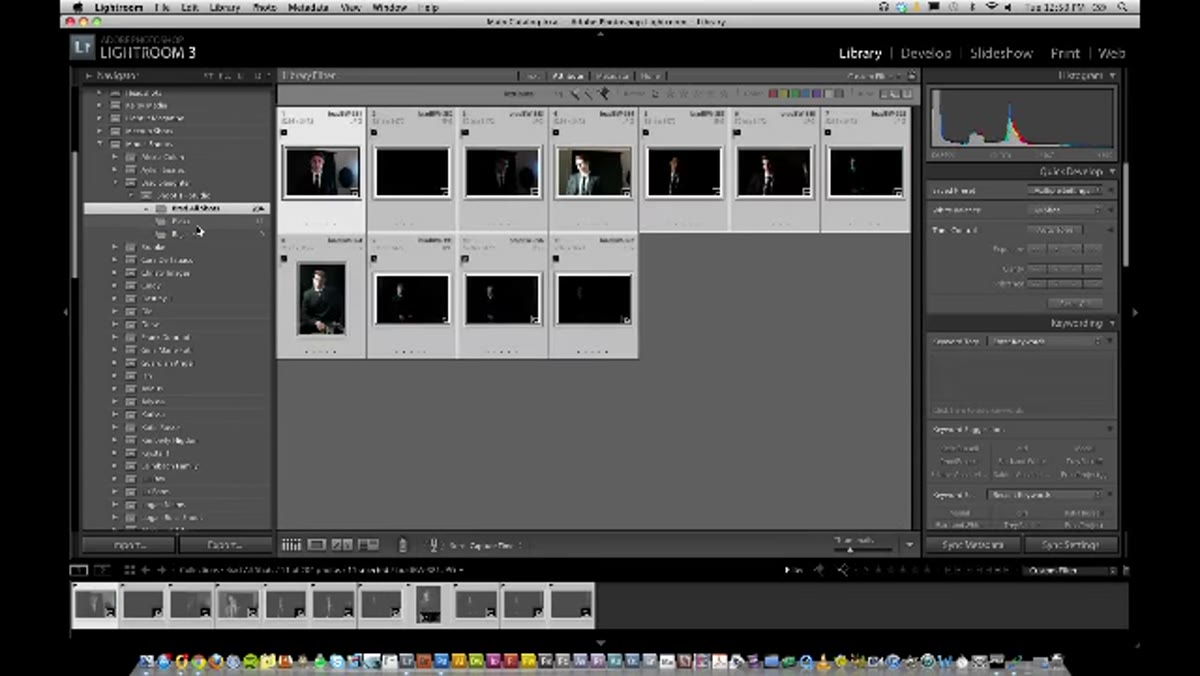 Dragging picked images into the Picks collection in Lightroom
Once your three collections exist, go back to your Previous Import view and start dragging. All images go into “All Shots” first. Then your picks get dragged into “Picks,” your flagged rejects go into “Rejects.” You’re not moving files on your hard drive, just organizing references inside Lightroom’s catalog. Everything still lives in one place physically.
This drag-and-sort step takes maybe five minutes for a normal shoot. What you get on the other side is a collection structure that tells a complete story: here’s everything I shot, here’s what I kept, here’s what didn’t make it. Future you, opening this catalog six months later, will have no questions.
A Note From My Own Workflow
I resisted this system for longer than I should have because it felt like overhead on top of a process I already had (badly) under control. What pushed me to try it was a client revision request that sent me hunting through a disorganized catalog for 40 minutes looking for a “rejected” image they now wanted to use. That conversation was uncomfortable.
The other thing I’d add to what RC demonstrates: put a short text note in the collection set name when the shoot has unusual context. “Brad Slaughter - Studio 2011 - RUSH DELIVERY” or similar. Lightroom doesn’t have a notes field on collections by default, so the name itself has to carry that information. It’s a small habit with a big payoff when you’re tired and working fast.
The single biggest thing this tutorial reinforced for me is that organization is a skill, not a personality trait. You don’t have to be a naturally tidy person to run a tight catalog. You just need a repeatable structure that you build once and then follow. RC’s collection set system is that structure.
Watch the full tutorial on YouTube to see RC walk through this live, including a few moments where the naming gets slightly chaotic in real time, which honestly makes it more useful, not less.
Comments
Leave a Comment