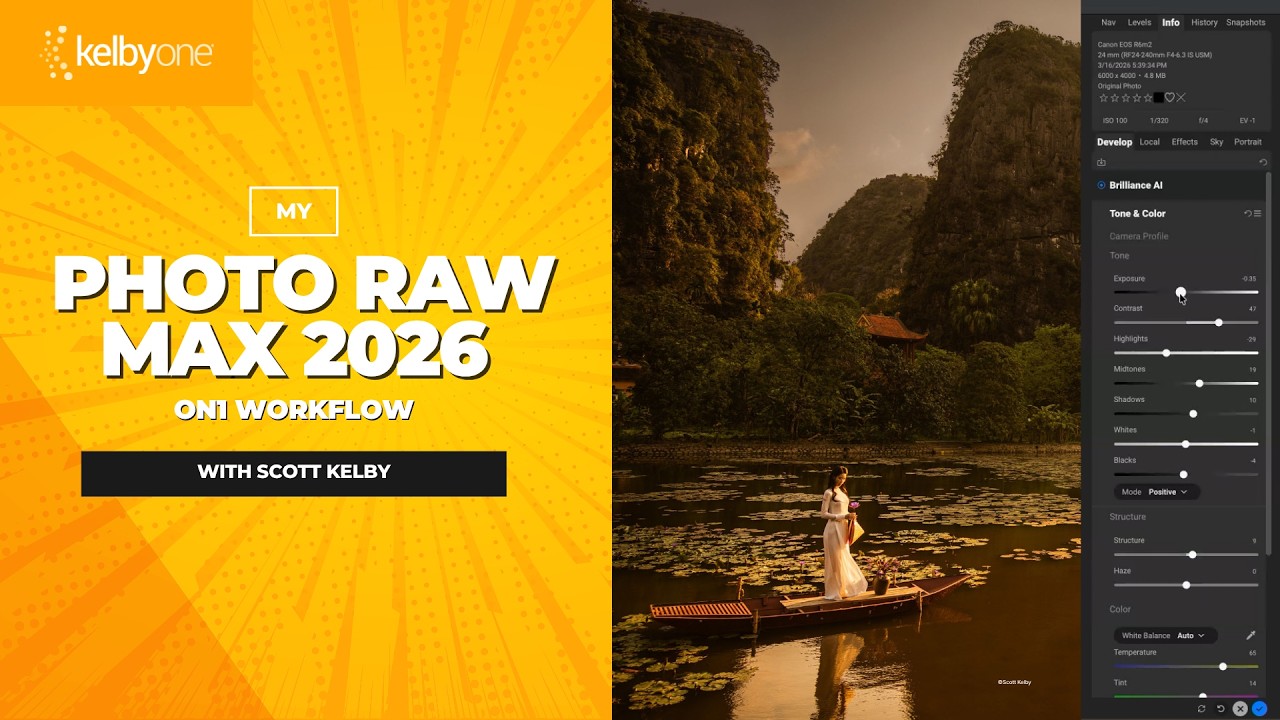
There’s a particular kind of creative paralysis that hits when you open a new piece of software and stare at seventeen panels you don’t understand. I’ve been there with ON1 Photo RAW more than once. I knew it could do impressive things. I’d seen the demo videos. But every time I launched it alongside my usual Lightroom and Photoshop setup, I’d poke around for twenty minutes, feel mildly confused, and go back to what I knew. The problem wasn’t the software. It was that I had no clear sequence, no “this before that” logic to hang the tools on.
That’s exactly what Scott Kelby fixes in this KelbyOne tutorial on ON1 Photo RAW Max 2026. Watch the full tutorial on YouTube. He doesn’t just demonstrate features in isolation. He walks you through his actual, repeatable workflow from first import to final output, including where ON1 fits relative to Lightroom and Photoshop, and which tools he skips entirely. For someone who already lives in Adobe’s ecosystem but wants to pull in ON1 for the things Adobe genuinely doesn’t do well, this is the missing instruction manual.
What struck me most is how opinionated Kelby is about sequence. This isn’t a feature tour. It’s a philosophy. And once you see the logic, the individual tools click into place fast.
Step 1: Start With NoNoise AI Before You Do Anything Else
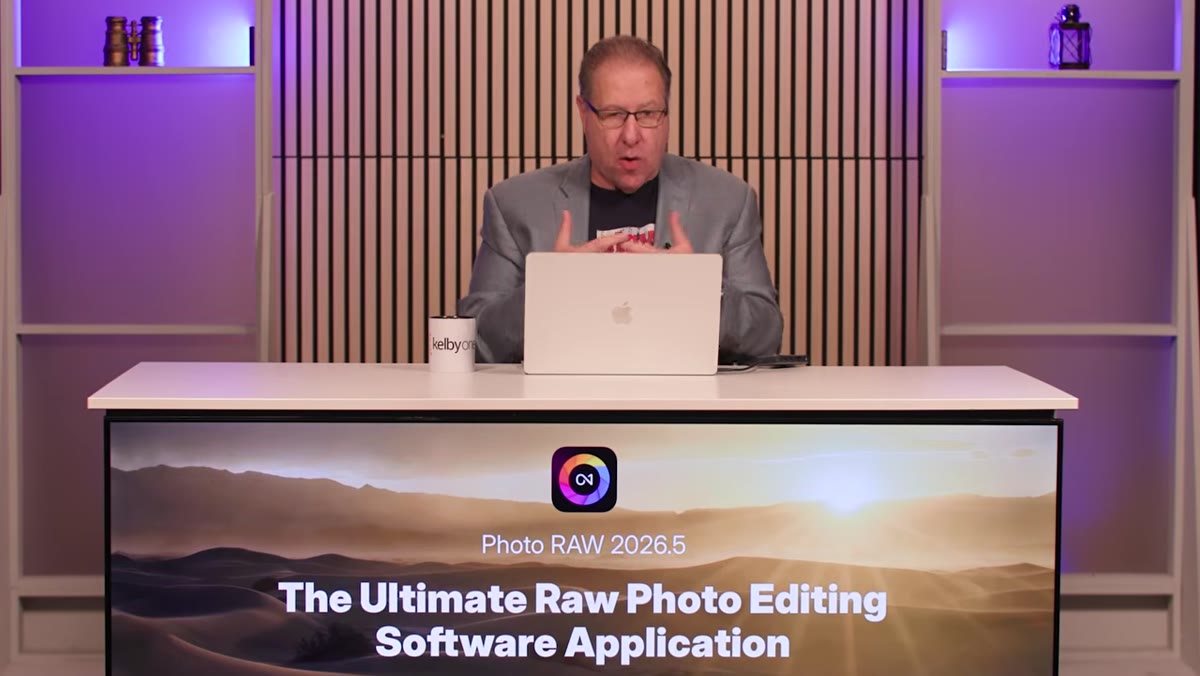
 Scott introducing the ON1 Photo RAW workflow course
Before any develop adjustments, before any creative work, Kelby runs images through ON1’s NoNoise AI. The reason is straightforward: noise reduction applied after editing can soften detail you’ve deliberately sharpened, and it can fight with adjustments you’ve already made to shadows or texture. Doing it first gives you a cleaner base image to work from, and everything downstream benefits.
Scott introducing the ON1 Photo RAW workflow course
Before any develop adjustments, before any creative work, Kelby runs images through ON1’s NoNoise AI. The reason is straightforward: noise reduction applied after editing can soften detail you’ve deliberately sharpened, and it can fight with adjustments you’ve already made to shadows or texture. Doing it first gives you a cleaner base image to work from, and everything downstream benefits.
NoNoise AI analyzes the shot and applies machine-learning-based noise reduction that goes well beyond what Lightroom’s built-in tools can manage, especially on high-ISO files. Kelby treats this as a non-negotiable first step rather than an afterthought, which is the opposite of how most people (including past me) approach noise reduction.
Step 2: Upsize for Print With Resize AI
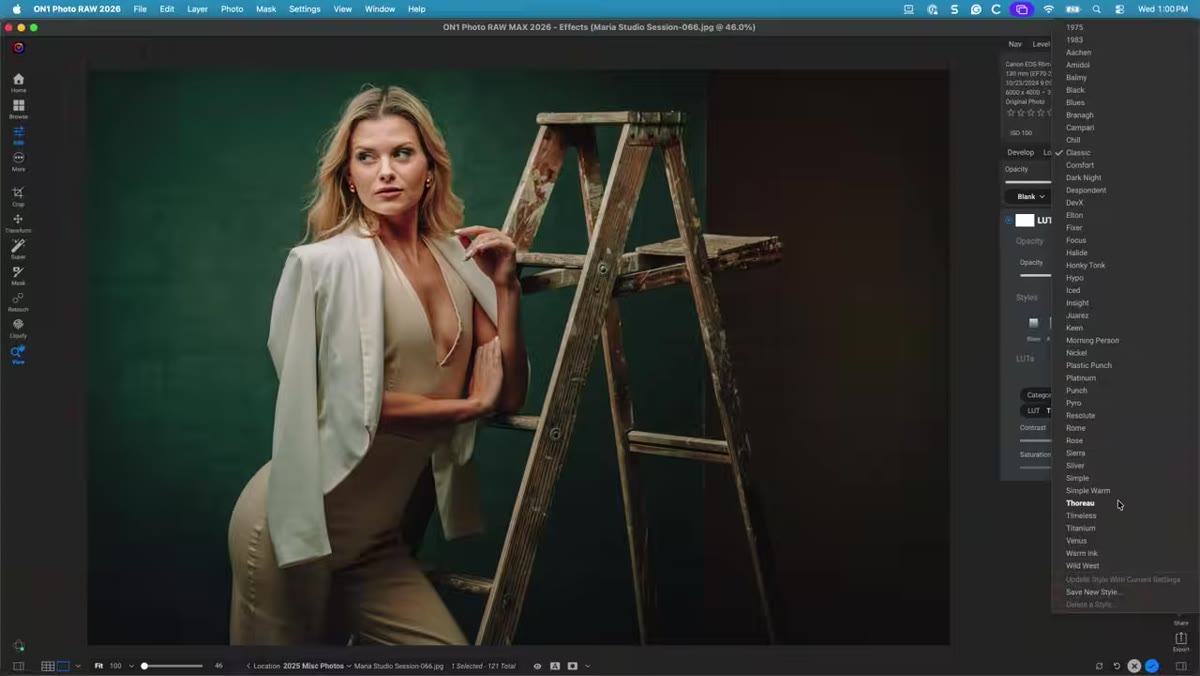 Scott demonstrating Resize AI upsizing controls
Once the image is clean, Kelby moves to Resize AI for any shots destined for large prints. This is one of those things Lightroom simply cannot do at the same quality level. ON1’s Resize AI uses trained upscaling models to increase image dimensions without the mushy, artifact-heavy results you get from standard interpolation.
Scott demonstrating Resize AI upsizing controls
Once the image is clean, Kelby moves to Resize AI for any shots destined for large prints. This is one of those things Lightroom simply cannot do at the same quality level. ON1’s Resize AI uses trained upscaling models to increase image dimensions without the mushy, artifact-heavy results you get from standard interpolation.
The practical use case here is straightforward: you shot something at a lower megapixel count, or you’re cropping aggressively, and your client wants a 24x36 print. Resize AI lets you upscale significantly while preserving edge detail and texture in a way that holds up at large sizes. Kelby treats it as a dedicated output step rather than something to toggle on as an export setting, which gives you more control over what you’re actually delivering.
Step 3: Rescue Problem Shots With Brilliance AI
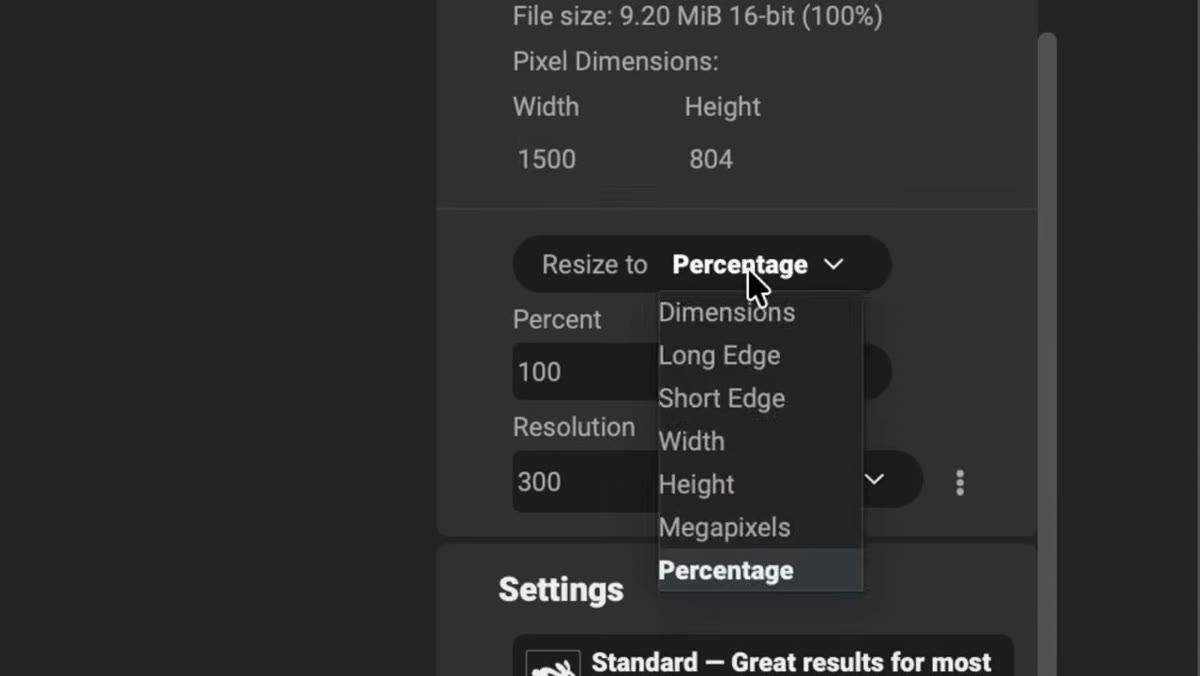 Scott discussing tools that handle difficult exposures
Not every image comes out of the camera in great shape. Kelby covers Brilliance AI as his go-to for shots with tricky exposure problems, particularly images where recovering highlights and lifting shadows in Lightroom hasn’t fully fixed the overall look. Brilliance AI reads the image and applies targeted, scene-aware adjustments that can bring a flat or problematic photo back to life without the heavy-handed feel of just cranking contrast sliders.
Scott discussing tools that handle difficult exposures
Not every image comes out of the camera in great shape. Kelby covers Brilliance AI as his go-to for shots with tricky exposure problems, particularly images where recovering highlights and lifting shadows in Lightroom hasn’t fully fixed the overall look. Brilliance AI reads the image and applies targeted, scene-aware adjustments that can bring a flat or problematic photo back to life without the heavy-handed feel of just cranking contrast sliders.
This isn’t a replacement for your standard develop workflow. Think of it as a rescue tool. Kelby is clear that he doesn’t reach for it on every image, but when a shot needs it, it does something that would take considerably longer to achieve manually.
Step 4: Fix or Replace Skies With Sky Swap AI
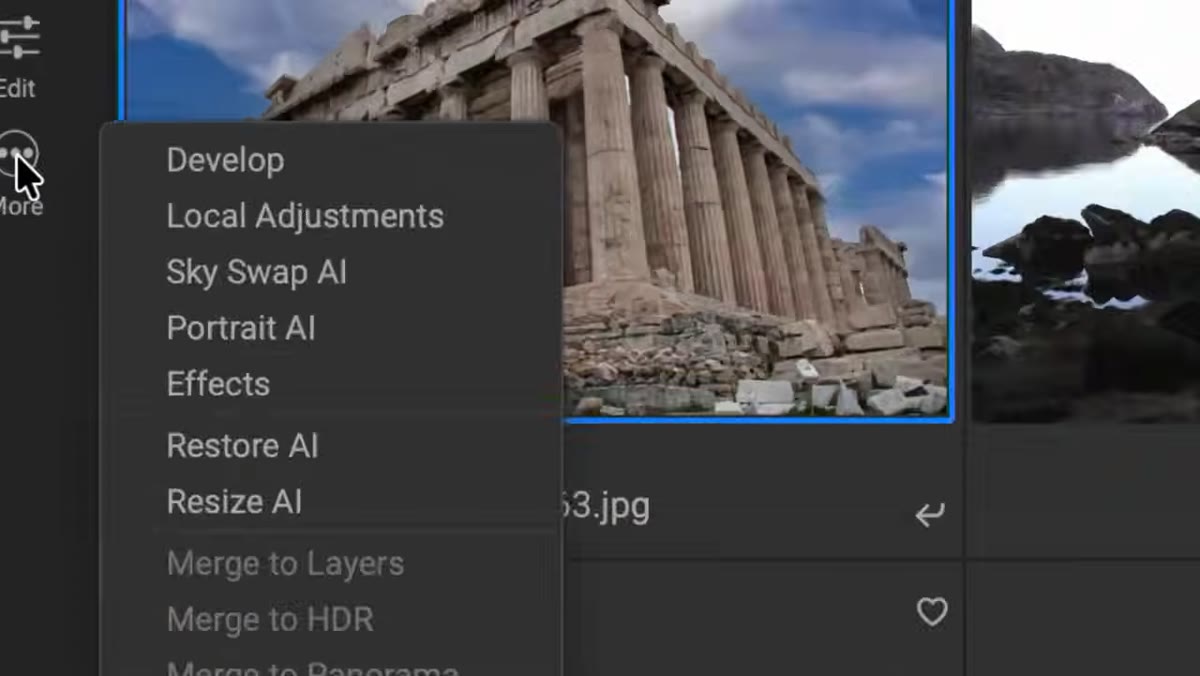
 Scott showing Sky Swap AI replacing a blown-out sky
Sky Swap AI is where ON1 earns its place in a lot of workflows, including mine. Kelby walks through both use cases: using it to fix a sky that’s technically okay but boring, and using it to do a full replacement when the original is completely blown out or overcast in a way that kills the shot.
Scott showing Sky Swap AI replacing a blown-out sky
Sky Swap AI is where ON1 earns its place in a lot of workflows, including mine. Kelby walks through both use cases: using it to fix a sky that’s technically okay but boring, and using it to do a full replacement when the original is completely blown out or overcast in a way that kills the shot.
The selection quality is genuinely impressive. ON1 handles the masking automatically, including around complex edges like trees and hair, and it adjusts the lighting relationship between the new sky and the foreground so the composite doesn’t look pasted in. Kelby’s tip here is to pay attention to the light direction in whatever sky you’re dropping in. A sky with sun coming from the left dropped into a scene where shadows fall to the left is going to look wrong no matter how clean the mask is.
Step 5: Stack Creative Effects With ON1 Effects
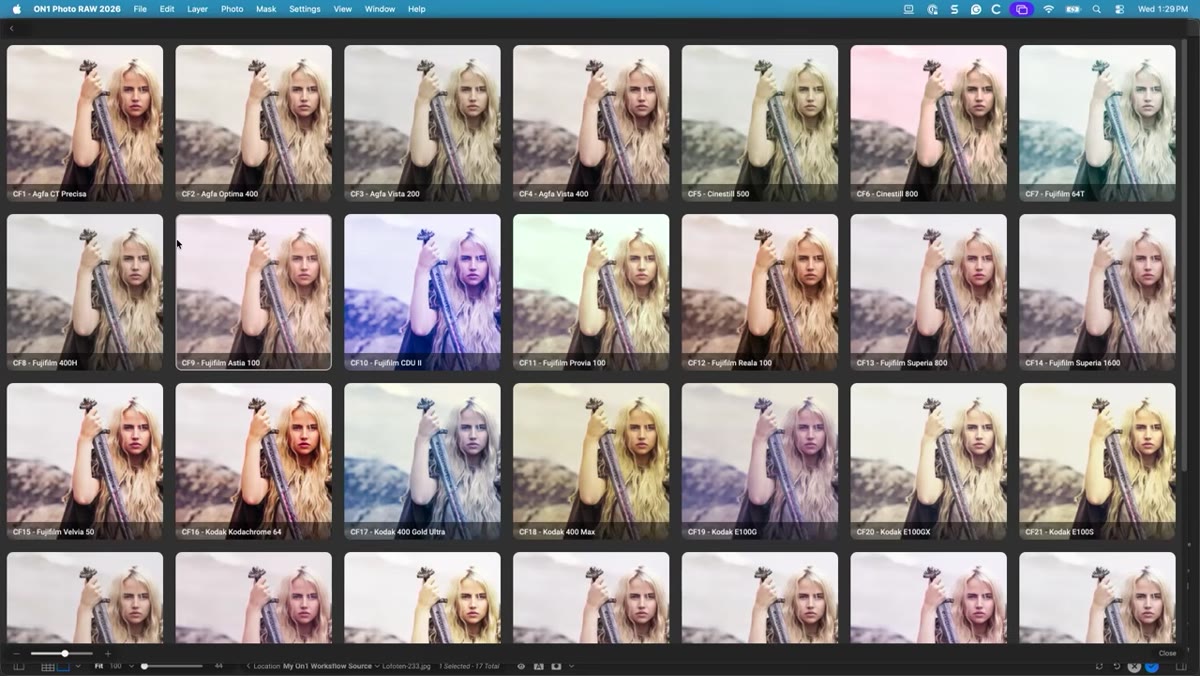
 Scott browsing effects presets including Bleach Bypass and LUTs
After the corrective work is done, Kelby moves into ON1 Effects for the creative layer. This is where he stacks looks like Bleach Bypass, applies LUTs, adds sun flares, and drops in vignettes. The key word is “stack.” ON1 Effects is built around a layered approach where you can combine multiple effects, adjust the opacity of each, and mask them independently.
Scott browsing effects presets including Bleach Bypass and LUTs
After the corrective work is done, Kelby moves into ON1 Effects for the creative layer. This is where he stacks looks like Bleach Bypass, applies LUTs, adds sun flares, and drops in vignettes. The key word is “stack.” ON1 Effects is built around a layered approach where you can combine multiple effects, adjust the opacity of each, and mask them independently.
Kelby’s workflow here is deliberately additive and subtle. He’s not slamming presets at full strength. He’s building a look incrementally, checking each addition, and pulling back anything that fights with the overall image. If you’ve ever applied an ON1 preset and thought it looked overdone, the answer is usually just opacity control and selective masking.
Step 6: Finish With Tack Sharp AI
 Scott describing Tack Sharp AI as the final step
The last stop in Kelby’s workflow is Tack Sharp AI, and the sequencing matters here for the same reason as NoNoise at the beginning. Sharpening after all your other adjustments and effects are locked in means you’re sharpening the final image, not an intermediate state that’s going to change. Tack Sharp AI goes beyond standard unsharp mask logic and applies subject-aware sharpening that distinguishes between areas that should be crisp and areas that shouldn’t be.
Scott describing Tack Sharp AI as the final step
The last stop in Kelby’s workflow is Tack Sharp AI, and the sequencing matters here for the same reason as NoNoise at the beginning. Sharpening after all your other adjustments and effects are locked in means you’re sharpening the final image, not an intermediate state that’s going to change. Tack Sharp AI goes beyond standard unsharp mask logic and applies subject-aware sharpening that distinguishes between areas that should be crisp and areas that shouldn’t be.
Kelby applies it as a final quality check rather than a creative tool, which is the right frame. The goal isn’t to make the image look sharp in a dramatic way. The goal is to make sure it holds up on screen and in print.
One Thing I’d Add From My Own Experience
Kelby uses ON1 as a complement to Lightroom and Photoshop rather than a replacement, and I think that’s the right call for most working photographers and designers. But one thing the tutorial doesn’t dig into is how your file naming and round-trip export settings can get messy fast when you’re bouncing between three applications.
Before I adopted this kind of multi-app workflow, I spent an embarrassing amount of time hunting for the right version of a file because I hadn’t standardized how I was naming the ON1 output. Set a clear convention before you start, something like appending “-ON1-final” to the filename, and keep all your ON1-processed files in a dedicated subfolder. It sounds boring but it saves real time.
The single biggest takeaway from this tutorial is that sequence is the skill. Kelby isn’t just showing you what ON1 can do. He’s showing you when to do each thing, and that “when” is where most people get it wrong. Get that order right and the tools start working together instead of against each other.
Watch the full tutorial on YouTube and then check out the full KelbyOne class at kel.by/kelbyon1workflow if you want the complete, structured version with all the lesson breakdowns.
Comments
Leave a Comment