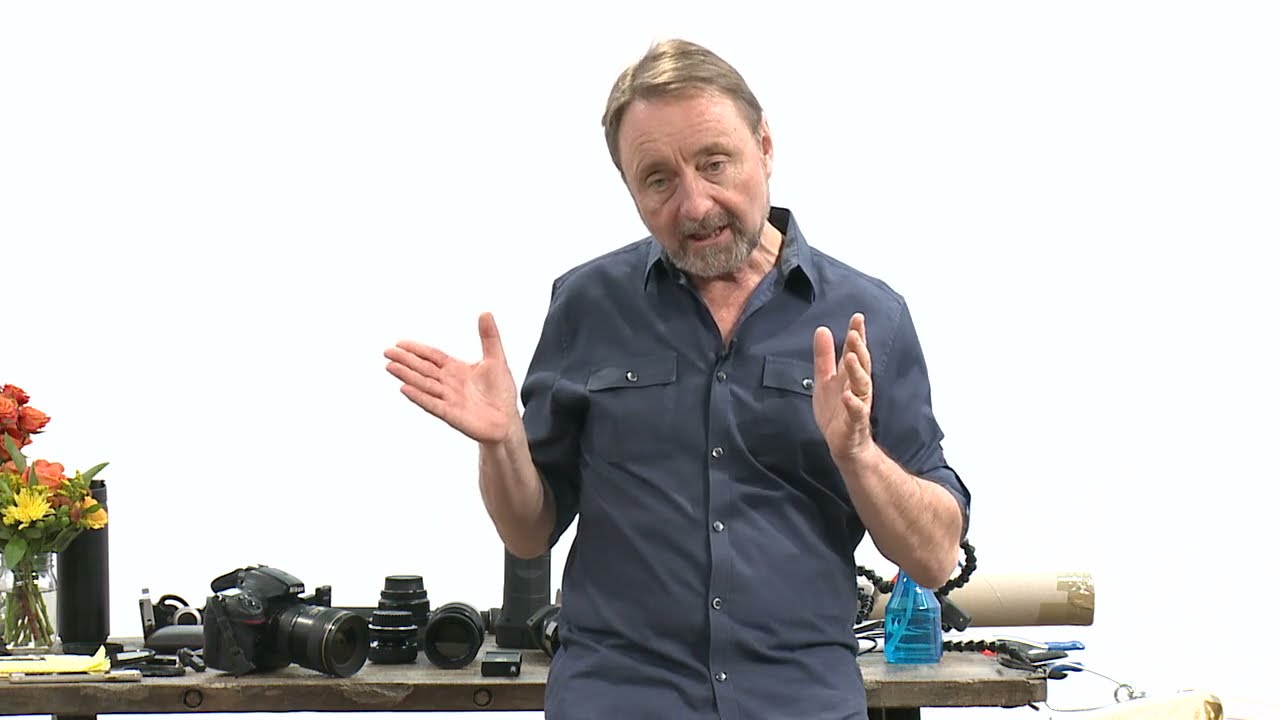
I shoot a lot of flat-lay product work, and for a long time my macro shots had this problem I couldn’t quite name. The light was technically fine. Exposure was good. But something looked dead about them. No dimension, no pop. Turns out I was ignoring one of the simplest tools in outdoor photography: a cheap collapsible reflector. I stumbled onto this CreativeLive tutorial while falling down a rabbit hole at my usual coffee shop table, and it filled in a bunch of gaps I didn’t even know I had.
Watch the full tutorial on YouTube
The instructor, Franz, breaks down how reflectors, diffusers, and a few camera-side techniques work together in real macro shooting situations. This isn’t studio theory. He’s talking about gear he literally takes into the field solo, which makes the advice immediately usable. Here’s what I took away, step by step.
Step 1: Choose the Right Reflector Size for How You Actually Shoot
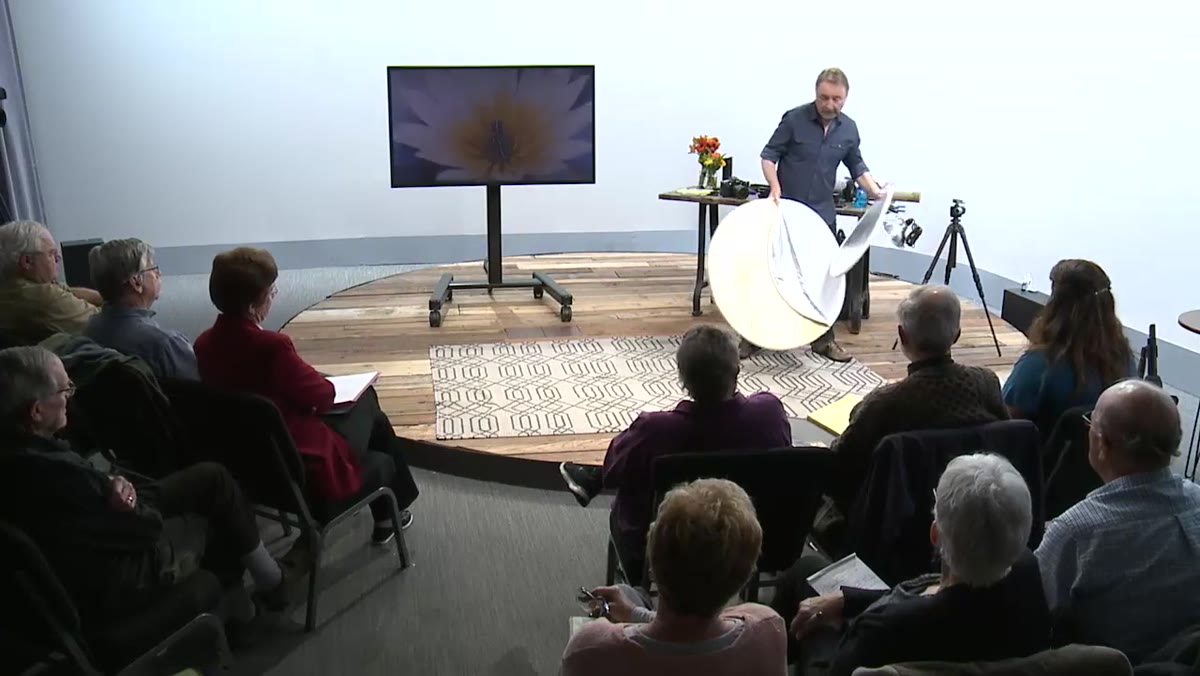 Instructor holding two reflectors of different sizes side by side
Franz shows up with two reflectors and the size comparison alone is useful. The larger one folds down and fits in a backpack without drama. The smaller one is what you’d grab if you’re doing any kind of trail hiking or backpacking situation. The key question isn’t which one is “best” in the abstract. It’s which one you’ll actually have with you when you need it. A giant reflector that stays in your car does nothing for a flower you find two miles into a hike.
For most field work, the mid-size collapsible is the practical sweet spot. It’s light enough to carry without thinking about it, and it gives you enough surface area to meaningfully redirect light onto a small subject. Franz mentions brands like Photoflex, but you’ll find a half-dozen comparable options at any camera retailer. The brand matters less than the fact that you have one with you.
Step 2: Understand When Reflectors Actually Do Something
 Instructor explaining light conditions where reflectors are most effective
Here’s the thing Franz clarifies that the original video apparently glossed over: reflectors are most powerful when you have a direct light source to work with. In full sun, you have strong light to bounce. Makes sense. But he also points out that even in open shade, there’s often more usable ambient light than you’d expect. You can still find angles that bounce meaningful fill light back into your subject.
Overcast conditions are where it gets tricky. When the whole sky is a diffuse light source, there’s less directionality to work with, and your reflector becomes less effective. That doesn’t mean useless, just less dramatic. Worth knowing before you’re standing in a field wondering why your silver reflector isn’t doing anything on a cloudy Tuesday.
Step 3: Match Your Reflector Surface to Your Subject’s Color Temperature
 Instructor discussing warm and cool surface choices on reflector
This was the step that genuinely reframed how I think about reflectors. Franz makes the point that you want to look at the inherent color of your subject before you decide which surface to use. Cool blue subject? Don’t blast warm gold-toned reflected light at it. The two color temperatures will fight each other and the result looks muddy and strange, even if the exposure is perfect.
The rule he’s working from: match the warmth or coolness of your reflected light to the dominant color in your subject. If you’re shooting something with warm tones, a gold or warm-silver surface complements it. If the subject is cool or neutral, a white or cool-silver surface keeps things consistent. This sounds simple but it’s easy to just grab the gold reflector every time because it “looks nice” without thinking about whether it actually suits what’s in front of you.
Step 4: Use a Remote Release (and Mirror Lockup) for Tripod Macro Shots
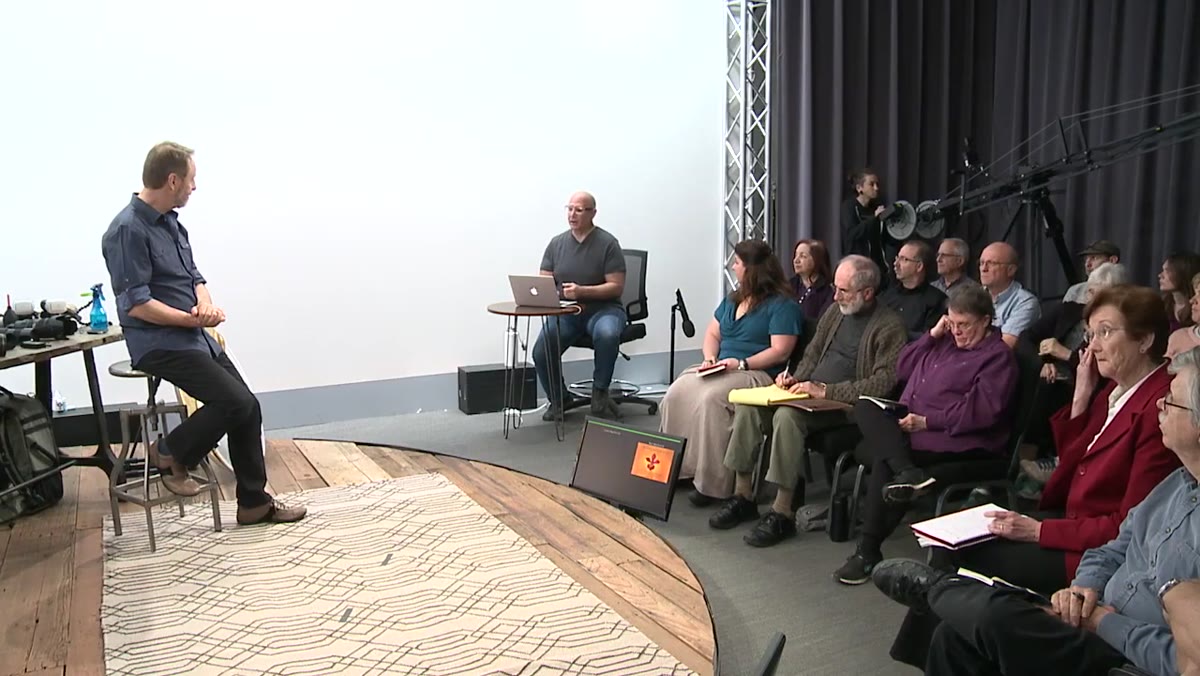 Instructor holding wireless remote trigger device
Franz gets a question about mirror lockup from the audience and his answer is worth sitting with. When your shutter speeds start dropping below 1/30th of a second, and in macro work they will, the physical vibration from the mirror slap and even from pressing the shutter button becomes a sharpness problem. He admits he was reviewing footage from a recent shoot and realized he hadn’t used his remote trigger when he should have.
His setup uses a wireless transmitter and receiver combo. No cable tethering you to the camera. The transmitter fires the shutter without you touching the body, which eliminates one of the sneakiest sources of camera shake in close-up work. If your camera supports mirror lockup, enabling it alongside the remote release is the full solution. Two seconds of setup, real difference in your keeper rate at slow shutter speeds.
Step 5: Use GPS Metadata to Track Where You Shot
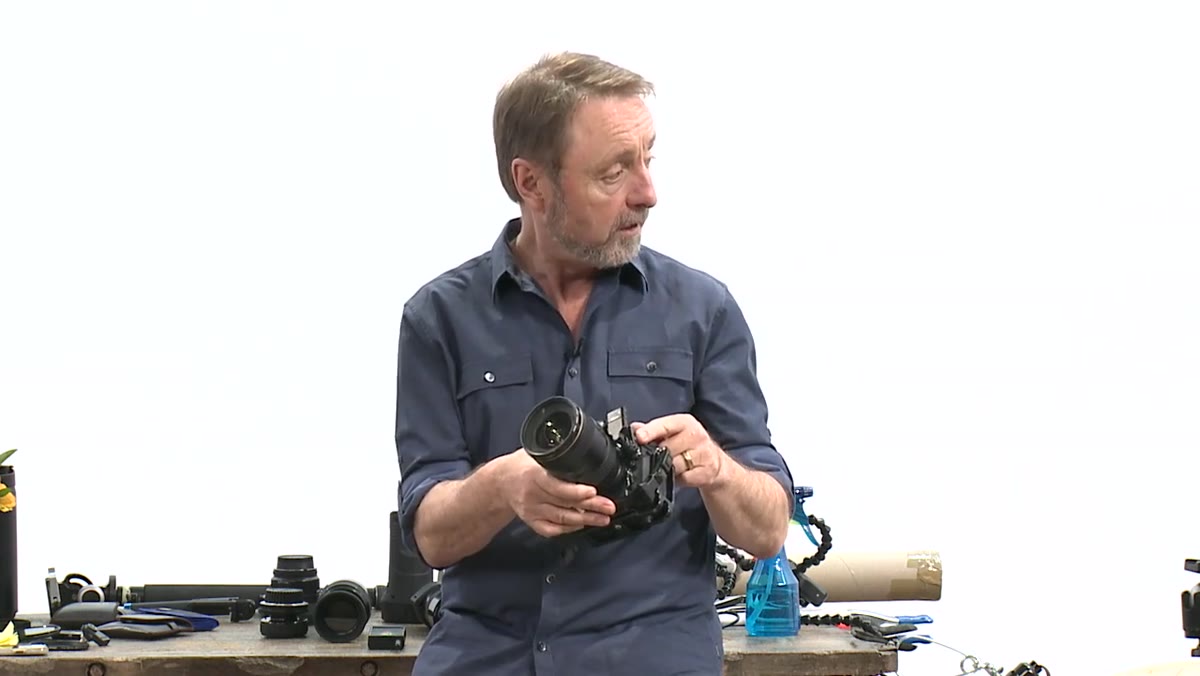 Instructor describing GPS unit attached to camera body
This one isn’t about light at all, but it’s too practical to skip. Franz shoots with a GPS unit permanently attached to his cameras. Every image gets location data baked into the metadata automatically. For anyone doing nature or travel macro work, this is genuinely useful when you’re reviewing images weeks later and trying to remember which corner of which park that shot came from.
It’s not a technique so much as a workflow habit, but it’s the kind of thing that sounds like overkill until you’re staring at 400 unlabeled flower shots trying to remember where any of them were taken.
Step 6: Annotate or Track Which Reflector Surface You Used
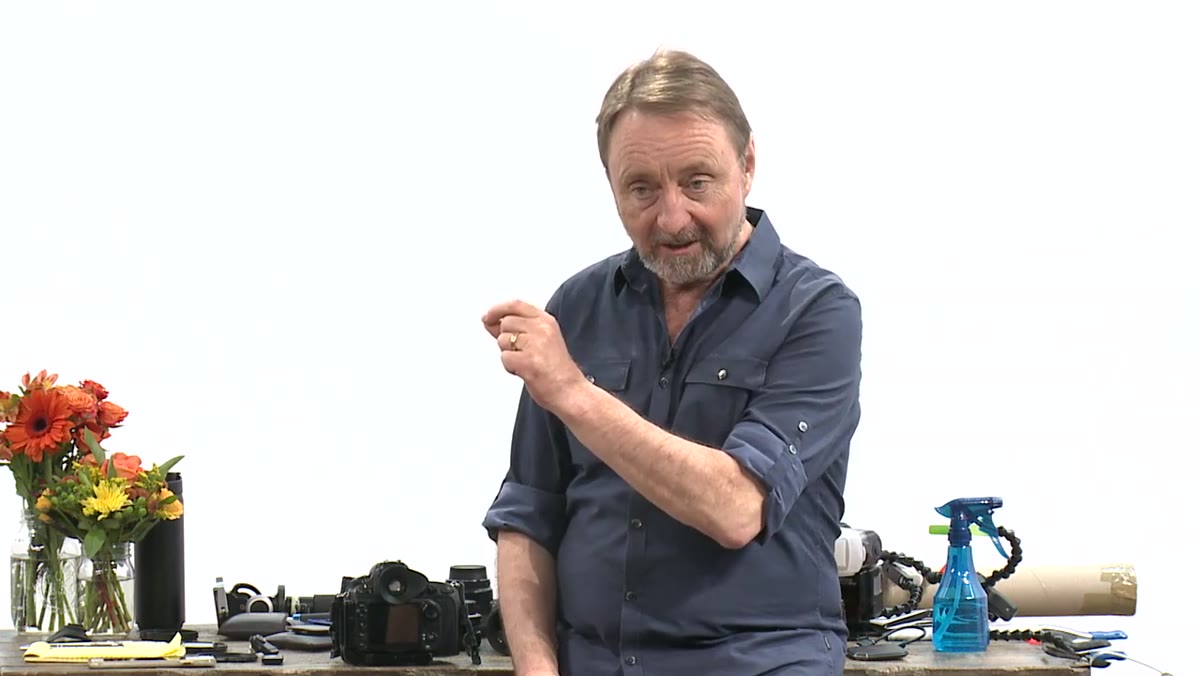 Instructor explaining paper-marker method for tracking reflector surfaces used
Franz mentions that when he was shooting for instructional purposes, he dropped small pieces of paper onto the subject between setups so he could track which reflector surface produced which result in the sequence. It’s a low-tech solution that works. In normal shooting, he says he usually knows what he’s after and just shoots multiple variations, then compares them when he downloads.
If you’re experimenting with reflector surfaces for the first time, the paper-marker approach is worth borrowing. Shoot with white, then mark, switch to silver, mark again, try gold. When you’re reviewing the sequence later, you’ll actually be able to learn something from the comparison instead of guessing.
One Thing I’d Add From My Own Work
The aperture and diffraction question Franz fields at the end of the tutorial is something I run into constantly with product macro shots. There’s a real tension between closing down your aperture for maximum depth of field versus staying within your lens’s optimal sharpness range. Going to f/22 or f/36 gives you more in focus but diffraction starts softening fine detail. My practical answer: shoot at two or three aperture stops, compare them at 100%, and let your specific lens tell you where the line is. No single setting works for every setup.
The biggest takeaway from this whole tutorial is that light control in macro photography is active, not passive. You’re not just accepting whatever the sky gives you. A reflector costs almost nothing, folds into a bag, and fundamentally changes what you can do with natural light on a small subject. Match the surface to your subject’s color, bring a remote release for slow shutter speeds, and you’ve already solved two of the most common problems in field macro work.
Watch the full tutorial on YouTube
Comments (2)
My workflow just got 10x faster. Not even kidding.
This is fantastic. I've been recommending this approach to my readers too.
Leave a Comment