
Hair selection has been the thing that separates “I know Photoshop” from “I know Photoshop” for as long as I’ve been doing this. Client sends you a photo of someone with long, wispy, flyaway hair against a complicated background? That used to mean clearing your afternoon. I’ve spent entire evenings coaxing individual strands out of a background with Refine Edge, channel masking tricks, and a level of stubbornness that probably isn’t healthy. So when I caught this Matt Kloskowski tutorial on the June 2020 Photoshop update, I nearly spilled my cold brew on my laptop.
In this Matt Kloskowski tutorial, he walks through what Adobe’s Sensei AI engine has done to the Select Subject tool, and the before-and-after comparison he shows is the kind of thing that makes you feel mildly betrayed by all the hours you’ve spent doing it manually. This is a practical breakdown of exactly what he demonstrates, with some notes from my own testing thrown in.
Step 1: Open Your Image and Duplicate the Background Layer
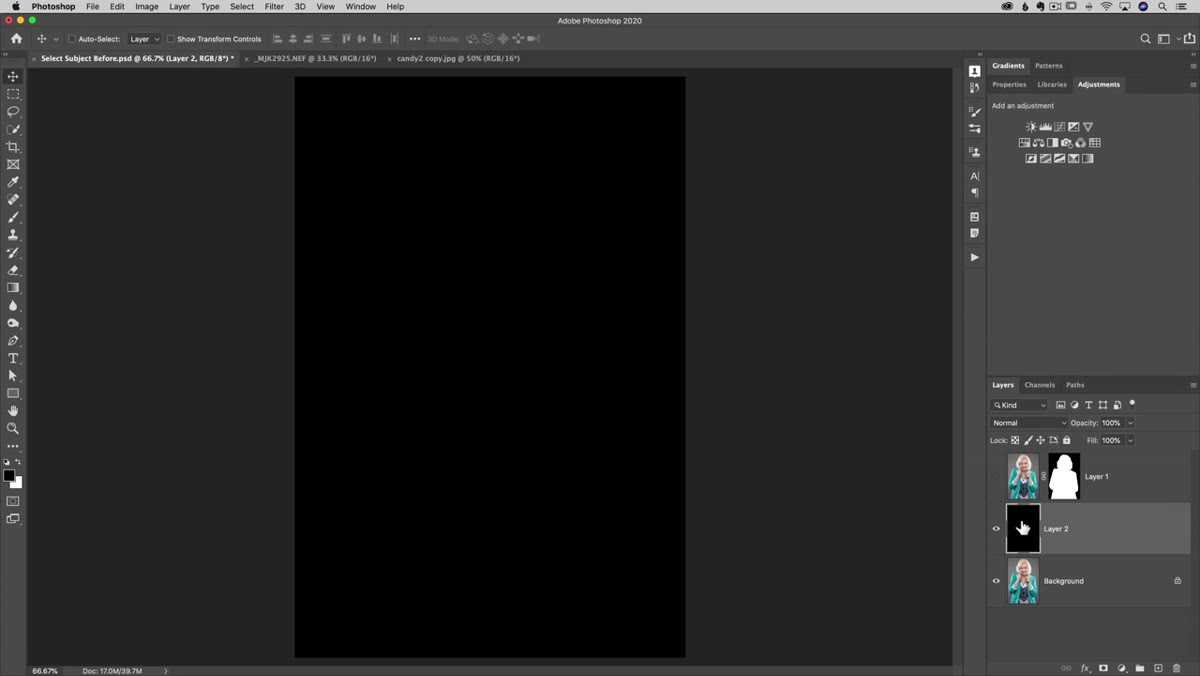 Original portrait layer visible in Photoshop layers panel
Before you do anything, duplicate your background layer. Use Command+J (Mac) or Control+J (Windows). This is non-negotiable. You want your original pixel data sitting untouched underneath everything you’re about to do. Kloskowski works with a portrait featuring long, complex hair because it’s a meaningful stress test, and for this walkthrough you want something similarly challenging. A subject against a clean studio background will make the result look impressive but won’t tell you anything useful about how the tool actually performs.
Original portrait layer visible in Photoshop layers panel
Before you do anything, duplicate your background layer. Use Command+J (Mac) or Control+J (Windows). This is non-negotiable. You want your original pixel data sitting untouched underneath everything you’re about to do. Kloskowski works with a portrait featuring long, complex hair because it’s a meaningful stress test, and for this walkthrough you want something similarly challenging. A subject against a clean studio background will make the result look impressive but won’t tell you anything useful about how the tool actually performs.
Step 2: Run Select Subject on the Old Version First (So You Know What Changed)
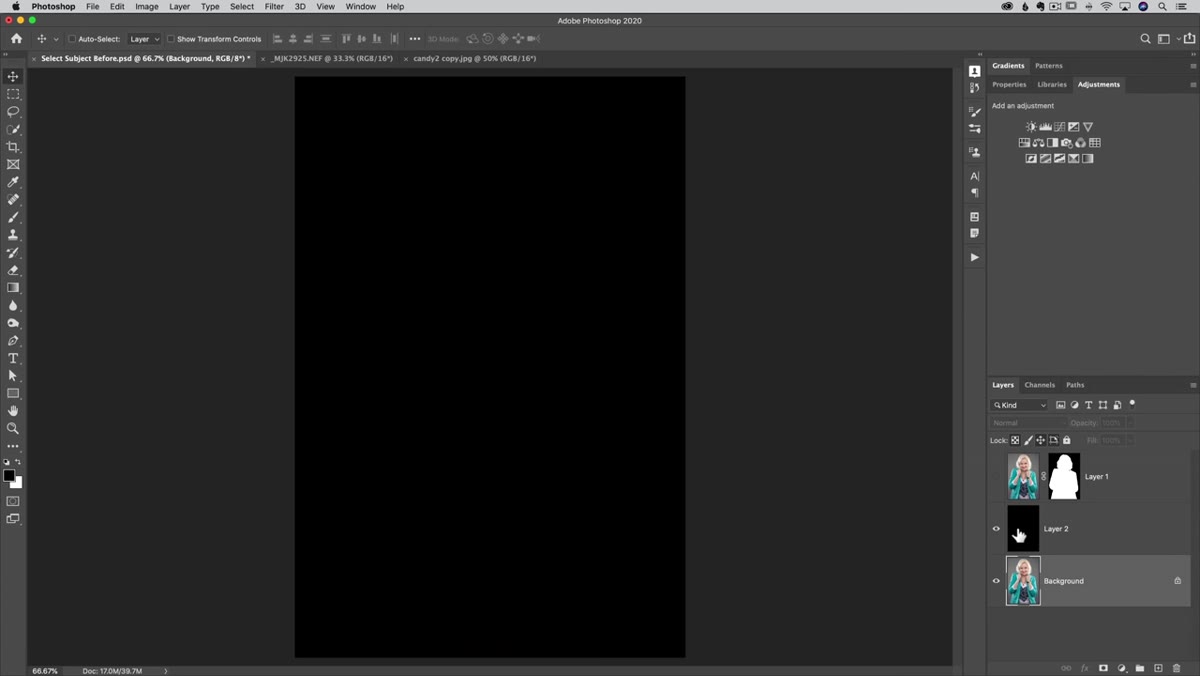 Pre-update Select Subject result showing jagged hair edges
This step is optional if you’ve already updated, but Kloskowski’s method of keeping a pre-update copy of Photoshop to compare results is genuinely smart. He runs Select Subject on the same photo using the version of Photoshop from before the June 16, 2020 update. The result is exactly what you’d expect from the old tool: a decent selection of the body and face, but the hair edges look like they were cut out with safety scissors. Jagged, blocky, clearly a machine guess.
Pre-update Select Subject result showing jagged hair edges
This step is optional if you’ve already updated, but Kloskowski’s method of keeping a pre-update copy of Photoshop to compare results is genuinely smart. He runs Select Subject on the same photo using the version of Photoshop from before the June 16, 2020 update. The result is exactly what you’d expect from the old tool: a decent selection of the body and face, but the hair edges look like they were cut out with safety scissors. Jagged, blocky, clearly a machine guess.
If you’re working in the updated version, you can simulate this by running Select Subject and immediately applying a layer mask without any refinement. Look at the hair edges. That baseline is what the new version is beating.
Step 3: Run Select Subject in the Updated Photoshop
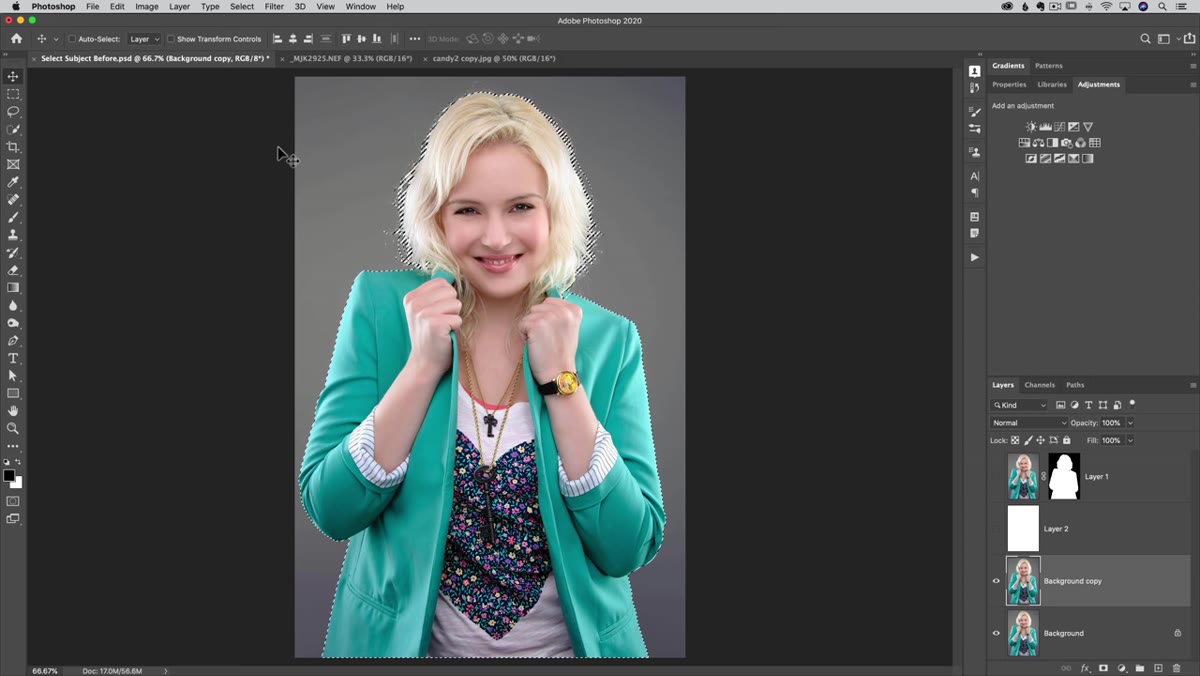 Select Subject chosen from the Select menu in Photoshop
With your duplicated layer selected, go to Select in the top menu bar and choose Select Subject. Alternatively, depending on which tool you have active, a “Select Subject” button may appear in the options bar at the top of your screen. Click it and let Photoshop do its thing. The processing takes a few seconds because the Sensei engine is doing real analysis here, not just edge contrast math.
Select Subject chosen from the Select menu in Photoshop
With your duplicated layer selected, go to Select in the top menu bar and choose Select Subject. Alternatively, depending on which tool you have active, a “Select Subject” button may appear in the options bar at the top of your screen. Click it and let Photoshop do its thing. The processing takes a few seconds because the Sensei engine is doing real analysis here, not just edge contrast math.
What you get back is a selection that, honestly, looks like you spent time in Select and Mask refining it. The marching ants follow the hair with a level of accuracy that would have seemed like a paid feature upgrade a year ago. Don’t touch anything yet. Just look at the selection before you commit it.
Step 4: Add a Layer Mask Directly to the Layer
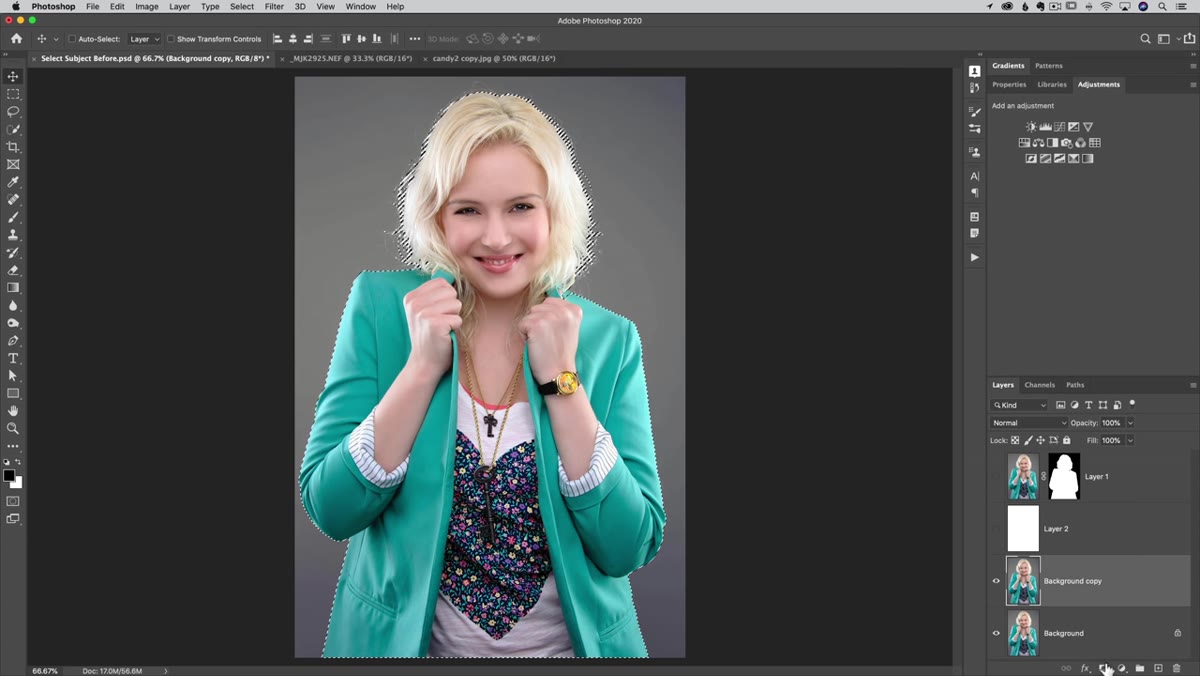 Layer mask being added via the icon at the bottom of Layers panel
With your selection still active, click the layer mask icon at the bottom of the Layers panel. It looks like a rectangle with a circle cut out of it. Photoshop converts your selection into a mask immediately. The background disappears and you’re left with your subject, hair included.
Layer mask being added via the icon at the bottom of Layers panel
With your selection still active, click the layer mask icon at the bottom of the Layers panel. It looks like a rectangle with a circle cut out of it. Photoshop converts your selection into a mask immediately. The background disappears and you’re left with your subject, hair included.
Kloskowski drags a solid color layer beneath his masked layer to check the edges against both dark and light backgrounds. Do this. A black background will show you light fringing. A white background will show you dark fringing. The new Select Subject handles both cases far better than the old version, though you’ll still see some color contamination on very fine hair strands, which we’ll talk about in a minute.
Step 5: Compare on Multiple Backgrounds to Evaluate the Mask Quality
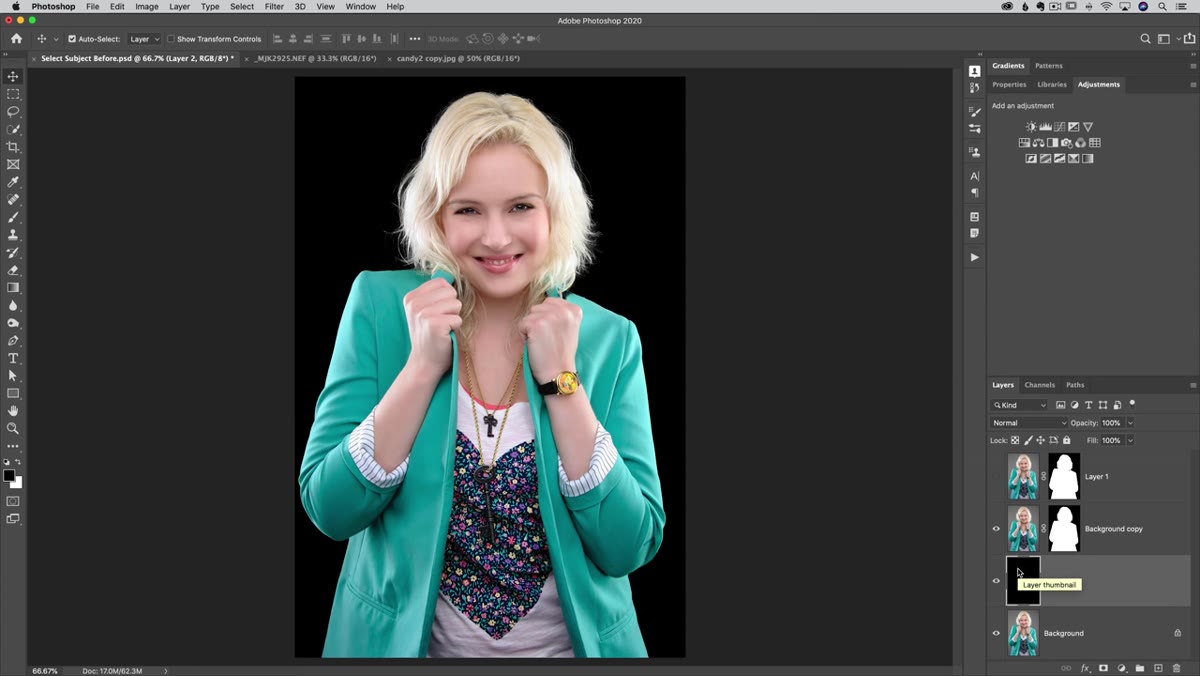 Before/after comparison of old vs new Select Subject on black background
Drop a solid color fill layer beneath your masked layer (Layer menu, New Fill Layer, Solid Color) and test it on black, white, and a mid-tone color. This is where the real quality check happens, and Kloskowski makes a point of doing this comparison deliberately.
Before/after comparison of old vs new Select Subject on black background
Drop a solid color fill layer beneath your masked layer (Layer menu, New Fill Layer, Solid Color) and test it on black, white, and a mid-tone color. This is where the real quality check happens, and Kloskowski makes a point of doing this comparison deliberately.
On a black background, the new selection holds up impressively in the hair. On white, you may notice some slight color fringing where the background color bled into the edge pixels during the original photo. That fringing isn’t a failure of the selection tool itself. It’s a separate issue called color contamination, and it’s handled in Select and Mask using the Decontaminate Colors option. The key takeaway here is that the selection itself is accurate enough that decontamination is now the finishing step, not the starting point.
Step 6: Decide Whether You Even Need Select and Mask Anymore
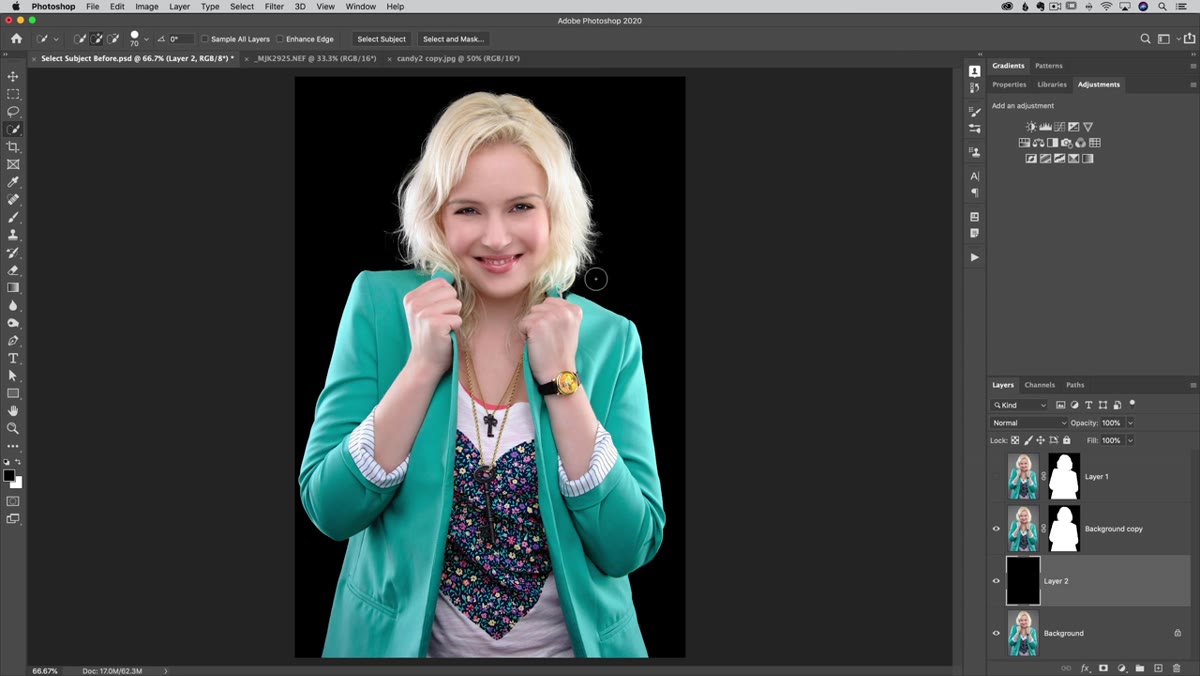 Final masked result showing hair detail without using Select and Mask
Here’s where Kloskowski lands, and I agree with him: for a lot of jobs, you don’t need to go into Select and Mask at all after this. The old workflow was Select Subject to get a rough selection, then Select and Mask to drag the Edge Detection slider around the hair and hope for the best. Now, Select Subject alone gets you to a place where you might just be done.
Final masked result showing hair detail without using Select and Mask
Here’s where Kloskowski lands, and I agree with him: for a lot of jobs, you don’t need to go into Select and Mask at all after this. The old workflow was Select Subject to get a rough selection, then Select and Mask to drag the Edge Detection slider around the hair and hope for the best. Now, Select Subject alone gets you to a place where you might just be done.
If the image has very fine, wispy hair against a similarly-toned background, you’ll still want to go into Select and Mask and use the Refine Edge Brush to paint over the problem areas. But for a solid percentage of the portraits that hit my queue, the one-click result is good enough to deliver.
What I’d Add From My Own Experience
The one thing Kloskowski doesn’t dig into here is the difference in results depending on where Photoshop is doing its processing. There’s a setting in Photoshop Preferences under Technology Previews that can route certain AI operations differently. Beyond that, I’ve noticed Select Subject handles dark hair against dark backgrounds worse than any other combination. If a client sends you a photo with a brunette shot against a charcoal wall, run the selection, then be ready to manually paint the mask with a soft brush on the trickiest edges. The tool is genuinely impressive, but it’s not magic. It’s just much, much better math than we had before.
The single most important thing from this tutorial: Select Subject went from a “good starting point” tool to a “final answer” tool for a meaningful chunk of real-world portrait work. That’s a shift in how you should structure your masking workflow, not just a incremental improvement to ignore.
Watch the full tutorial on YouTube to see Matt’s side-by-side comparisons in motion. Seeing the before and after on the same photo is what makes the improvement really click.
Comments
Leave a Comment