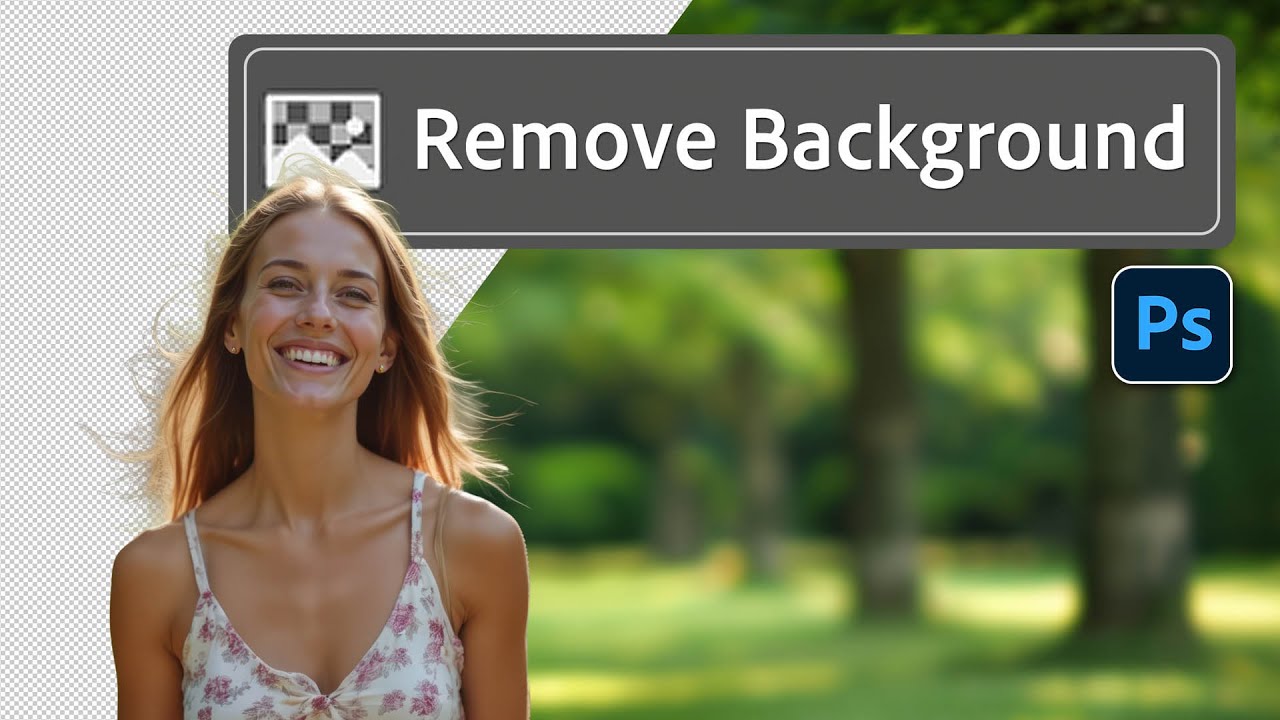
There’s a specific flavor of client nightmare I’ve lived through more times than I’d like to admit. Someone sends over a photo with a person they love, shot in front of a background they hate, and they want that person dropped onto something completely different. Fine. Except the subject has flyaway hair, or wispy strands catching the light, or some other detail that makes a clean cutout feel like defusing a bomb. I’ve spent embarrassing amounts of time in Select and Mask wrestling with edge detection sliders, and the results have ranged from “pretty good actually” to “why does she look like she’s wearing a halo made of blur.”
That’s why I paid attention when I came across this Matt Kloskowski tutorial covering what Adobe quietly shipped in the June 2025 Photoshop update. Watch the full tutorial on YouTube. It’s a midcycle update, not a big splashy release, but the improvements to Select Subject and Remove Background are the kind of thing that quietly saves you twenty minutes per job. Plus there are Camera Raw updates for noise reduction and distraction removal that are worth knowing about. Here’s the walkthrough.
Step 1: Update to Photoshop 26.8.0 or Later
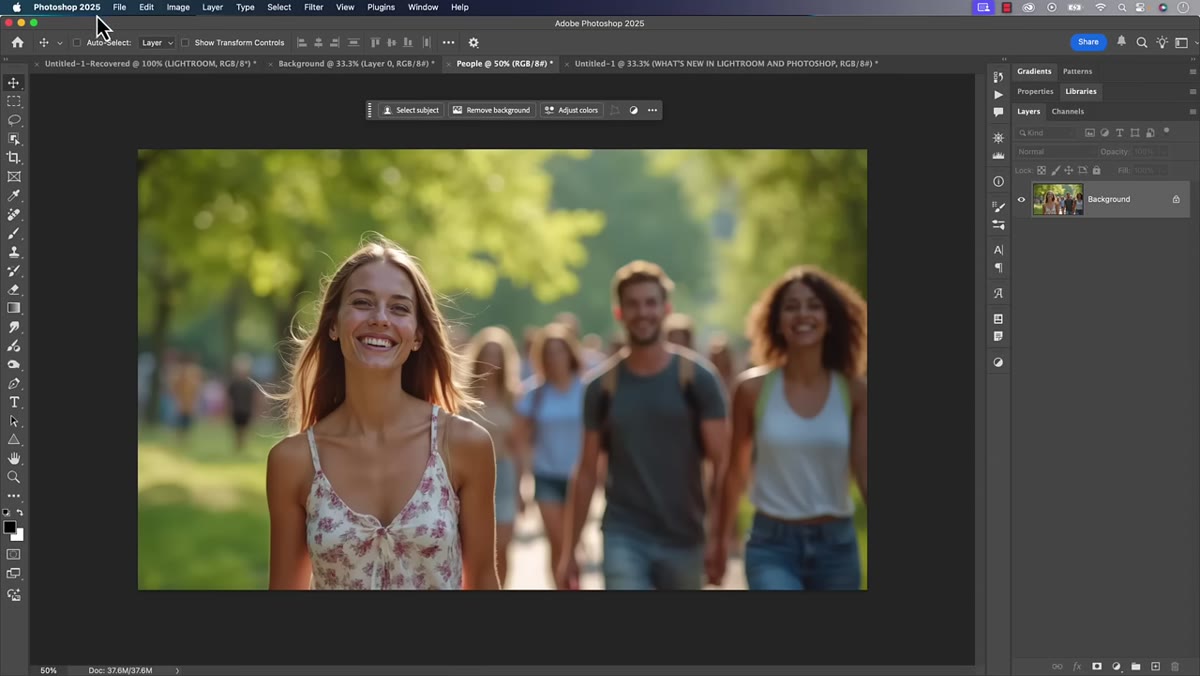 Photoshop 2025 open showing version number in interface
Before anything else, make sure you’re actually running the version that has these features. As of June 2025, you’re looking for version 26.8.0 or later. If you’re not on it, the AI-powered tools you’re about to use either won’t be there or won’t behave the way the tutorial shows. Head to the Creative Cloud desktop app, check for updates, and let it do its thing. This is one of those “don’t skip this step” moments where the rest of the tutorial just won’t make sense if you’re on an older build.
Photoshop 2025 open showing version number in interface
Before anything else, make sure you’re actually running the version that has these features. As of June 2025, you’re looking for version 26.8.0 or later. If you’re not on it, the AI-powered tools you’re about to use either won’t be there or won’t behave the way the tutorial shows. Head to the Creative Cloud desktop app, check for updates, and let it do its thing. This is one of those “don’t skip this step” moments where the rest of the tutorial just won’t make sense if you’re on an older build.
Step 2: Enable Cloud Processing for Select Subject
 Photoshop Preferences panel open on Image Processing tab
This is probably the most important setting in the whole tutorial, and it lives somewhere most people never look. Go into Photoshop Preferences (that’s the Photoshop menu on Mac, Edit menu on PC), then navigate to the Image Processing tab. You’ll see options for Select Subject and Remove Background, with a toggle for cloud vs. device processing.
Photoshop Preferences panel open on Image Processing tab
This is probably the most important setting in the whole tutorial, and it lives somewhere most people never look. Go into Photoshop Preferences (that’s the Photoshop menu on Mac, Edit menu on PC), then navigate to the Image Processing tab. You’ll see options for Select Subject and Remove Background, with a toggle for cloud vs. device processing.
Turn on cloud. The cloud version uses Adobe’s best, most current AI model for making selections, and the difference in edge quality, especially around hair and fine detail, is real. Device processing is fine when you’re offline, but if you have a connection, there’s no good reason not to use the stronger option.
Step 3: Open the Contextual Taskbar
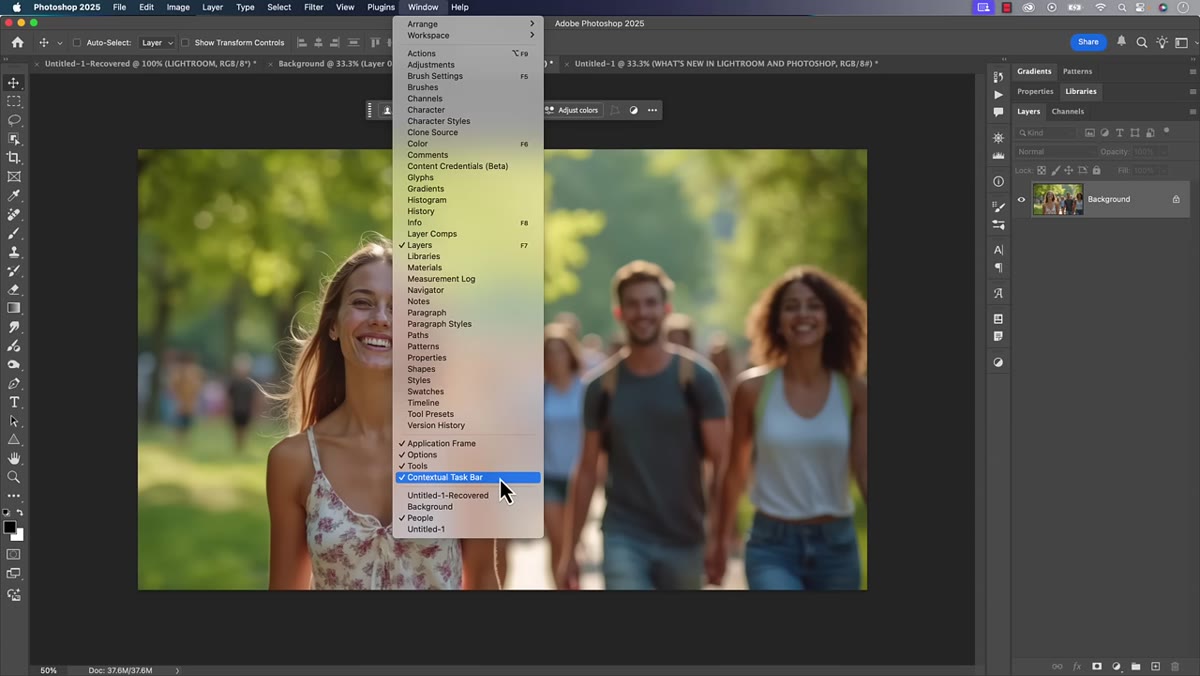 Window menu open with Contextual Taskbar option visible
The contextual taskbar is where you’ll find the Select Subject and Remove Background buttons in a convenient, always-accessible strip. If you don’t see it, go to the Window menu and look for Contextual Taskbar toward the bottom. Enable it, and it’ll sit at the bottom of your canvas, changing its available options based on what you’re doing.
Window menu open with Contextual Taskbar option visible
The contextual taskbar is where you’ll find the Select Subject and Remove Background buttons in a convenient, always-accessible strip. If you don’t see it, go to the Window menu and look for Contextual Taskbar toward the bottom. Enable it, and it’ll sit at the bottom of your canvas, changing its available options based on what you’re doing.
Matt works out of this taskbar for the whole demo, and honestly it’s a better habit than hunting through menus. The buttons are right there, labeled clearly, and it keeps your workflow moving without detours.
Step 4: Use Select Subject to Isolate Your Person
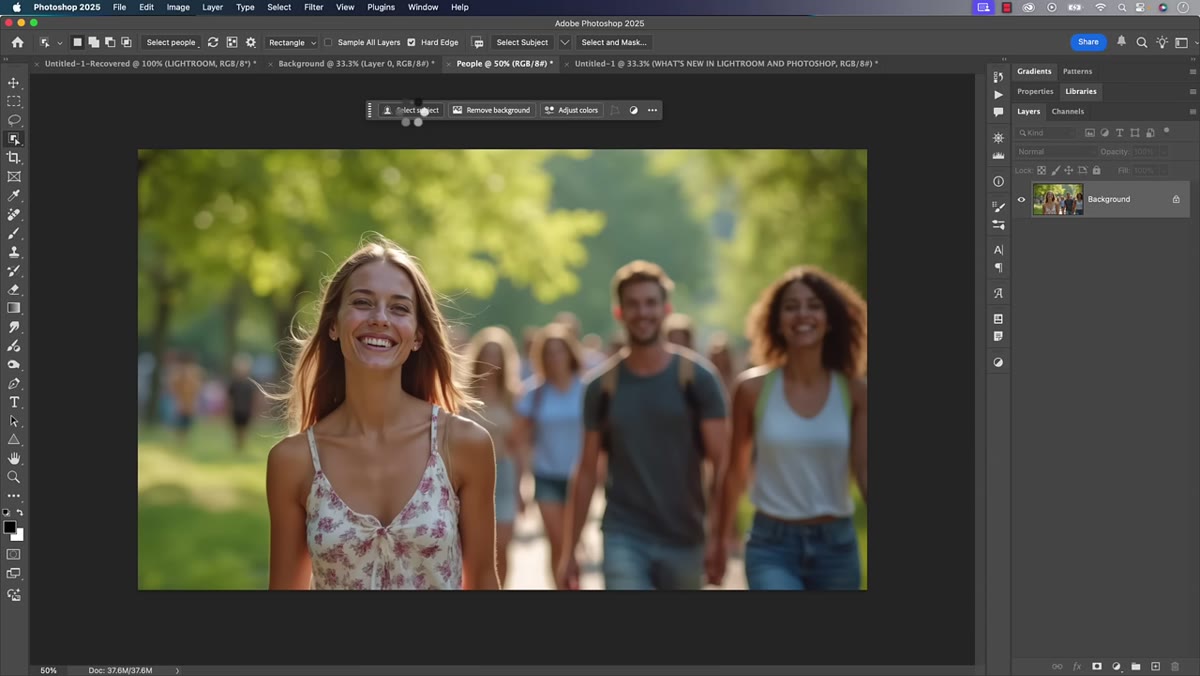 Selection marquee appearing around the main subject in the photo
With your image open and the contextual taskbar visible, hit the Select Subject button. Photoshop will process the image using the cloud model you just enabled and drop a selection around the primary subject. Wispy hair, soft edges, complicated backgrounds - the updated model handles these noticeably better than older versions did.
Selection marquee appearing around the main subject in the photo
With your image open and the contextual taskbar visible, hit the Select Subject button. Photoshop will process the image using the cloud model you just enabled and drop a selection around the primary subject. Wispy hair, soft edges, complicated backgrounds - the updated model handles these noticeably better than older versions did.
One thing to watch: if there are multiple people in the frame, Photoshop may grab more than one. Matt’s demo image had a woman in the background who got pulled into the selection. That’s not a failure - it’s just the tool doing what it thinks you want. You can refine from there. The key point is that the initial selection quality from this updated model is good enough that you’re doing cleanup, not reconstruction.
Step 5: Switch to Remove Background for a Better Workflow
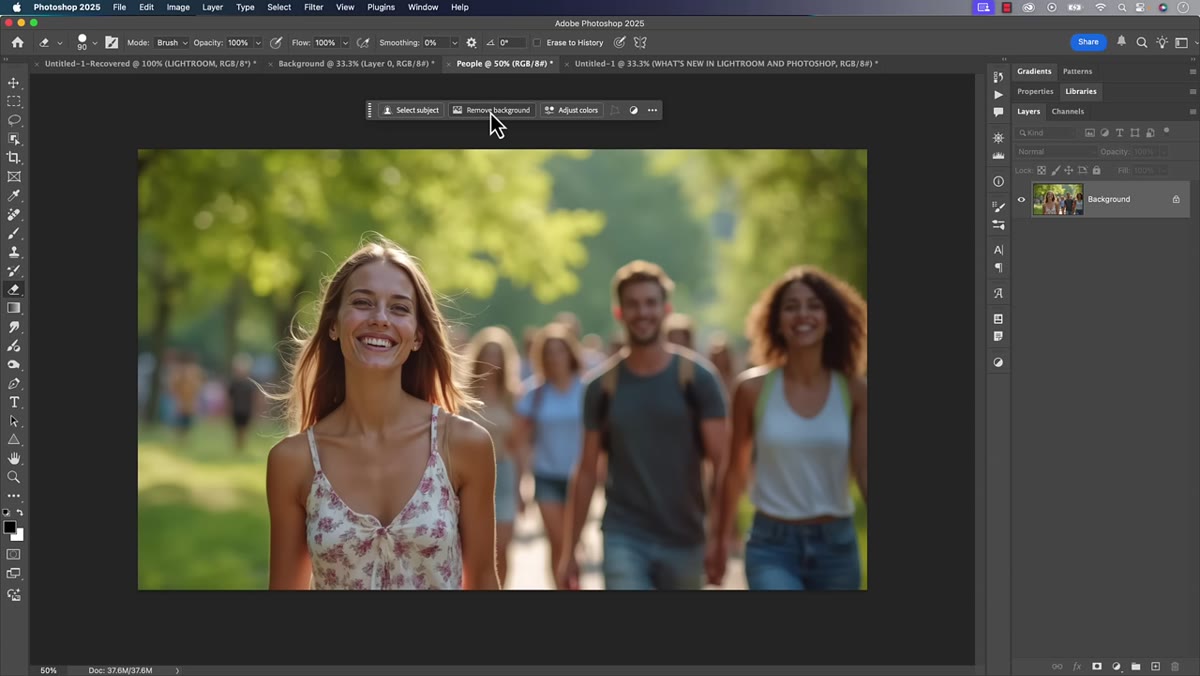 Layer panel showing masked layer after Remove Background is applied
Here’s where Matt makes a workflow recommendation that I think is genuinely smart. Instead of selecting the subject and then manually deleting the background, use the Remove Background button instead. It’s essentially the inverse operation - rather than telling Photoshop “here’s what I want,” you’re telling it “here’s what I don’t want.”
Layer panel showing masked layer after Remove Background is applied
Here’s where Matt makes a workflow recommendation that I think is genuinely smart. Instead of selecting the subject and then manually deleting the background, use the Remove Background button instead. It’s essentially the inverse operation - rather than telling Photoshop “here’s what I want,” you’re telling it “here’s what I don’t want.”
The practical advantage is that Remove Background automatically adds a layer mask to your image rather than deleting pixels outright. That mask is non-destructive, which means you can paint on it with a brush to bring back areas that got clipped or hide areas that got included by mistake. Black conceals, white reveals - same as any other mask in Photoshop. This is the version of the workflow you want to build muscle memory around.
Step 6: Clean Up the Mask with a Brush
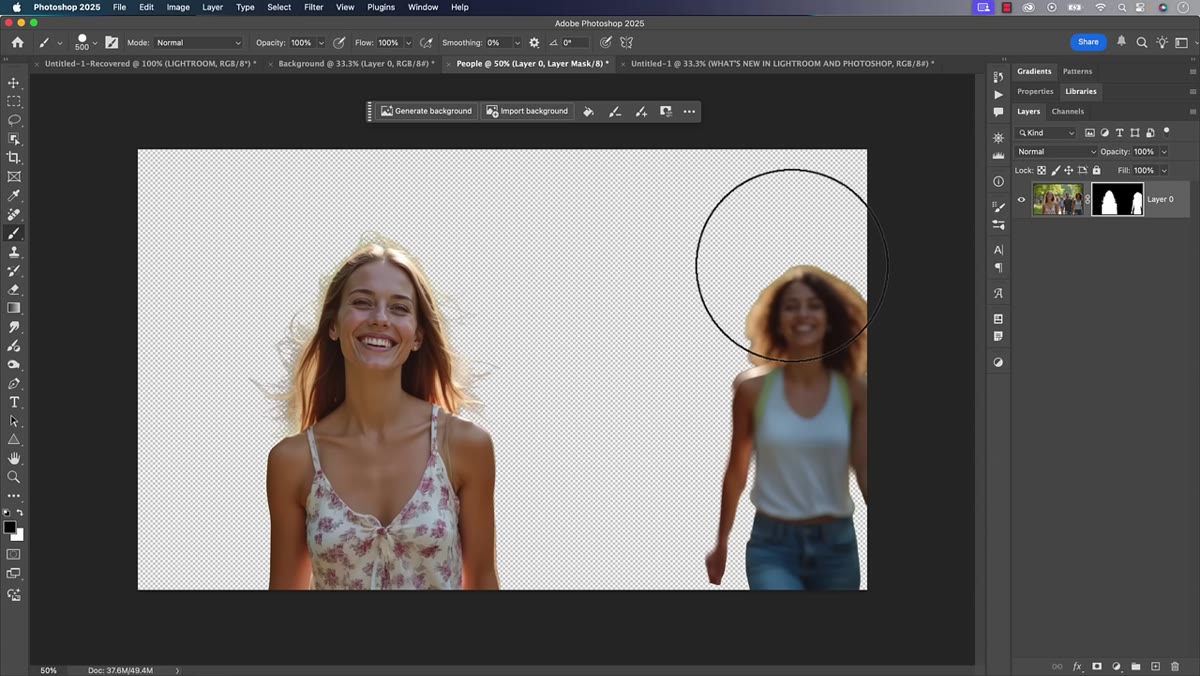 Brush tool painting on layer mask to remove unwanted subject from photo
Once the background is removed, check your mask carefully. If the tool grabbed something it shouldn’t have - like that background figure in Matt’s example - grab your Brush tool, make sure the mask thumbnail is selected in the Layers panel (not the image itself), and paint over the problem area in black. That part of the layer disappears. If it accidentally clipped something you need, paint white to bring it back.
Brush tool painting on layer mask to remove unwanted subject from photo
Once the background is removed, check your mask carefully. If the tool grabbed something it shouldn’t have - like that background figure in Matt’s example - grab your Brush tool, make sure the mask thumbnail is selected in the Layers panel (not the image itself), and paint over the problem area in black. That part of the layer disappears. If it accidentally clipped something you need, paint white to bring it back.
The updated cloud model means you’ll spend less time here than you used to, but you’ll probably still spend some time here. That’s fine. A two-minute brush cleanup on a solid AI-generated mask is way better than the alternative.
A Note on When to Use Camera Raw Instead
Matt briefly flags something that trips people up, and I’ve definitely been guilty of this. If your goal is to adjust the subject - brightness, skin tone, color grading - and you don’t need to change the background, do that work in Camera Raw or Lightroom. Both have their own Select Subject functionality that works great for tonal and color edits.
Photoshop’s Select Subject is specifically for situations where you need layer-level control: swapping backgrounds, compositing, anything that requires separating the subject onto its own layer. Using Photoshop for what Camera Raw handles better just adds steps. Know which tool the job actually calls for.
The single biggest thing I’m taking away from this update is that cloud-processed Remove Background is now a legitimate first step in a compositing workflow, not a “close enough for a quick job” shortcut. The mask quality coming out of that tool, with cloud enabled and the June 2025 model running, is good enough that I’m going to start defaulting to it before I even think about reaching for Select and Mask.
If you do any portrait work, product photography, or compositing at all, this update is worth thirty minutes of your time. Watch the full tutorial on YouTube and see the before-and-after quality difference on Matt’s demo image directly - it’s the fastest way to understand why the cloud setting matters.
Comments (4)
This should be required reading for anyone starting out.
Simple but effective. Sometimes that's all you need.
Solid advice. Especially the part about taking your time with it.
This should be required reading for anyone starting out.
Leave a Comment