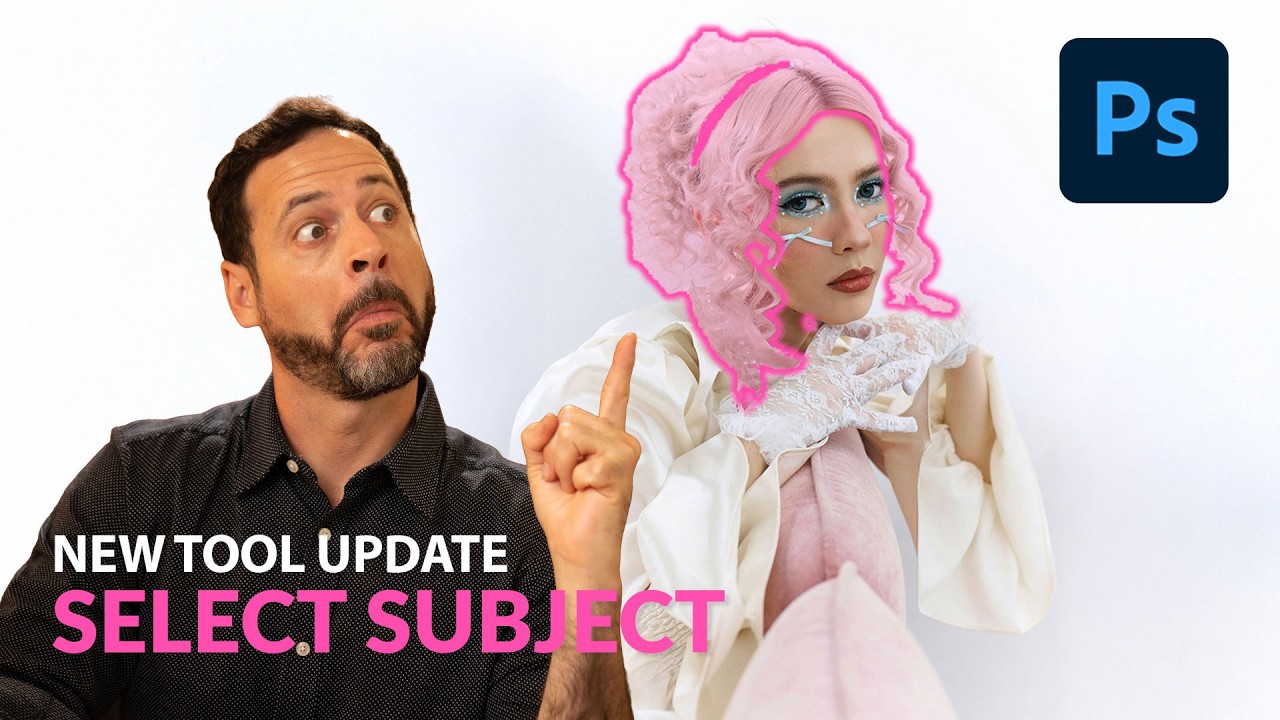
There’s a specific kind of pain that every Photoshop user knows. You’ve got a photo with a subject, a complicated background, maybe some wispy hair or thin strands poking out in every direction, and you need a clean selection. You run Select Subject, it does its best, and then you spend the next 45 minutes playing whack-a-mole with the background trying to clean up the edges. I’ve billed clients for that time. I’m not proud of it.
So when I watched Aaron Nace’s latest PHLEARN tutorial covering the updated Select Subject tool in Photoshop 2025, I stopped what I was doing mid-coffee. Watch the full tutorial on YouTube because Aaron walks through four genuinely hard test images, and what the cloud-powered version spits out is the kind of result that makes you feel like you’ve been doing things the hard way for years. Spoiler: you have been.
The key change here is that Adobe has given Select Subject two processing modes. The traditional on-device mode you already know, and a new cloud-based mode that sends the processing off to Adobe’s servers and comes back with noticeably sharper, more accurate selections. Internet connection required, a few extra seconds required, significantly less manual cleanup required. Let me show you exactly how to set it up and use it.
Step 1: Switch Select Subject to Cloud Processing in Preferences
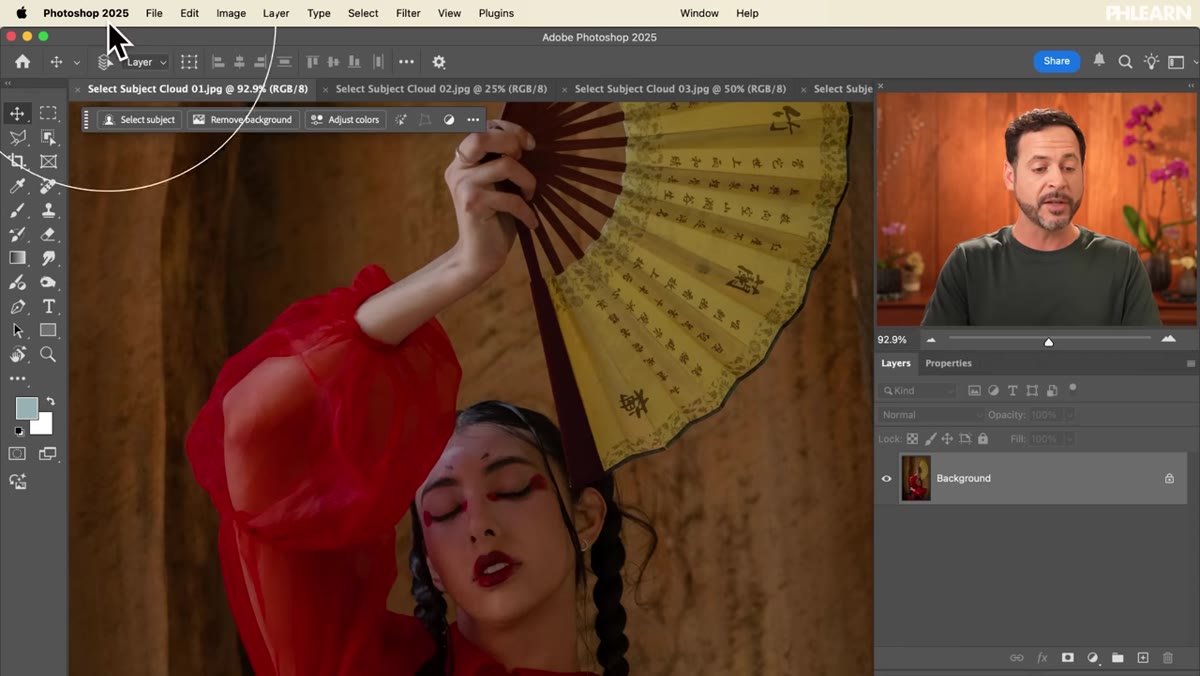 Photoshop Preferences menu open, Image Processing section visible
Before you touch a single image, you need to tell Photoshop where you want your Select Subject processing to happen. Head up to the Photoshop menu (Mac) or Edit menu (Windows), then go to Preferences and find the Image Processing section. You’ll see an option specifically for Select Subject and Remove Background. Flip it from Device to Cloud, hit OK, and you’re set at the application level.
Photoshop Preferences menu open, Image Processing section visible
Before you touch a single image, you need to tell Photoshop where you want your Select Subject processing to happen. Head up to the Photoshop menu (Mac) or Edit menu (Windows), then go to Preferences and find the Image Processing section. You’ll see an option specifically for Select Subject and Remove Background. Flip it from Device to Cloud, hit OK, and you’re set at the application level.
That said, this setting can also be overridden per-use, which is actually the more flexible approach. I’ll cover how in a moment. If you’re working somewhere without reliable internet, the device setting is still right there.
Step 2: Choose the Object Selection Tool (Not the Contextual Taskbar)
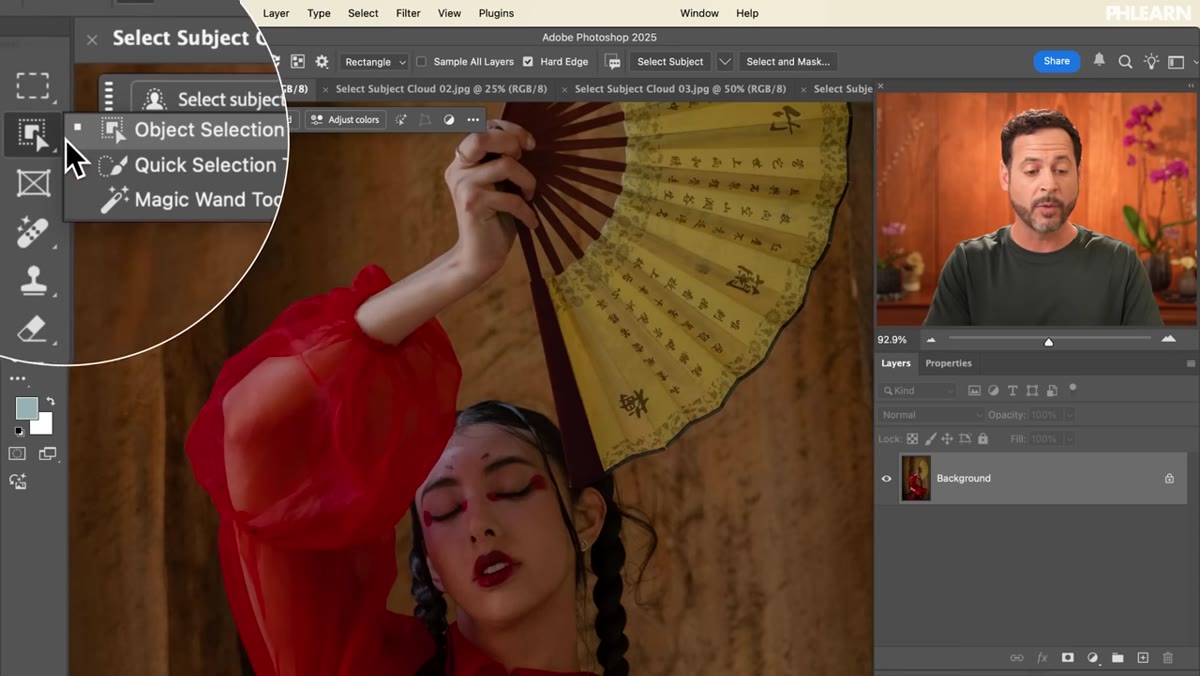 Object Selection Tool selected in Photoshop toolbar
This is a small but important distinction Aaron makes in the tutorial. When you have an image open, Photoshop’s contextual taskbar will often show a “Select Subject” button. It works, but it doesn’t give you a dropdown to choose between device and cloud on the fly. The Object Selection Tool does.
Object Selection Tool selected in Photoshop toolbar
This is a small but important distinction Aaron makes in the tutorial. When you have an image open, Photoshop’s contextual taskbar will often show a “Select Subject” button. It works, but it doesn’t give you a dropdown to choose between device and cloud on the fly. The Object Selection Tool does.
Grab the Object Selection Tool from your toolbar (keyboard shortcut: W). Once it’s active, look at the options bar at the top of your screen. You’ll see a Select Subject button there, plus a small dropdown arrow right next to it. That dropdown is where the real power is hiding.
Step 3: Set Your Processing Mode Per Image from the Dropdown
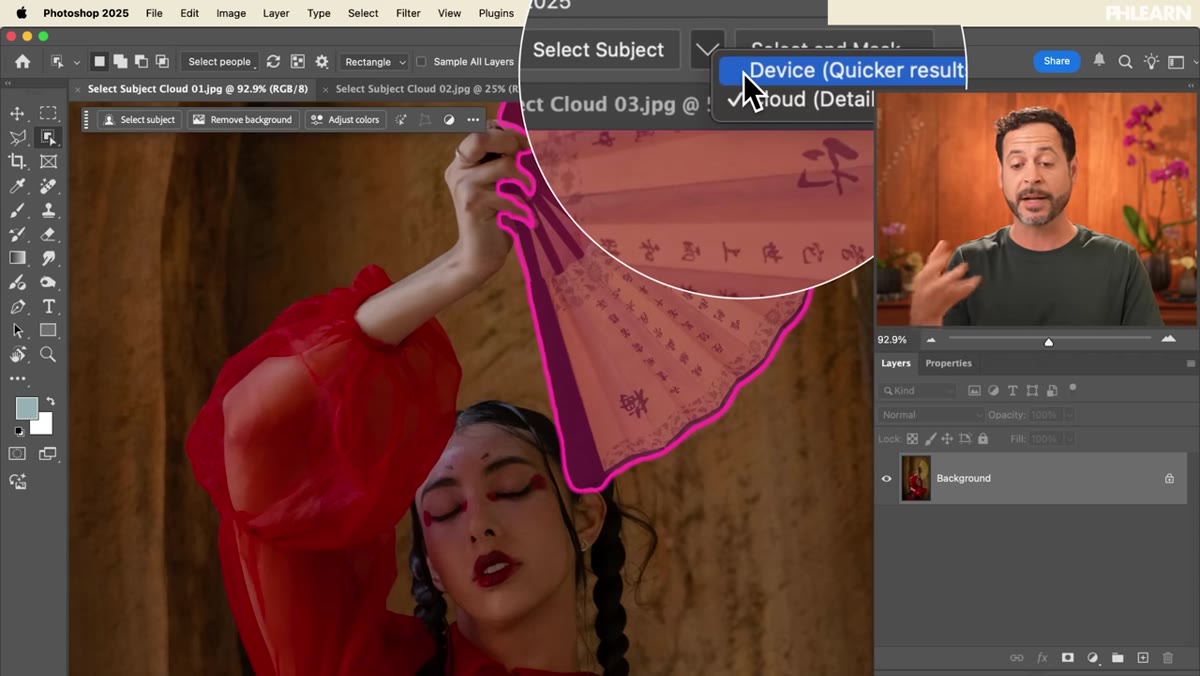 Dropdown showing Device and Cloud options in options bar
Click that dropdown arrow next to Select Subject in the options bar and you’ll get two choices: device processing or cloud processing. This per-image choice is genuinely useful in a real workflow. Some images are simple enough that the on-device version handles them perfectly, and there’s no reason to wait for a cloud round-trip. For anything with complex edges, hair, fur, or a messy background, you’ll want to reach for cloud.
Dropdown showing Device and Cloud options in options bar
Click that dropdown arrow next to Select Subject in the options bar and you’ll get two choices: device processing or cloud processing. This per-image choice is genuinely useful in a real workflow. Some images are simple enough that the on-device version handles them perfectly, and there’s no reason to wait for a cloud round-trip. For anything with complex edges, hair, fur, or a messy background, you’ll want to reach for cloud.
Aaron’s recommendation, and mine after testing this myself, is to keep the dropdown handy and make a judgment call each time. Think of device as your quick draft and cloud as your final-quality pass.
Step 4: Run Select Subject with Device Processing First (For Comparison)
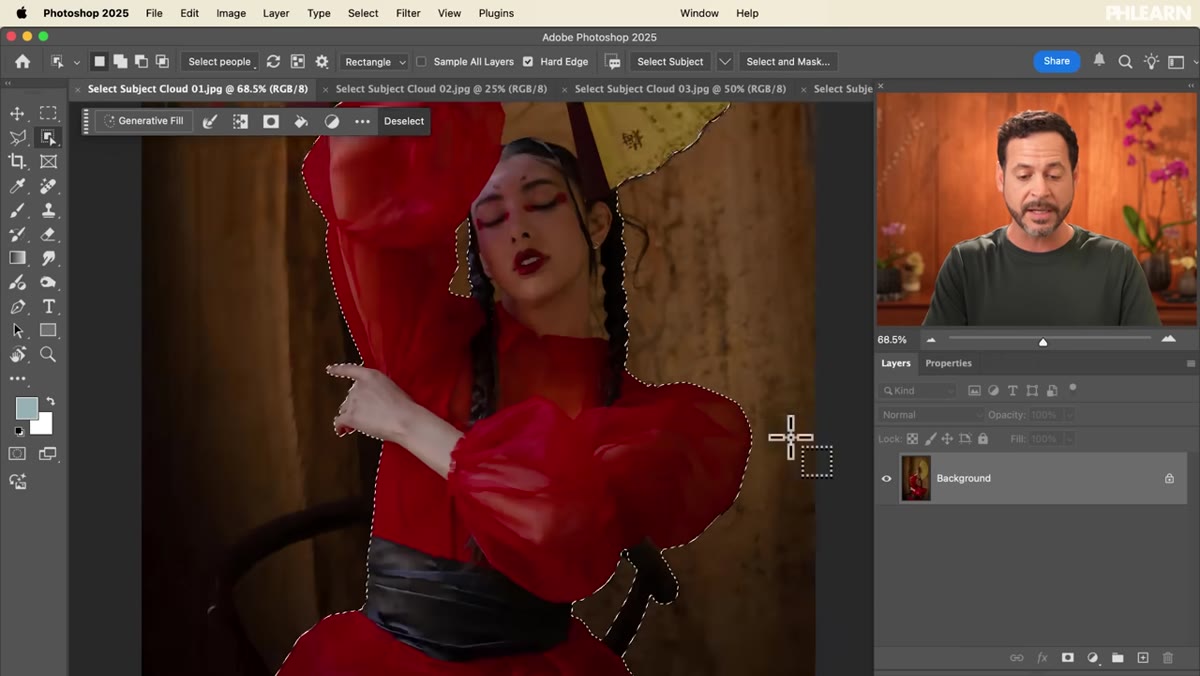 Select Subject result using device processing on complex image
Aaron’s approach in the tutorial is to demonstrate the difference side by side, which is a smart way to actually appreciate what the update does. He duplicates the background layer (Ctrl/Cmd+J), runs Select Subject on the first copy using device processing, then loads the result as a layer mask by clicking the layer mask icon at the bottom of the Layers panel.
Select Subject result using device processing on complex image
Aaron’s approach in the tutorial is to demonstrate the difference side by side, which is a smart way to actually appreciate what the update does. He duplicates the background layer (Ctrl/Cmd+J), runs Select Subject on the first copy using device processing, then loads the result as a layer mask by clicking the layer mask icon at the bottom of the Layers panel.
The device result on a challenging image, in this case a subject with a fan behind them creating a complicated background of repeating shapes, looks decent at a glance. But zoom in and you’ll see areas where the background is leaking through, particularly in the gaps between objects. That’s the cleanup work that used to eat your afternoon.
Step 5: Run Select Subject Again with Cloud Processing
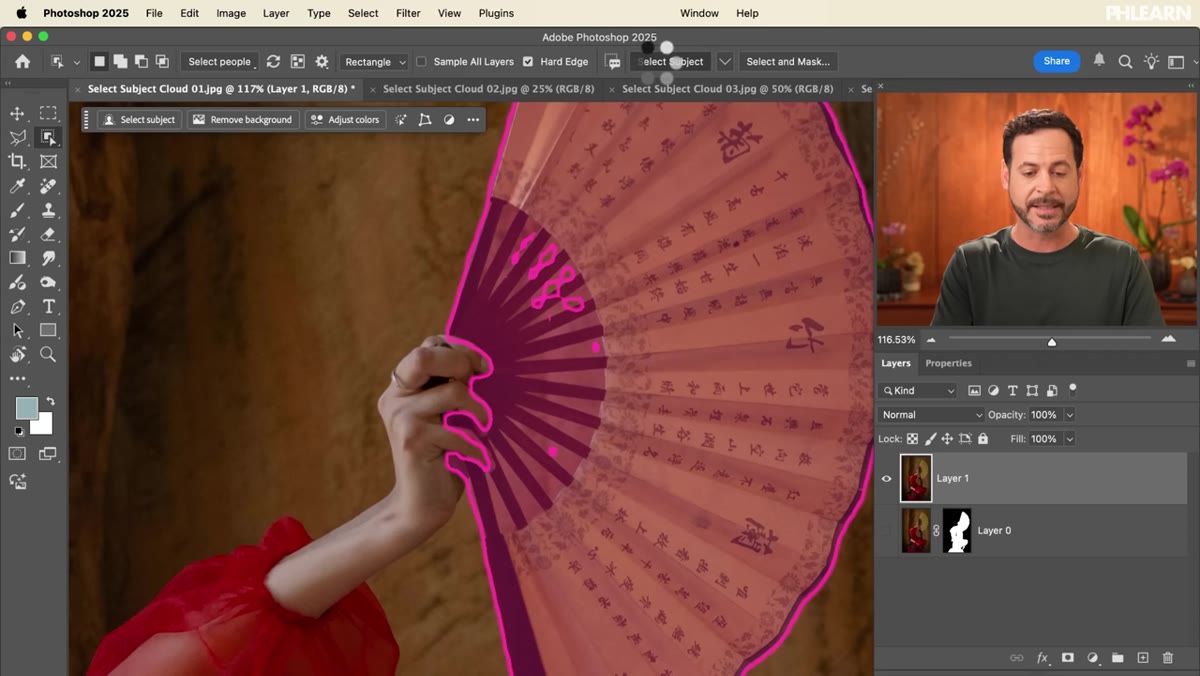 Cloud-processed selection shown with hair and edge detail
Now duplicate that original background layer again, switch the Object Selection Tool’s dropdown to cloud, and fire off Select Subject a second time. There will be a brief pause while it processes remotely. When the selection comes back, create another layer mask the same way.
Cloud-processed selection shown with hair and edge detail
Now duplicate that original background layer again, switch the Object Selection Tool’s dropdown to cloud, and fire off Select Subject a second time. There will be a brief pause while it processes remotely. When the selection comes back, create another layer mask the same way.
The difference is hard to oversell. The cloud version catches edge detail at a level that would take significant manual refinement to replicate using the device mode. Hair strands, fine edges, gaps between the subject and background elements. It’s handling the hard stuff automatically. Aaron zooms in to show the result and the word he uses is “flawless,” which is not a word I’d normally throw around without irony, but it’s hard to argue with what’s on screen.
Step 6: Compare Both Masks and Decide What Needs Refinement
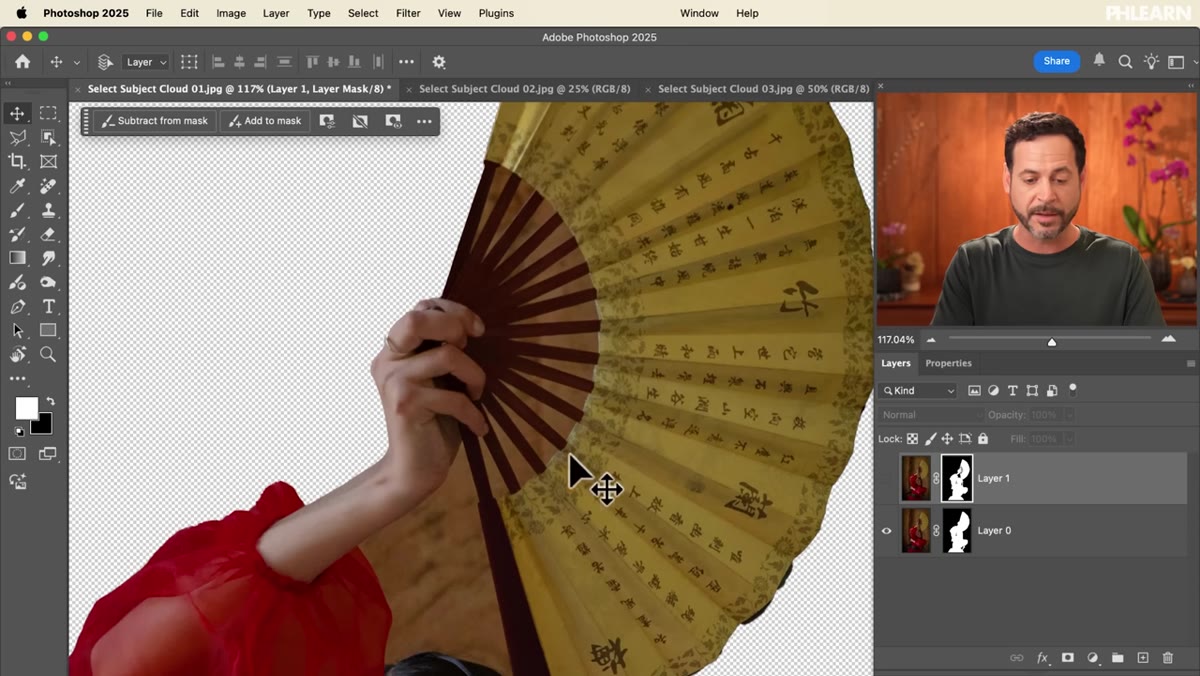 Side-by-side comparison of device vs cloud layer masks
Toggle the two masked layers on and off to compare them directly. The device mask will likely show you where you’d need to spend cleanup time. The cloud mask shows you what you’re getting for free now. Even on difficult images, the cloud result is your much stronger starting point.
Side-by-side comparison of device vs cloud layer masks
Toggle the two masked layers on and off to compare them directly. The device mask will likely show you where you’d need to spend cleanup time. The cloud mask shows you what you’re getting for free now. Even on difficult images, the cloud result is your much stronger starting point.
If the cloud selection isn’t perfect (and on extremely complex images it might not be), you’re still ahead. Refine Edge and Select and Mask are still there to help you fine-tune. But you’re doing it from a 90% solution instead of a 60% one.
What I’d Add from My Own Experience
Here’s something Aaron doesn’t get into in this particular tutorial but is worth flagging: the cloud processing option also shows up in the Remove Background function, not just Select Subject. That’s the one-click background removal you’ll find when you right-click a layer. Same preference setting governs both. If you’re doing a lot of product photography work or pulling subjects for composites, switching Remove Background to cloud as well is worth doing.
Also worth noting: if you’re on a slow connection, the cloud processing can occasionally time out or fall back to device. It’s not common, but if you’re at a coffee shop with sketchy Wi-Fi (and somehow still trying to do production work, which I fully understand), keep that in mind.
The single most important thing to take away from Aaron’s tutorial is this: there is now a meaningful quality gap between the two processing modes, and it takes about three extra seconds to get the better one. That’s the whole trade-off. For most professional work, that’s not even a decision.
Watch the full tutorial on YouTube to see Aaron test all four images and watch the cloud processing handle them in real time. Seeing it live is more convincing than any description I can write.
Comments (1)
This is the kind of content that keeps me coming back.
Leave a Comment