I’ve been doing freelance design work long enough to know that most of what I’ve learned didn’t come from manuals. It came from watching someone else work and thinking, “wait, you can just DO that?” That’s the whole premise behind Photoshop World, the conference that pulls together photographers, designers, retouchers, and every flavor of creative in between to do exactly that. Share what they know. In Watch the full tutorial on YouTube, Scott Kelby sends Photoshop legend Bert Monroy to walk the floor of Photoshop World 2004 in San Francisco, and what Bert captures isn’t just product demos. It’s a snapshot of the tools and culture that defined serious Photoshop work at the time.
Watching this as someone who got their start making terrible graphics in MS Paint before stumbling into Photoshop, I find this kind of thing genuinely useful. Not every lesson is a technique you perform inside the application. Some of the most important lessons are about the hardware you’re pairing with it, the books on your shelf, and the community you’re learning from. This video covers all three, and it’s worth breaking down what Bert actually shows you on that conference floor.
Step 1: Understand What Photoshop World Actually Offers
 Conference session room with attendees learning Photoshop
The conference isn’t just a trade show. Bert makes a point of stepping into a live training session early in the tour, and that framing matters. The sessions at Photoshop World were built to take you through the full pipeline: capturing an image, editing it, and getting it out into the world whether that’s on the web or on a printed page. If you think of Photoshop as just a retouching tool, that full-pipeline thinking will change how you approach your own projects. Every output method has its own requirements, and learning them in sequence rather than in isolation is a much more efficient way to build skills.
Conference session room with attendees learning Photoshop
The conference isn’t just a trade show. Bert makes a point of stepping into a live training session early in the tour, and that framing matters. The sessions at Photoshop World were built to take you through the full pipeline: capturing an image, editing it, and getting it out into the world whether that’s on the web or on a printed page. If you think of Photoshop as just a retouching tool, that full-pipeline thinking will change how you approach your own projects. Every output method has its own requirements, and learning them in sequence rather than in isolation is a much more efficient way to build skills.
Step 2: Know Your Reference Library
 Bookshelves full of Photoshop titles at the conference
Bert stops at a wall of Photoshop books and it’s not just filler. He calls out Scott Kelby’s tips books, Katrin Eismann’s restoration and retouching titles, and several of his own. The point isn’t the specific titles, it’s the idea that working professionals keep reference material close. Retouching, color correction, compositing, printing workflows: each of these is deep enough to warrant its own dedicated resource. If your entire Photoshop education lives on YouTube alone, you’re probably missing the depth that a well-structured book provides. Pick one area you’re weakest in and find the best book on it. That’s the move.
Bookshelves full of Photoshop titles at the conference
Bert stops at a wall of Photoshop books and it’s not just filler. He calls out Scott Kelby’s tips books, Katrin Eismann’s restoration and retouching titles, and several of his own. The point isn’t the specific titles, it’s the idea that working professionals keep reference material close. Retouching, color correction, compositing, printing workflows: each of these is deep enough to warrant its own dedicated resource. If your entire Photoshop education lives on YouTube alone, you’re probably missing the depth that a well-structured book provides. Pick one area you’re weakest in and find the best book on it. That’s the move.
Step 3: Match Your Printer to Your Output Goals
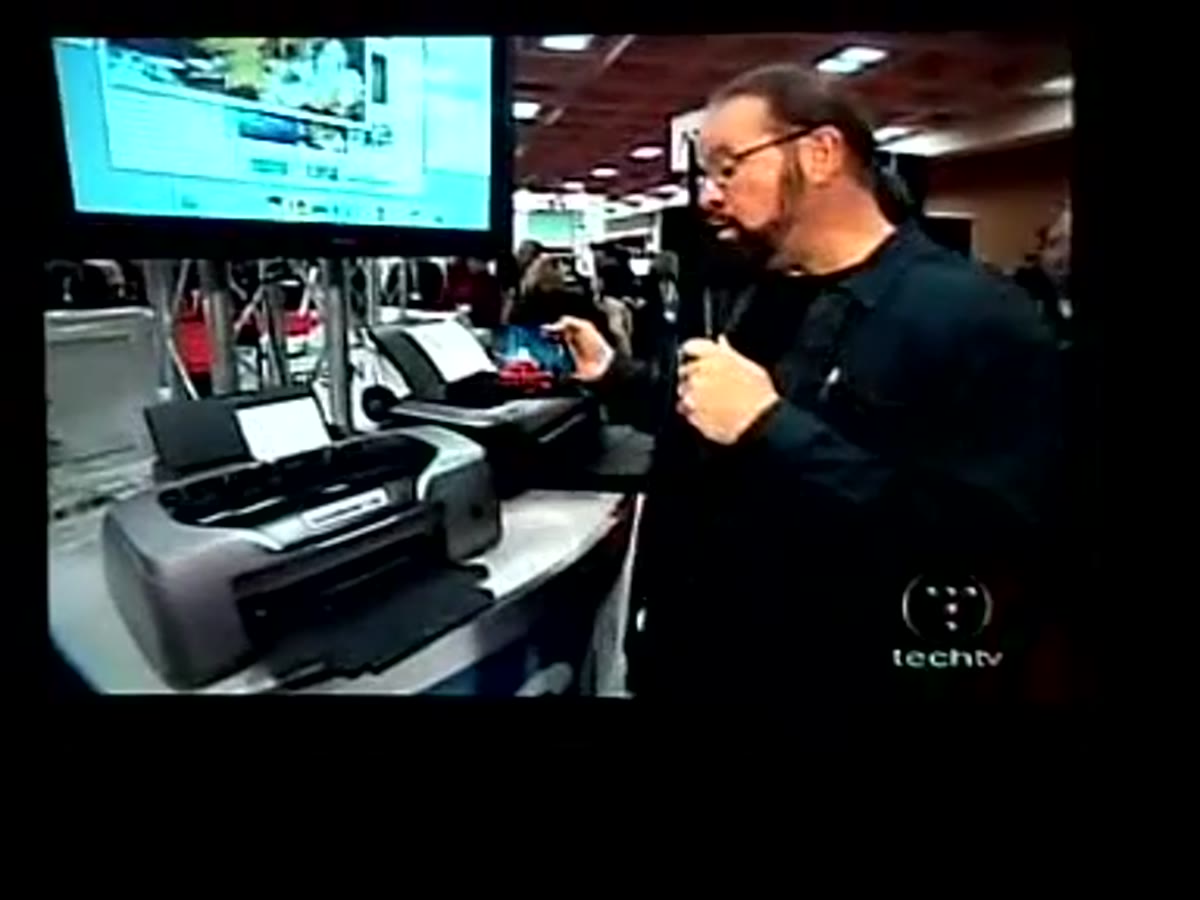 Epson Stylus Photo R800 at the Epson booth
The Epson booth is where Bert spends real time, and for good reason. He walks through three distinct printers, each serving a different use case. The Stylus Photo R800 stands out for one specific feature: a disc-printing attachment that lets you print directly onto CDs. That’s a niche capability, but it’s the kind of thing that adds genuine value if you’re delivering client work on physical media.
Epson Stylus Photo R800 at the Epson booth
The Epson booth is where Bert spends real time, and for good reason. He walks through three distinct printers, each serving a different use case. The Stylus Photo R800 stands out for one specific feature: a disc-printing attachment that lets you print directly onto CDs. That’s a niche capability, but it’s the kind of thing that adds genuine value if you’re delivering client work on physical media.
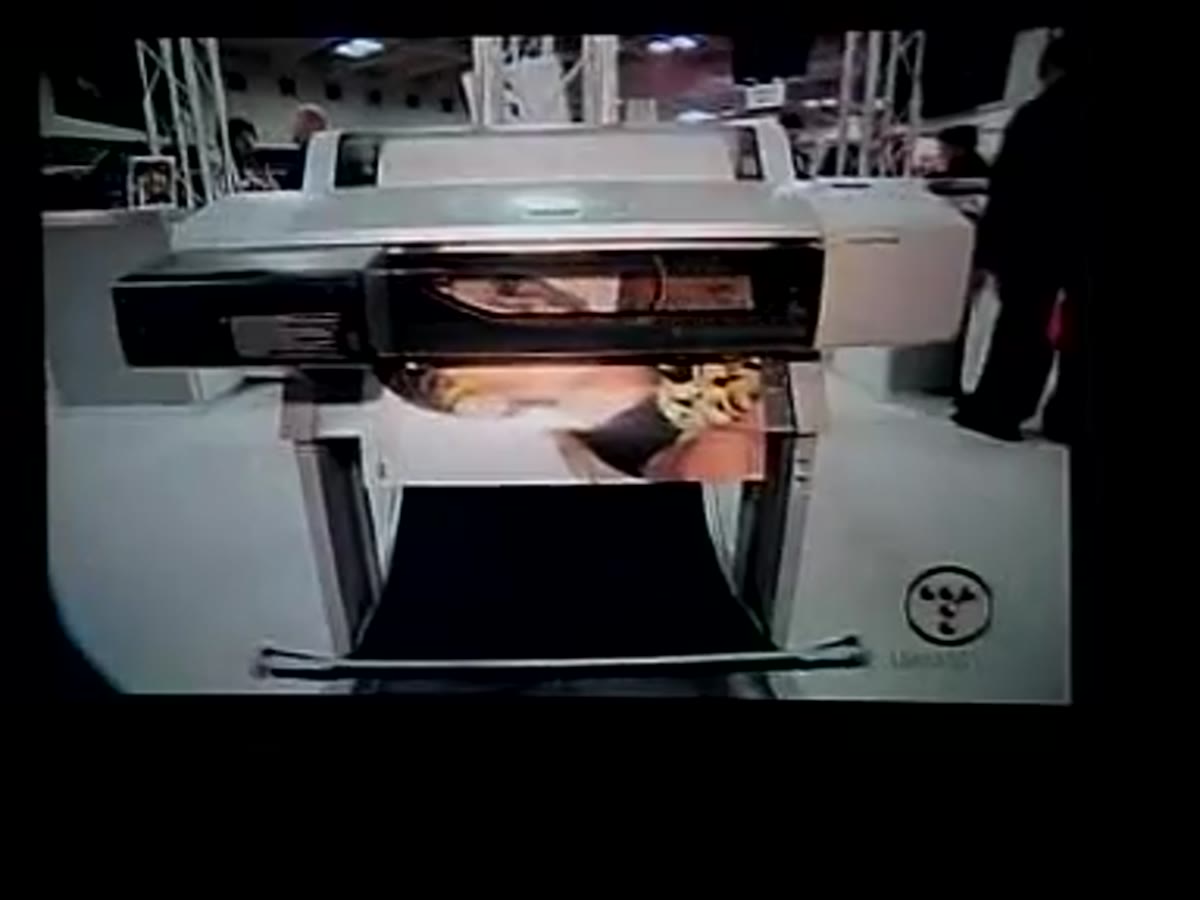
 Epson Stylus Photo 2200 six-color printer
The Stylus Photo 2200 is where most working photographers and designers would want to pay attention. It’s a six-color printer that handles paper up to 13 by 19 inches, which makes it a legitimate proofing tool for print work. If you’re doing layout or photo work that ends up in print, proofing on your own hardware instead of relying on a print shop’s output is a workflow upgrade worth budgeting for. Color management between Photoshop and your printer becomes a skill in itself, and having your own hardware to calibrate against is how you develop it.
Epson Stylus Photo 2200 six-color printer
The Stylus Photo 2200 is where most working photographers and designers would want to pay attention. It’s a six-color printer that handles paper up to 13 by 19 inches, which makes it a legitimate proofing tool for print work. If you’re doing layout or photo work that ends up in print, proofing on your own hardware instead of relying on a print shop’s output is a workflow upgrade worth budgeting for. Color management between Photoshop and your printer becomes a skill in itself, and having your own hardware to calibrate against is how you develop it.
 Epson Pro 7600 large-format printer at the booth
The Pro 7600 is the third option Bert shows, a large-format machine capable of 24-inch-wide archival prints using UltraChrome ink. This one is for gallery-quality output and serious proofing on large formats. Bert jokes that you’ll need deep pockets and a spare room, which is accurate. But it illustrates the point that Photoshop’s output capabilities scale all the way from screen graphics to gallery prints, and understanding where your own work sits on that spectrum should inform how you set up your files from the start.
Epson Pro 7600 large-format printer at the booth
The Pro 7600 is the third option Bert shows, a large-format machine capable of 24-inch-wide archival prints using UltraChrome ink. This one is for gallery-quality output and serious proofing on large formats. Bert jokes that you’ll need deep pockets and a spare room, which is accurate. But it illustrates the point that Photoshop’s output capabilities scale all the way from screen graphics to gallery prints, and understanding where your own work sits on that spectrum should inform how you set up your files from the start.
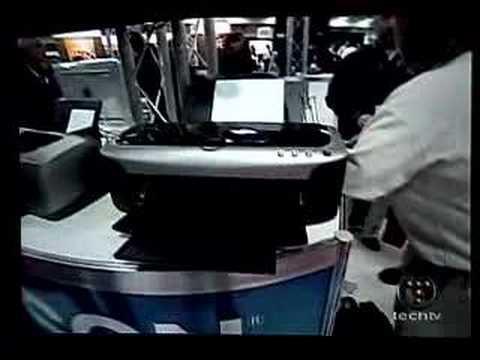
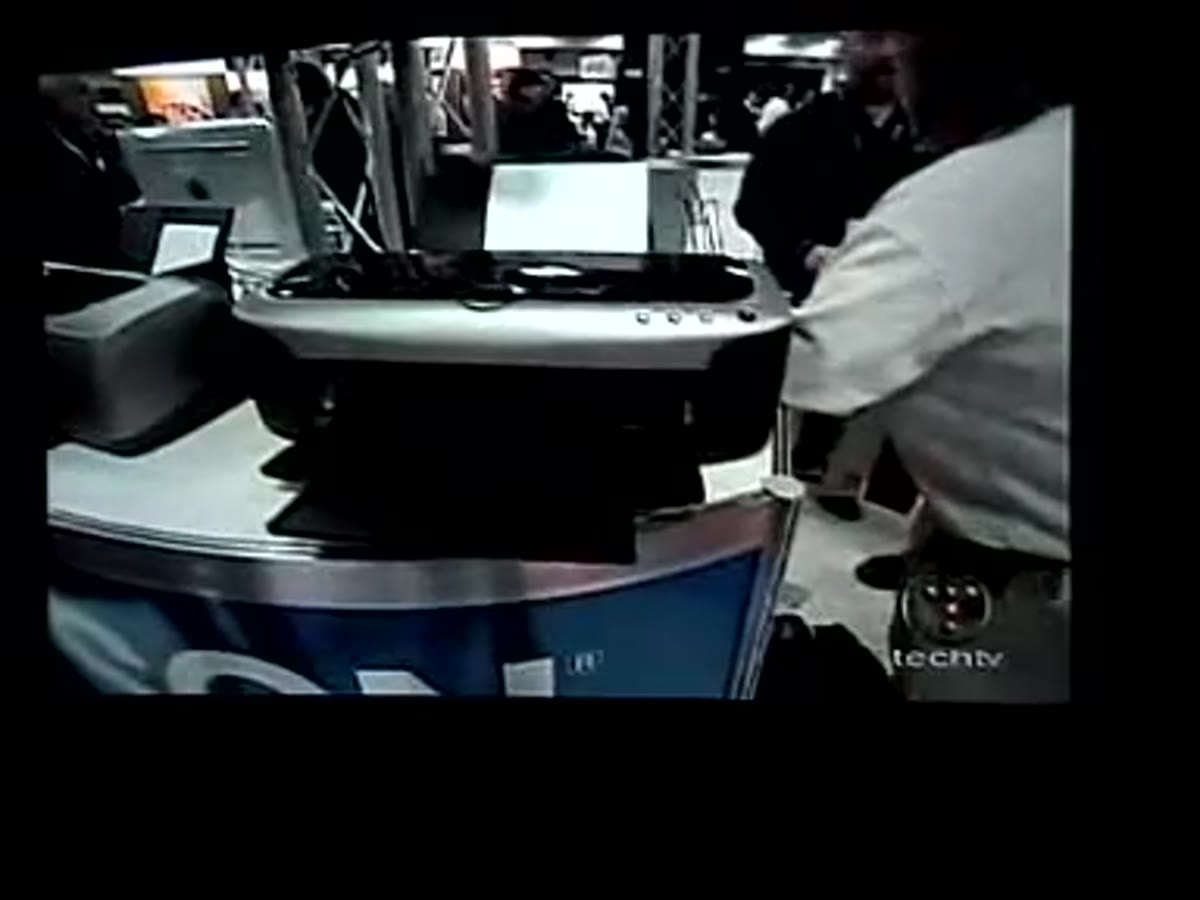
Step 4: Try Drawing Directly on the Screen
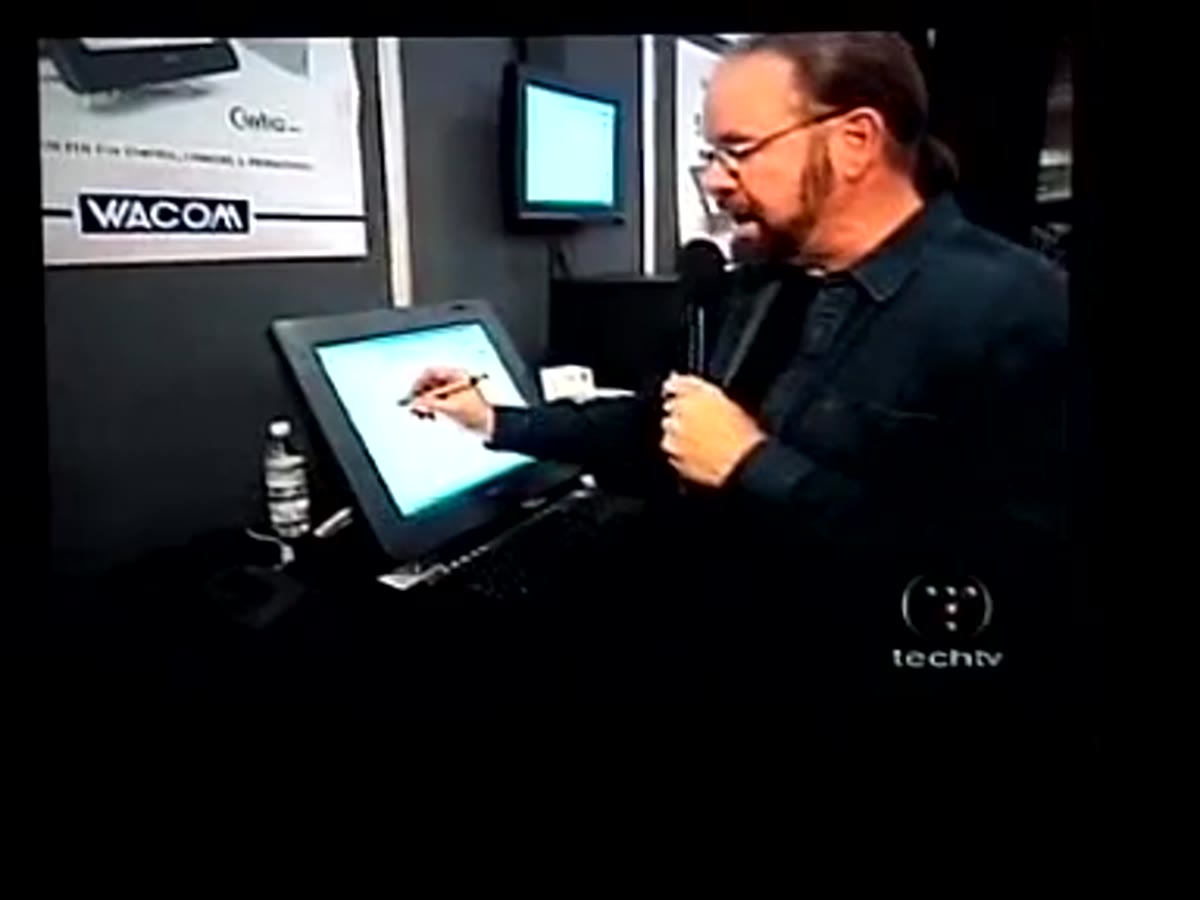 Bert Monroy drawing on the Wacom Cintiq tablet monitor
This is the moment in the video that Bert returns to at the end when Scott asks him for his single favorite product, and he doesn’t hesitate. The Wacom Cintiq is a pen display, meaning you draw directly on the monitor surface rather than on a separate tablet. Bert demonstrates it on the show floor and the difference in natural feel is immediately obvious even through a camera. You’re not translating hand movement to a separate surface. You’re drawing on the thing you’re looking at.
Bert Monroy drawing on the Wacom Cintiq tablet monitor
This is the moment in the video that Bert returns to at the end when Scott asks him for his single favorite product, and he doesn’t hesitate. The Wacom Cintiq is a pen display, meaning you draw directly on the monitor surface rather than on a separate tablet. Bert demonstrates it on the show floor and the difference in natural feel is immediately obvious even through a camera. You’re not translating hand movement to a separate surface. You’re drawing on the thing you’re looking at.
For anyone doing detailed retouching, digital painting, or compositing with complex masking, this changes the precision you can achieve. The Cintiq can also be rotated flat or angled, which means you can work the way you’d hold a sketchpad. If you’ve been on the fence about upgrading from a standard pen tablet to a display tablet, Bert’s enthusiasm here is a credible endorsement. This is a guy who paints photorealistic scenes in Photoshop for a living.
Step 5: Pay Attention to Wireless Capture Workflows
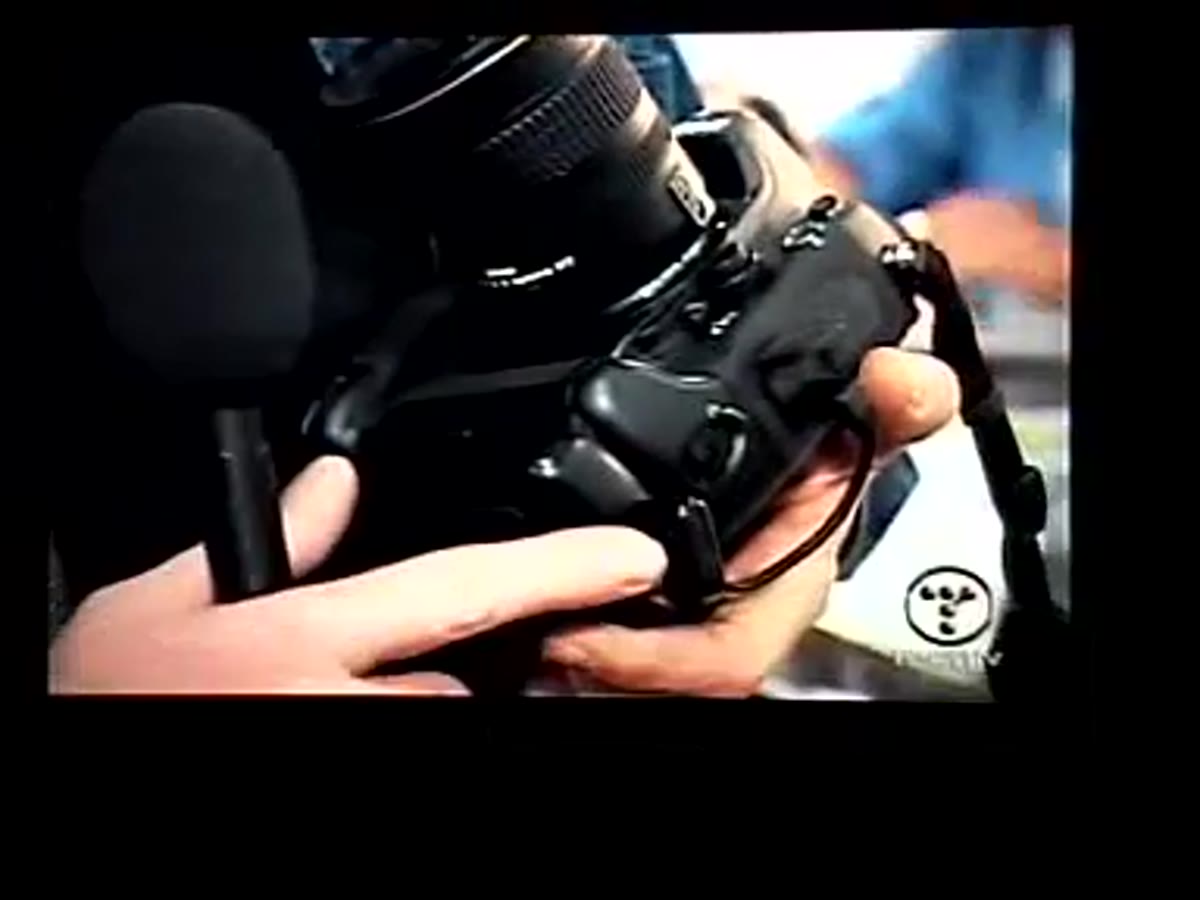 Nikon D2H with wireless transmitter antenna at Nikon booth
The Nikon booth shows something that felt futuristic in 2004 and is now standard practice: wireless image transfer from camera to computer. The D2H Bert highlights had a transmitter antenna that pushed shots directly to a laptop with no cables and a range of up to 150 feet. The practical implication here is workflow speed. If you’re shooting tethered in a studio, going wireless removes a physical constraint and changes how you move around a set.
Nikon D2H with wireless transmitter antenna at Nikon booth
The Nikon booth shows something that felt futuristic in 2004 and is now standard practice: wireless image transfer from camera to computer. The D2H Bert highlights had a transmitter antenna that pushed shots directly to a laptop with no cables and a range of up to 150 feet. The practical implication here is workflow speed. If you’re shooting tethered in a studio, going wireless removes a physical constraint and changes how you move around a set.
The broader lesson is that your Photoshop workflow doesn’t start when you open the application. It starts the moment you capture the image, and any friction between capture and editing costs you time. Whether that’s a wireless transmitter, a fast card reader, or a solid file naming convention, the setup before you open Photoshop matters.
What I’d Add From My Own Experience
The hardware side of this video is easy to scroll past if you’re focused on in-application technique. I made that mistake for a long time. I was so focused on learning tools inside Photoshop that I ignored how much my output setup was undercutting my work. My color was inconsistent because I wasn’t proofing properly. My masking was imprecise because I was using a mouse for work that needed a pen. The tools Bert highlights aren’t upgrades for their own sake. They close the gap between what Photoshop can do and what your finished work actually looks like.
The single most important takeaway from this video is that Photoshop mastery is an ecosystem, not just a skill set inside one application. The training, the reference material, the input hardware, the output hardware: all of it feeds back into the quality of what you make. Getting better at Photoshop often means looking outside the application itself.
Watch the full tutorial on YouTube to see Bert’s full walk of the Photoshop World 2004 show floor, including the Adobe Systems booth where the product team was fielding questions directly from the community.
Comments
Leave a Comment