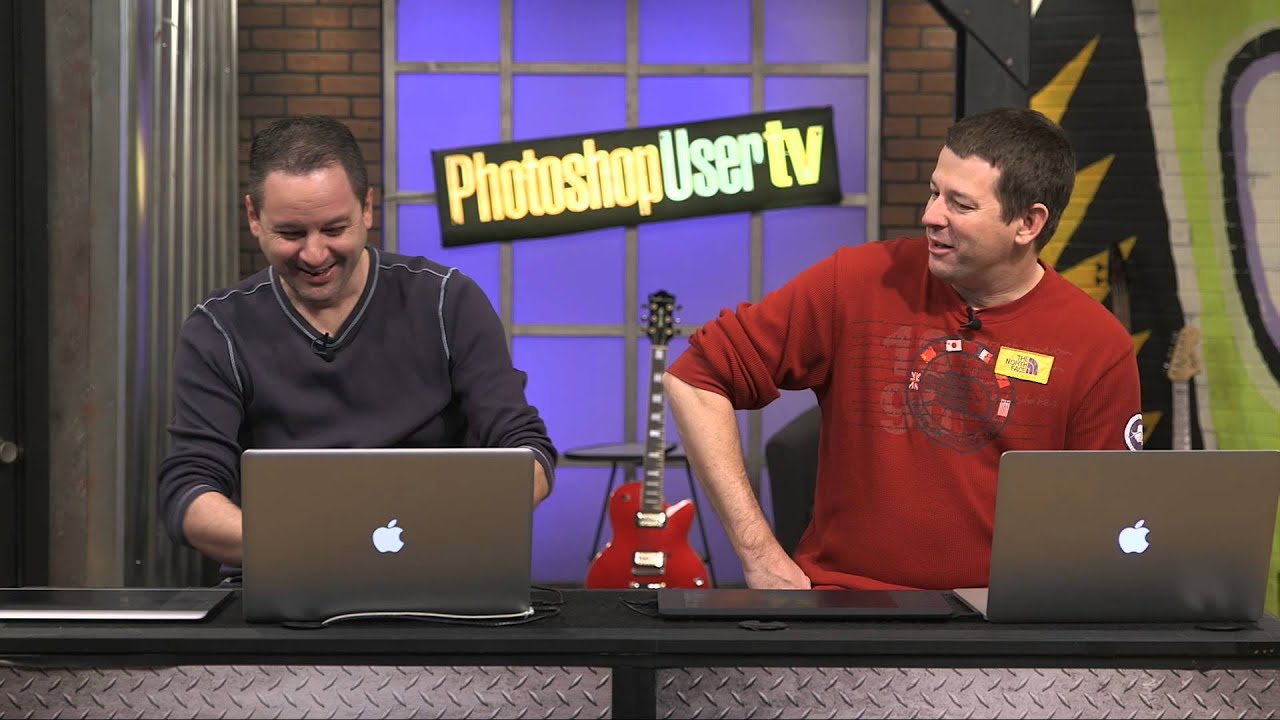
There’s a specific kind of frustration that hits when Photoshop stops behaving the way you expect and you can’t figure out why. Not a crash. Not a missing file. Just… something quietly wrong. A shortcut that used to work now does something slightly different. You sit there poking at settings like you’ve never opened the app before. I’ve been there more times than I want to admit, and I’m someone who once spent 20 minutes debugging a “broken” tool before realizing I was working on the wrong layer. Classic.
In this KelbyOne tutorial, Photoshop instructors Corey Barker and Pete Collins run through a handful of those exact situations, the small but disorienting gotchas that catch even experienced users off guard, along with a genuinely useful 3D lighting trick. Watch the full tutorial on YouTube if you want to follow along. But if you’d rather have the breakdown in front of you while you work, here’s the full walkthrough.
The brush opacity issue Pete describes is something I’ve personally hit at least three times. Each time I blamed some phantom Photoshop update. Turns out it was me. Let’s make sure it’s not you either.
Step 1: Understand What the Number Keys Actually Control on the Brush Tool
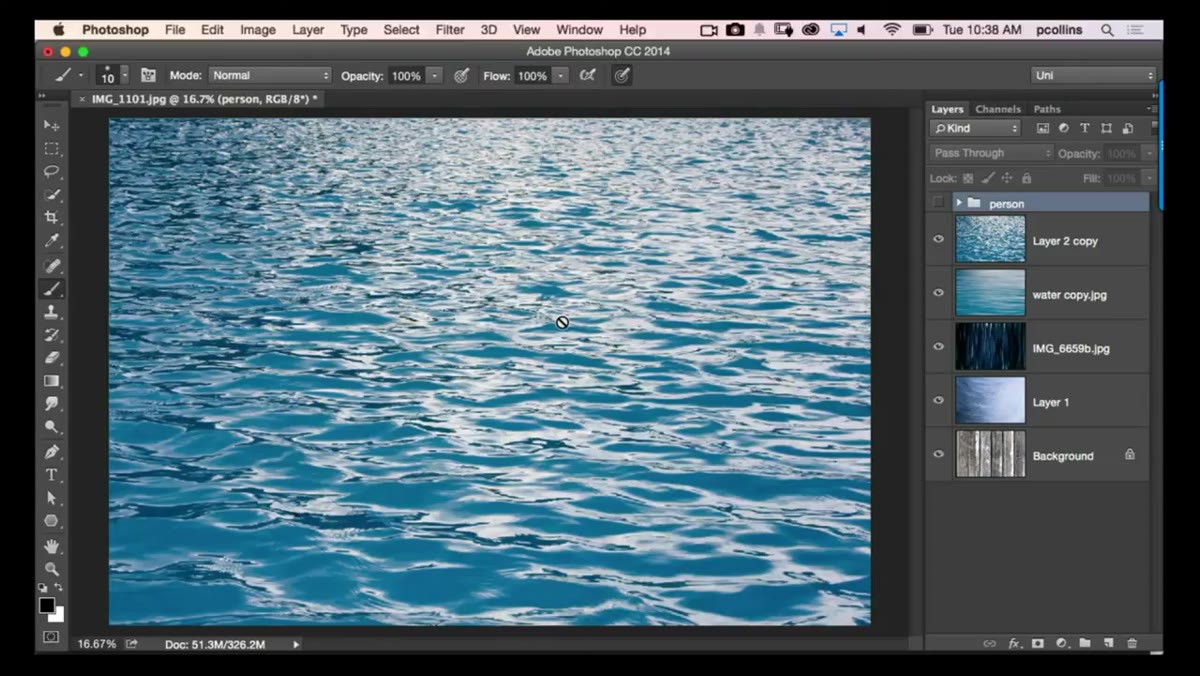 Brush tool selected in toolbar, options bar visible at top
When the Brush tool is active, tapping a number key is supposed to change opacity. Hit 3 and you get 30%. Hit 7 and you get 70%. Most people learn this shortcut early and rely on it constantly. The problem is that this only holds true under one specific condition, and Photoshop gives you zero warning when that condition changes.
Brush tool selected in toolbar, options bar visible at top
When the Brush tool is active, tapping a number key is supposed to change opacity. Hit 3 and you get 30%. Hit 7 and you get 70%. Most people learn this shortcut early and rely on it constantly. The problem is that this only holds true under one specific condition, and Photoshop gives you zero warning when that condition changes.
The number keys don’t always control opacity. They control whichever property is currently “active” in the options bar, and that changes based on a single toggle most people never consciously click.
Step 2: Find the Airbrush Icon in the Options Bar
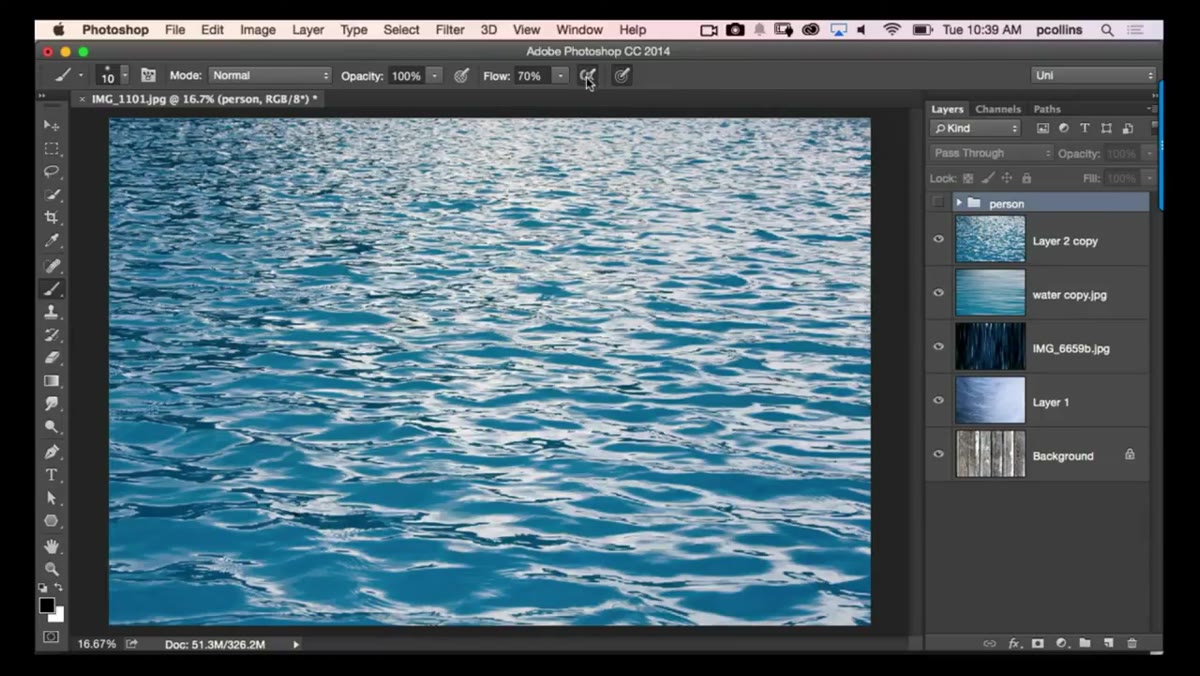 Options bar showing airbrush icon highlighted, brush settings visible
With your Brush tool selected, look at the options bar running along the top of the screen. Somewhere in that row of settings you’ll see a small airbrush icon. It looks like a spray gun. If that icon is active (highlighted), your number key shortcuts will control Flow instead of Opacity.
Options bar showing airbrush icon highlighted, brush settings visible
With your Brush tool selected, look at the options bar running along the top of the screen. Somewhere in that row of settings you’ll see a small airbrush icon. It looks like a spray gun. If that icon is active (highlighted), your number key shortcuts will control Flow instead of Opacity.
Flow and Opacity are not the same thing. Opacity caps how transparent your stroke is. Flow controls how fast the paint builds up as you hold the brush in one spot. When you’re in airbrush mode and you tap 5, you’re setting a 50% flow rate, not a 50% opacity. The two look similar at first glance, which is exactly why this drives people insane.
Step 3: Decide Whether You Actually Want Airbrush Mode On or Off
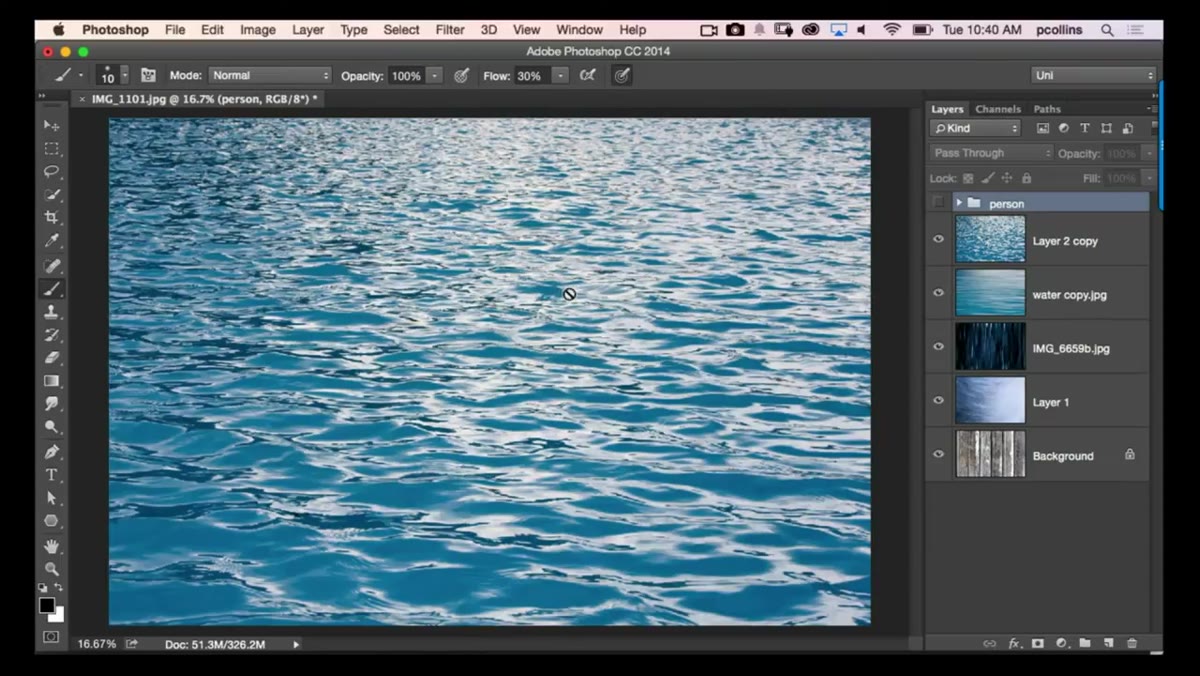 Airbrush icon toggled off, opacity percentage updating in options bar
Once you know the icon is the culprit, the fix is just clicking it to toggle it off. But here’s the thing Pete points out that’s actually worth sitting with: airbrush mode isn’t bad. It’s a real tool with a real use case.
Airbrush icon toggled off, opacity percentage updating in options bar
Once you know the icon is the culprit, the fix is just clicking it to toggle it off. But here’s the thing Pete points out that’s actually worth sitting with: airbrush mode isn’t bad. It’s a real tool with a real use case.
If you’re painting with a pressure-sensitive tablet, turning airbrush mode on lets the brush build up ink while you hold the stylus still, mimicking how a real airbrush works. That can be useful for blending or shading. The issue is only when you’ve accidentally enabled it and don’t realize the number keys have silently switched what they’re adjusting. Know what the mode does, make a deliberate choice about it, and you’ll never get caught off guard by this again.
Step 4: Check Your Undo History Count in Preferences
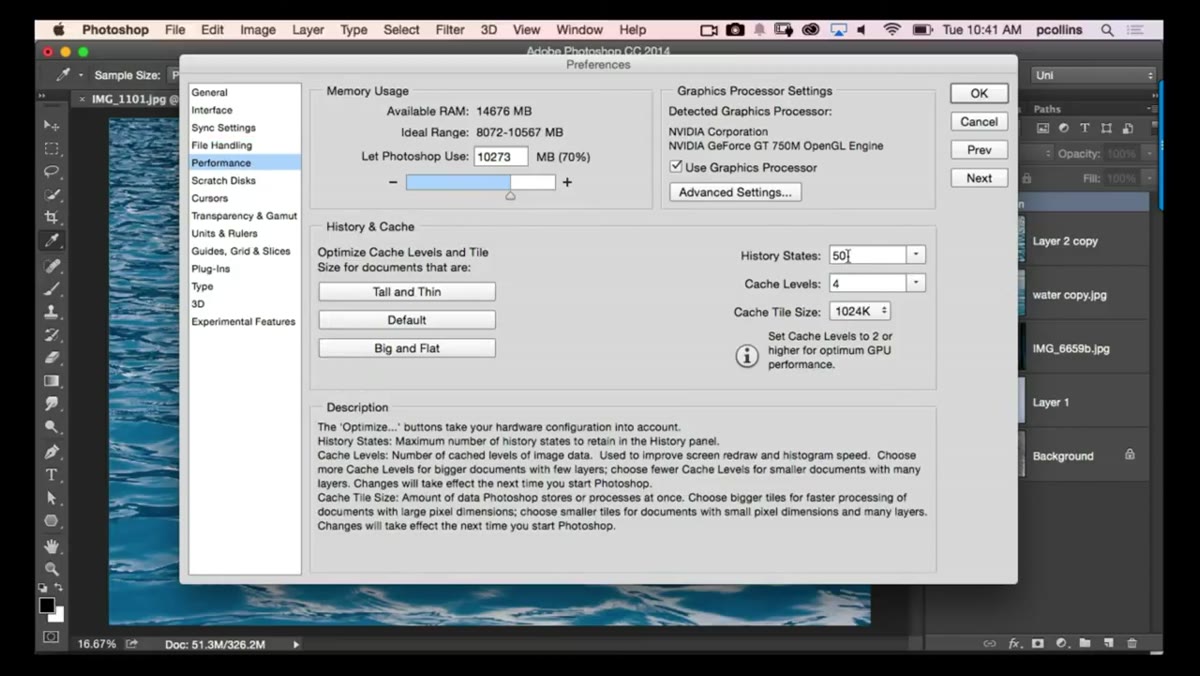 Photoshop Preferences panel open, Performance section visible
The second gotcha in the tutorial is about undos, and it’s one of those settings most people never think about until they desperately need to step back 30 times and realize Photoshop only remembers the last 20 moves.
Photoshop Preferences panel open, Performance section visible
The second gotcha in the tutorial is about undos, and it’s one of those settings most people never think about until they desperately need to step back 30 times and realize Photoshop only remembers the last 20 moves.
Go to Photoshop’s Preferences (Edit on Windows, Photoshop on Mac) and head to the Performance section. In there you’ll find a field for History States, which is the number of undo steps the app remembers. The default is often set lower than you’d want. Pete recommends bumping this up so you have more runway when experimenting. The tradeoff is memory usage, so don’t crank it to 1000 and wonder why your machine slows down. Something in the 50-100 range is usually a reasonable working number depending on what your system can handle.
Step 5: Enable Tool Tips in Interface Preferences
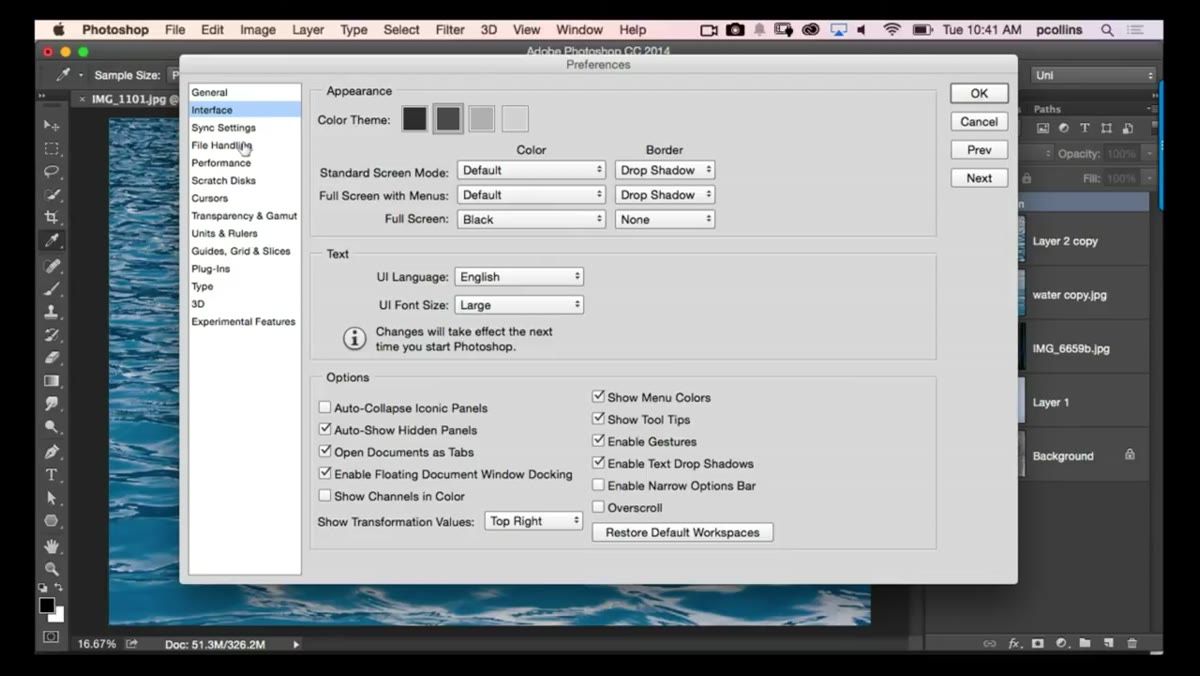 Preferences Interface panel, Show Tool Tips checkbox highlighted
This one is specifically for anyone who learned Photoshop by clicking around and hoping for the best (no shame, that was me too, starting from MS Paint memes and working up). In Preferences, under the Interface section, there’s a checkbox for Show Tool Tips.
Preferences Interface panel, Show Tool Tips checkbox highlighted
This one is specifically for anyone who learned Photoshop by clicking around and hoping for the best (no shame, that was me too, starting from MS Paint memes and working up). In Preferences, under the Interface section, there’s a checkbox for Show Tool Tips.
When this is on, hovering over any icon or button in Photoshop will show a small label describing what it does. This sounds minor, but it’s genuinely how you discover what half the options bar icons actually mean. It’s also how you would have found out the airbrush icon existed before it silently hijacked your number keys. Turn it on and leave it on. The only people who turn it off are the ones who already know what everything does, and even they occasionally hover over something and go “huh, I never knew that’s what that was called.”
Step 6: Lock In These Settings So They Stick
 Photoshop Preferences panel, multiple setting sections shown
One thing that doesn’t get said enough: Photoshop preferences persist across sessions but they don’t sync across machines or user accounts. If you work on multiple computers (like, say, a laptop at a coffee shop and a desktop at home), you need to set these on each machine separately.
Photoshop Preferences panel, multiple setting sections shown
One thing that doesn’t get said enough: Photoshop preferences persist across sessions but they don’t sync across machines or user accounts. If you work on multiple computers (like, say, a laptop at a coffee shop and a desktop at home), you need to set these on each machine separately.
History States, Tool Tips, and your default brush behavior are all locally stored. Make it a habit when setting up a new machine or after a fresh install to run through the preferences and get them where you want them before you start a project. Future you, in the middle of a deadline, will be quietly grateful.
What I’d Add From My Own Experience
The airbrush gotcha in particular is one I’d extend with a small workflow habit: any time a tool stops behaving the way I expect, my first move is now to look at the options bar before I do anything else. Not the layers panel. Not the menus. The options bar. Photoshop is remarkably good at quietly holding onto a setting you accidentally triggered, and the options bar is almost always where that setting is living.
I started keeping a sticky note on my monitor during a particularly rough client crunch period with a short checklist: layer selected? right tool? options bar clean? It sounds ridiculous but it cut my “why isn’t this working” debugging time in half. The airbrush icon was on that sticky note.
The single most important thing to take away here is this: when Photoshop behaves unexpectedly, the problem is almost always a setting you didn’t notice change, not a bug and not user error in the way you’re probably blaming yourself. Learn where those settings live and what they control, and you go from frustrated to fixed in about ten seconds.
Watch the full tutorial on YouTube to catch the 3D lighting trick Corey covers later in the episode. It’s worth the watch.
Comments (2)
I keep coming back to this article. It's that useful.
Would love to see a follow-up going deeper into this topic.
Leave a Comment