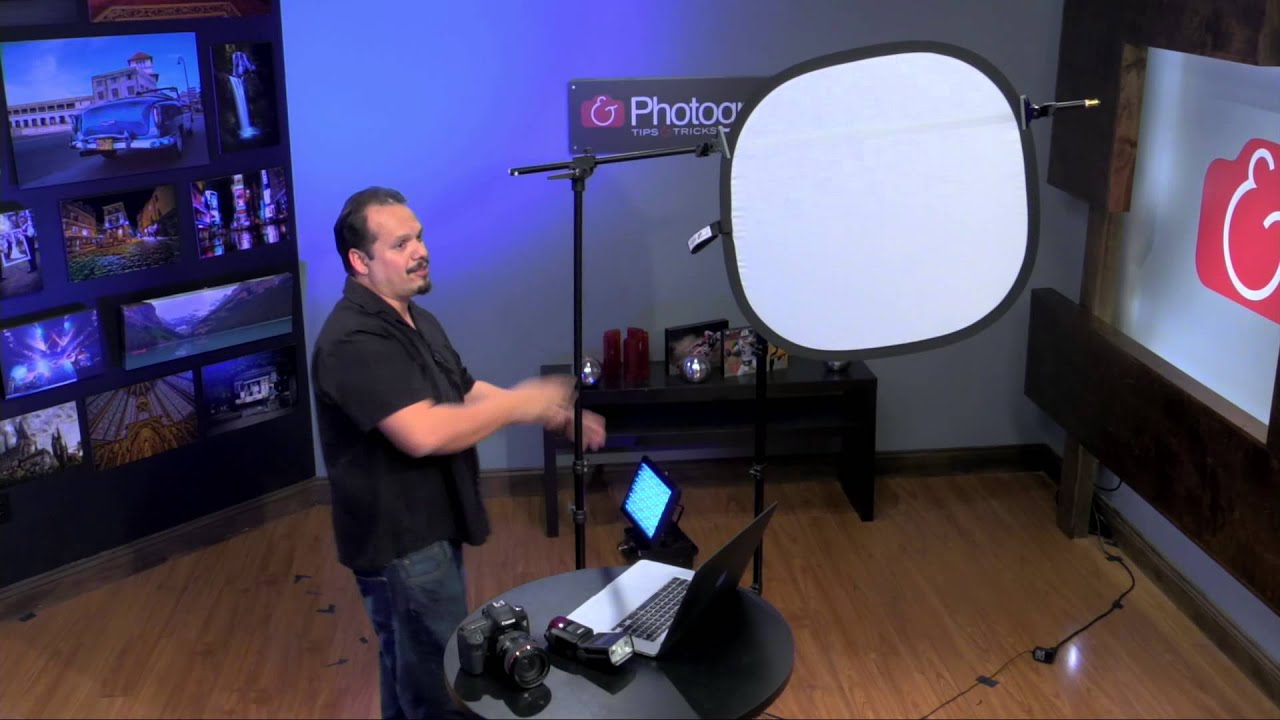
There’s a specific kind of dread that hits when a client says “keep it simple” and you show up with a rolling luggage bag full of stands, modifiers, and cables that takes 40 minutes to set up. I’ve been that person. I have very much been that person. The whole point of traveling light is to actually travel light, and for a long time my version of “light” still involved two stands, a reflector arm, and a bag of clamps I’d inevitably lose one of. So when I came across this KelbyOne tutorial from RC on their Photography Tips and Tricks series, I paid attention, because he was solving exactly that problem in about ten minutes flat.
Watch the full tutorial on YouTube
The core idea is elegant: one articulating boom stand that can hold both a flash and a reflector simultaneously, so you’re getting a two-source look with one piece of equipment. RC demonstrates this with a real subject in a real shooting environment, which means you can actually see the before-and-after difference rather than just taking his word for it. Here’s how the whole thing works, broken down so you can replicate it on your next run-and-gun shoot.
Step 1: Start With a Solid Monopod Base for Your Flash
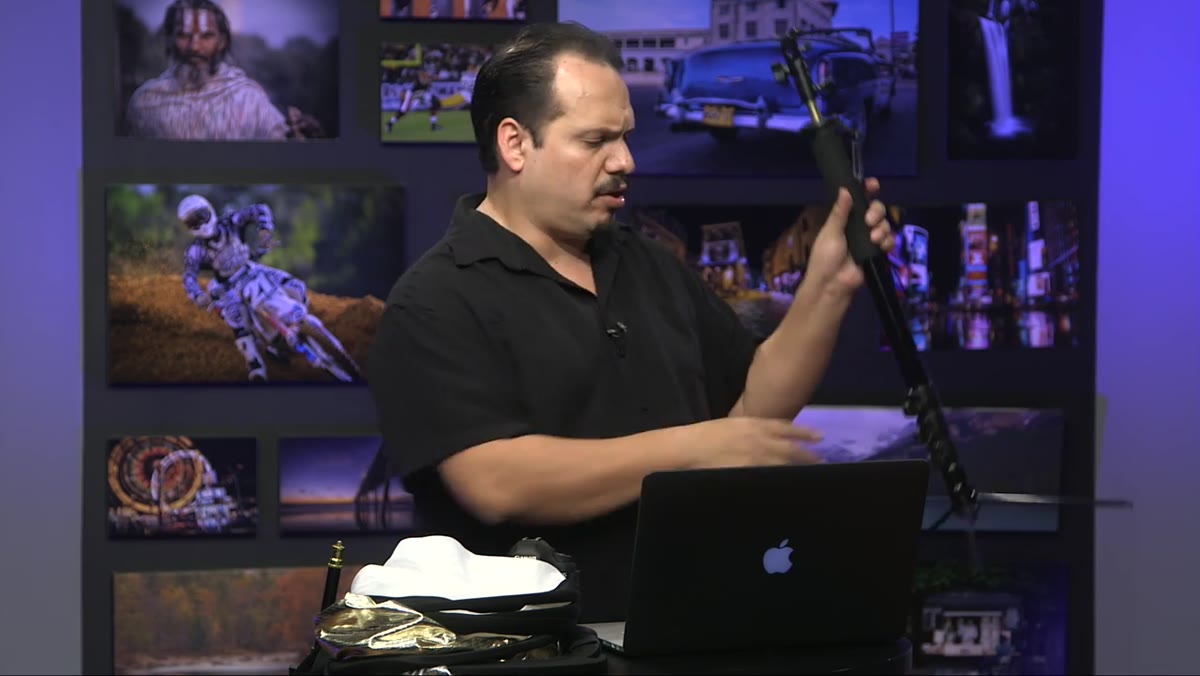 ACM 2400L monopod stand fully extended with legs deployed
RC opens with the ACM 2400L stand from Oben, a four-section aluminum monopod with mini stabilizing legs at the base. The key thing to understand here is that this is a monopod first, but those little feet at the bottom turn it into a freestanding unit in a pinch. You throw a flash on top and you’ve got a portable, one-light setup that fits in a backpack. It’s not revolutionary on its own, but it sets the baseline for what’s missing: one flash alone leaves your subject shadowed on one side, and moving it further back just starts lighting your background instead of your subject.
ACM 2400L monopod stand fully extended with legs deployed
RC opens with the ACM 2400L stand from Oben, a four-section aluminum monopod with mini stabilizing legs at the base. The key thing to understand here is that this is a monopod first, but those little feet at the bottom turn it into a freestanding unit in a pinch. You throw a flash on top and you’ve got a portable, one-light setup that fits in a backpack. It’s not revolutionary on its own, but it sets the baseline for what’s missing: one flash alone leaves your subject shadowed on one side, and moving it further back just starts lighting your background instead of your subject.
Step 2: Swap to the Impact Multi-Boom Stand as Your Primary Rig
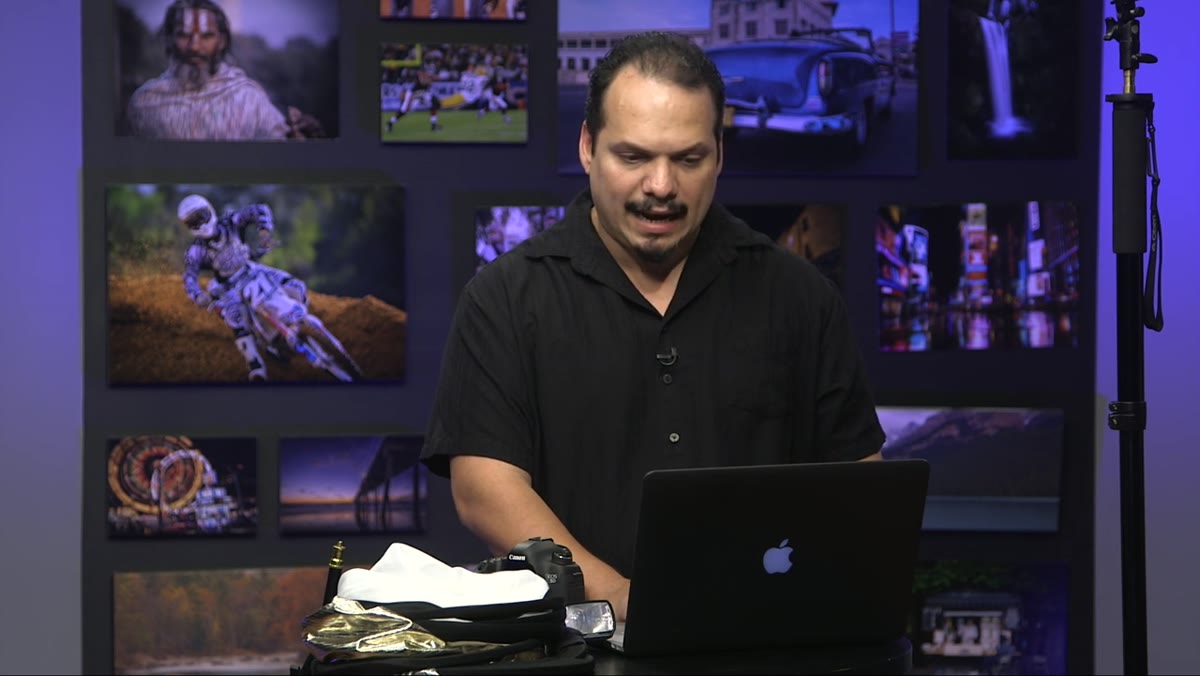 Impact multi-boom lightstand collapsed, showing overall form factor
The real star here is the Impact multi-boom lightstand and reflector holder. RC carries this in the trunk of his car, and once you see the thing in action, you’ll understand why. It looks like a regular light stand when it’s closed, which is fine, but the party trick is one specific articulating section near the top. Don’t let the name throw you off. This isn’t a fancy studio piece. It’s a relatively affordable, practical stand that punches above its weight on location.
Impact multi-boom lightstand collapsed, showing overall form factor
The real star here is the Impact multi-boom lightstand and reflector holder. RC carries this in the trunk of his car, and once you see the thing in action, you’ll understand why. It looks like a regular light stand when it’s closed, which is fine, but the party trick is one specific articulating section near the top. Don’t let the name throw you off. This isn’t a fancy studio piece. It’s a relatively affordable, practical stand that punches above its weight on location.
Step 3: Articulate the Boom Arm into Position
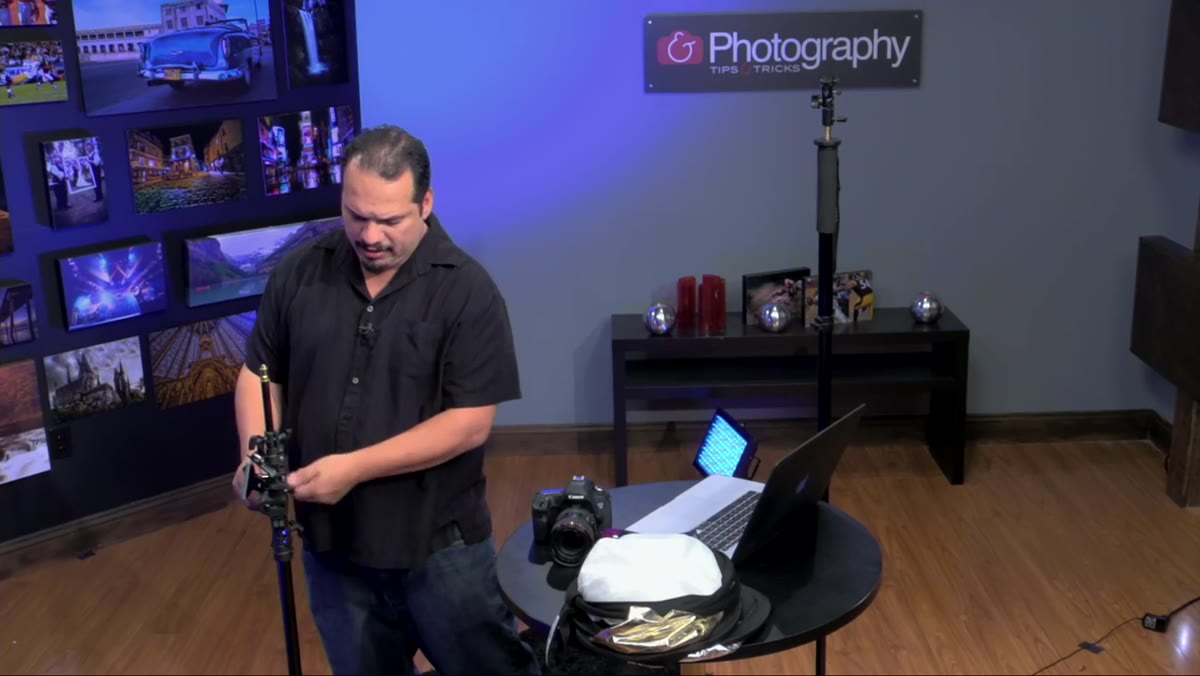 Boom arm section bent outward away from the stand pole
Open that articulating section and you can swing the upper portion of the stand outward, away from the vertical column. Once you bend it to your desired angle and lock it down, you’ve got a horizontal or diagonal arm extending out from the top of the stand. The remaining sections above and below that joint can slide and adjust independently, giving you two separate clamping points at different heights along the arm. This is the mechanical foundation for everything else. Get comfortable with locking and unlocking these joints before you’re on a shoot, because fumbling with an unfamiliar stand in front of a client is a special kind of miserable.
Boom arm section bent outward away from the stand pole
Open that articulating section and you can swing the upper portion of the stand outward, away from the vertical column. Once you bend it to your desired angle and lock it down, you’ve got a horizontal or diagonal arm extending out from the top of the stand. The remaining sections above and below that joint can slide and adjust independently, giving you two separate clamping points at different heights along the arm. This is the mechanical foundation for everything else. Get comfortable with locking and unlocking these joints before you’re on a shoot, because fumbling with an unfamiliar stand in front of a client is a special kind of miserable.
Step 4: Clamp the Tri-Reflector into the First Pincer
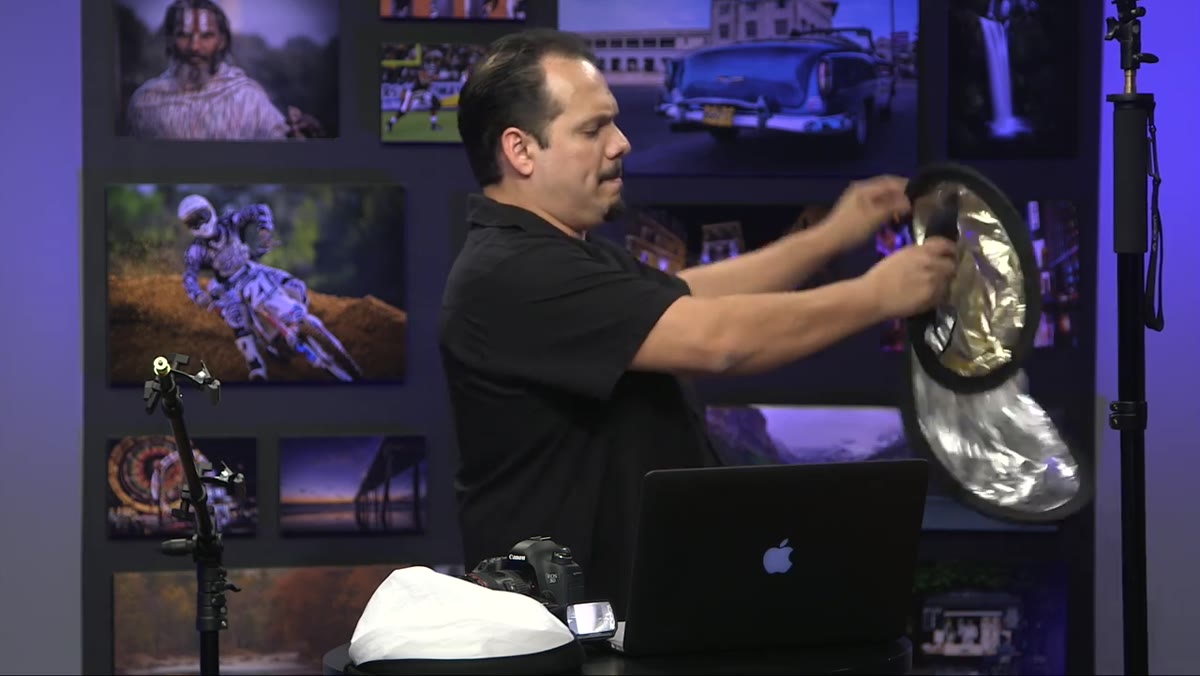 Tri-reflector being slid into the lower pincer clamp on the boom arm
RC uses a Lastolite Tri-Flector here, which is a three-panel folding reflector that wraps around your subject. You don’t need exactly that product, but you do need a reflector with enough rigidity to be clamped at two points without flopping around. Start by loosening the first pincer clamp, sliding one edge of the reflector in, and tightening it down. RC’s honest about this part being a little fiddly. You’re essentially eyeballing where the reflector needs to sit before you’ve locked anything in, so just get it roughly in position rather than trying to nail it on the first attempt.
Tri-reflector being slid into the lower pincer clamp on the boom arm
RC uses a Lastolite Tri-Flector here, which is a three-panel folding reflector that wraps around your subject. You don’t need exactly that product, but you do need a reflector with enough rigidity to be clamped at two points without flopping around. Start by loosening the first pincer clamp, sliding one edge of the reflector in, and tightening it down. RC’s honest about this part being a little fiddly. You’re essentially eyeballing where the reflector needs to sit before you’ve locked anything in, so just get it roughly in position rather than trying to nail it on the first attempt.
Step 5: Extend and Lock the Second Pincer Point
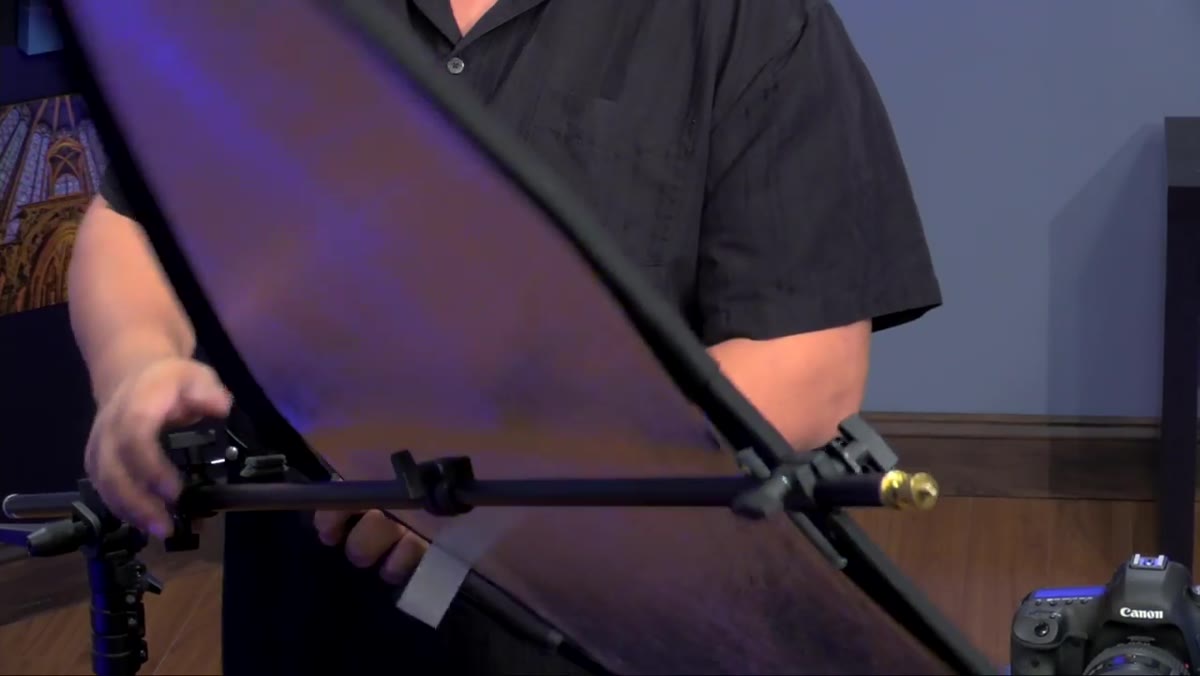 Second pincer clamp being tightened around the reflector’s outer edge
Once the first clamp is set, extend the reflector outward toward the second pincer point and lock that one down too. Now the reflector is supported at two contact points along the boom arm, which keeps it stable and lets you aim it without it rotating or drooping. The two-point contact is what makes this whole rig work. One clamp and the thing acts like a weather vane. Two clamps and it actually stays where you put it.
Second pincer clamp being tightened around the reflector’s outer edge
Once the first clamp is set, extend the reflector outward toward the second pincer point and lock that one down too. Now the reflector is supported at two contact points along the boom arm, which keeps it stable and lets you aim it without it rotating or drooping. The two-point contact is what makes this whole rig work. One clamp and the thing acts like a weather vane. Two clamps and it actually stays where you put it.
Step 6: Dial in the Angle with the Top Knob
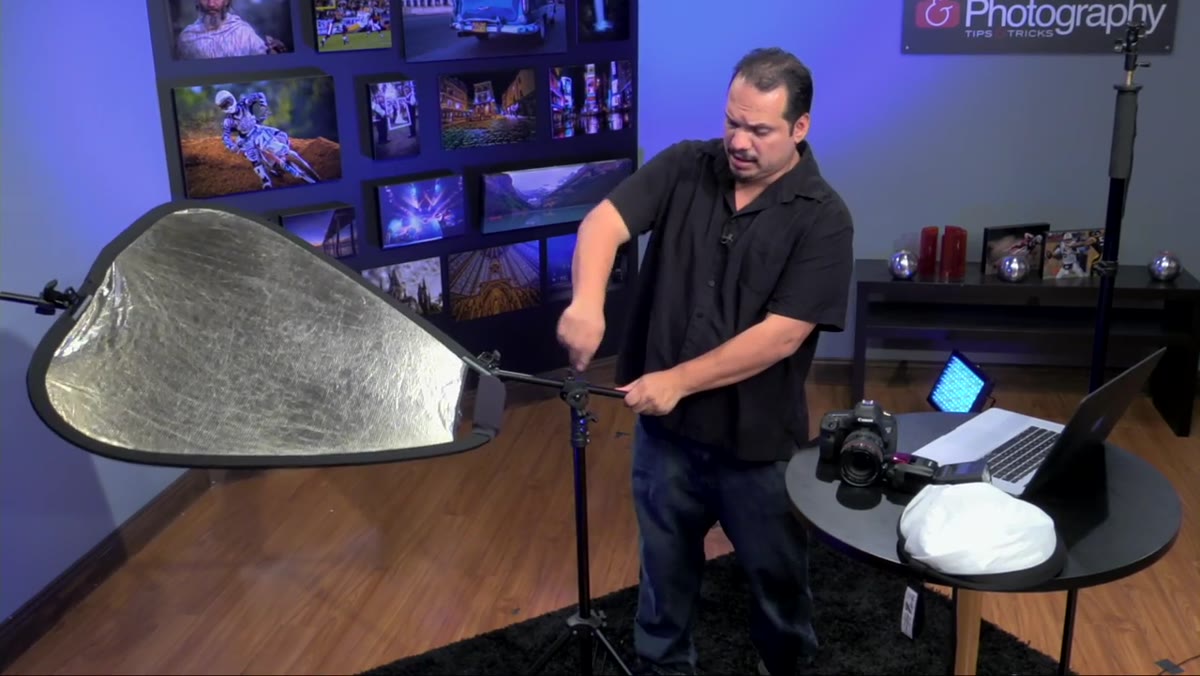 Top articulating knob being loosened to tilt and rotate the reflector head
There’s a knob at the very top of the assembly that controls the final aim of the reflector. Loosen it and you can tilt the reflector face toward your subject, tighten it and it holds. A second axis lets you spin the whole thing. This is where you do your fine-tuning. RC’s advice here is practical: don’t try to get it perfect before you’ve got your subject in position. Rough it in, take a test shot, then adjust. The knob is easy enough to work one-handed, so you can keep one eye on your subject while you dial it in.
Top articulating knob being loosened to tilt and rotate the reflector head
There’s a knob at the very top of the assembly that controls the final aim of the reflector. Loosen it and you can tilt the reflector face toward your subject, tighten it and it holds. A second axis lets you spin the whole thing. This is where you do your fine-tuning. RC’s advice here is practical: don’t try to get it perfect before you’ve got your subject in position. Rough it in, take a test shot, then adjust. The knob is easy enough to work one-handed, so you can keep one eye on your subject while you dial it in.
Step 7: Compare the One-Flash Look vs. the Flash-Plus-Reflector Look
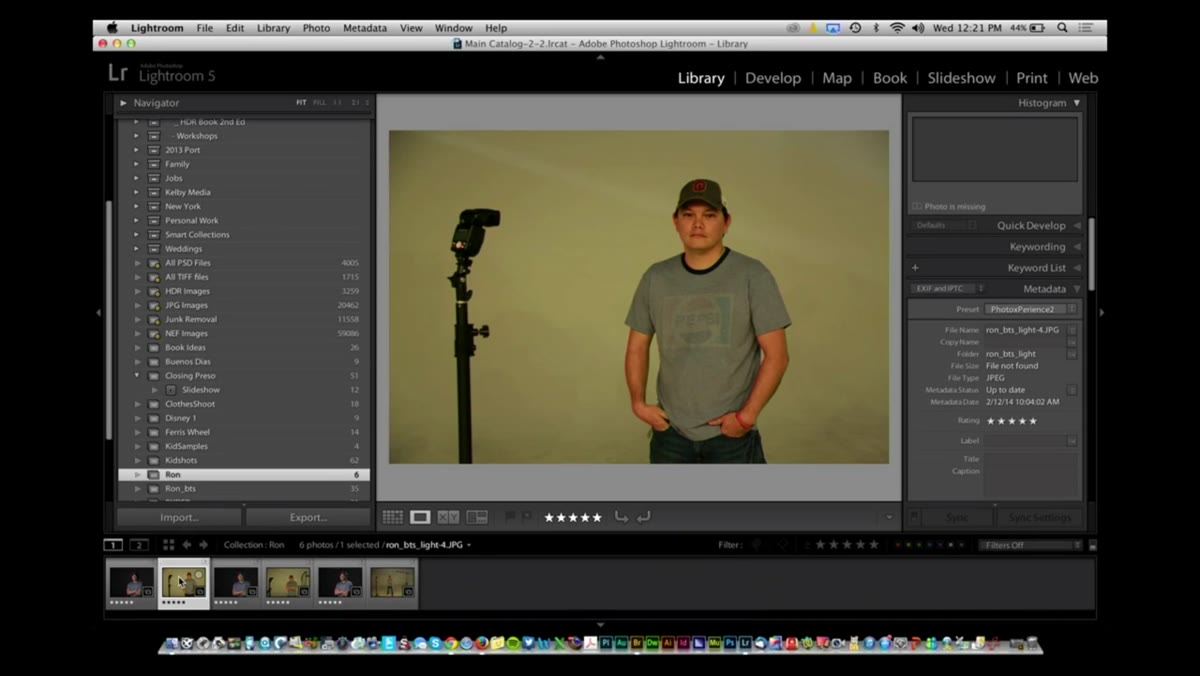 Side-by-side result showing bare flash vs. flash with reflector fill
RC shows Ron (his subject) first with just the bare flash and then again with the reflector bouncing fill light back into the shadow side of his face. The difference is significant. The bare flash version has a dead zone on the shadow side with no detail. The reflector version wraps light back into that area and gives you something that reads as a two-light setup without actually being one. This is the payoff of the whole rig, and it’s why understanding the before matters as much as seeing the after.
Side-by-side result showing bare flash vs. flash with reflector fill
RC shows Ron (his subject) first with just the bare flash and then again with the reflector bouncing fill light back into the shadow side of his face. The difference is significant. The bare flash version has a dead zone on the shadow side with no detail. The reflector version wraps light back into that area and gives you something that reads as a two-light setup without actually being one. This is the payoff of the whole rig, and it’s why understanding the before matters as much as seeing the after.
What I’d Add: Mind the Reflector Distance
The one thing RC doesn’t dwell on, but that I’ve learned through some flatly-lit disasters of my own, is that reflector distance matters a lot more than people expect. Too close and you’re flooding your shadow side with so much fill that you flatten the face. Too far and you’re not actually getting any useful bounce. A good starting point is roughly the same distance from the subject as your key light, then creep it in or out while watching your histogram or a live preview. The multi-boom stand makes this adjustment easy since you’re moving the whole arm rather than repositioning a separate stand entirely, which is exactly why this rig saves so much time.
The single biggest lesson from this tutorial is that your gear constraints don’t have to mean compromising on light quality. One stand, one flash, one reflector, and a good articulating boom arm and you’re genuinely close to a two-light result that would have taken twice the setup time five minutes ago. Worth every minute.
Watch the full tutorial on YouTube
Comments (2)
Just used this on a wedding shoot edit. Client was thrilled.
I tried this on a client project yesterday and the results were way better than expected.
Leave a Comment