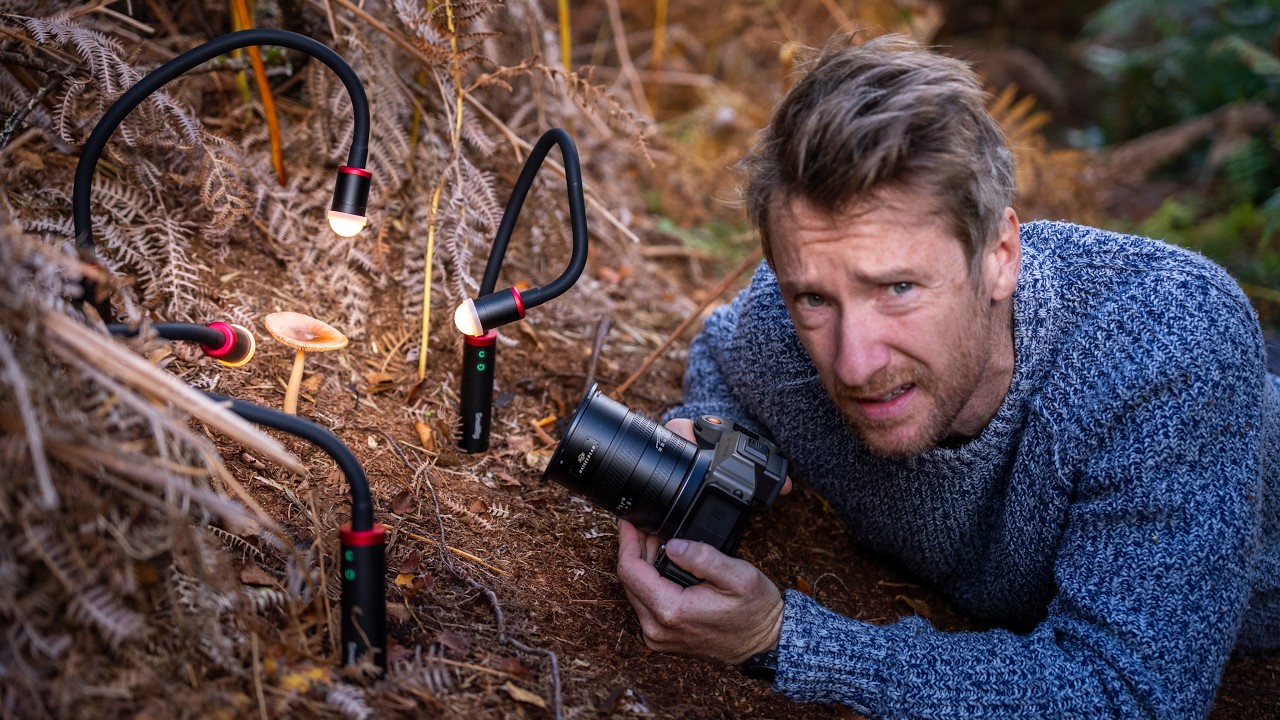
I’ve spent most of my creative life working at the pixel level, so you’d think “getting closer to the subject” would be something I’d have figured out by now. But there’s a difference between zooming into a layer in Photoshop and actually photographing something at 1:1 magnification in the real world. One requires pressing a plus key. The other, apparently, requires firmware updates in a muddy forest. In Watch the full tutorial on YouTube, landscape photographer Thomas Heaton documents his first serious attempt at macro photography with brutal honesty, and what makes it worth watching is precisely that it doesn’t go smoothly. Sometimes the most useful tutorials are the ones where things fall apart.
What Heaton is really exploring here is how to dip into macro photography without committing to thousands of dollars worth of specialist gear. He wants richer, more intimate detail shots to round out his landscape portfolio, especially heading into autumn. The approach he takes, extension rings plus portable LED lights, is genuinely accessible. If you shoot outdoors and you’ve been curious about macro but balked at the price of a dedicated macro lens, this breakdown is for you.
Step 1: Choose Extension Rings Over a Dedicated Macro Lens
 Extension rings shown next to Hasselblad camera body
Heaton picks up two Hasselblad extension rings rather than a purpose-built macro lens, and the reasoning is straightforward. Extension rings are hollow tubes that fit between your camera body and your existing lens, physically moving the lens further from the sensor and allowing it to focus much closer than it was designed to. No glass is added, which means no optical quality is lost. The tradeoff is that you lose infinity focus and autofocus, depending on your system, but for static macro subjects neither matters much.
Extension rings shown next to Hasselblad camera body
Heaton picks up two Hasselblad extension rings rather than a purpose-built macro lens, and the reasoning is straightforward. Extension rings are hollow tubes that fit between your camera body and your existing lens, physically moving the lens further from the sensor and allowing it to focus much closer than it was designed to. No glass is added, which means no optical quality is lost. The tradeoff is that you lose infinity focus and autofocus, depending on your system, but for static macro subjects neither matters much.
He buys two rings specifically so he can stack them for greater magnification. More extension means you can get physically closer to your subject and fill the frame with smaller and smaller things. If you’re on a mirrorless system, extension rings are available for virtually every mount and they typically cost between $20 and $80 for third-party options. The Hasselblad-branded ones Heaton uses are pricier by association, but even those didn’t break the bank compared to a macro lens.
Step 2: Pick the Right Camera Body for Detail-Heavy Subjects
 Hasselblad X2D body displayed with extension rings attached
Heaton makes a deliberate choice to shoot macro with his Hasselblad X2D rather than his Nikon Z8, and the reason comes down to sensor resolution. The X2D packs a 100-megapixel medium format sensor, which gives him an enormous amount of detail to work with, especially relevant when you’re photographing something like the fine texture of a mushroom cap or the veining in a leaf.
Hasselblad X2D body displayed with extension rings attached
Heaton makes a deliberate choice to shoot macro with his Hasselblad X2D rather than his Nikon Z8, and the reason comes down to sensor resolution. The X2D packs a 100-megapixel medium format sensor, which gives him an enormous amount of detail to work with, especially relevant when you’re photographing something like the fine texture of a mushroom cap or the veining in a leaf.
For most of us, a medium format Hasselblad isn’t exactly in the shopping cart. But the principle transfers. If you have more than one camera body or are deciding which system to invest extension rings for, lean toward whichever gives you the most resolution and the cleanest shadow detail. You’ll be cropping aggressively in post, and more pixels give you more flexibility without falling apart. A 45-megapixel Sony or a modern Fujifilm GFX body will serve the same principle at different price points.
Step 3: Add Portable LED Lights to Control Your Environment
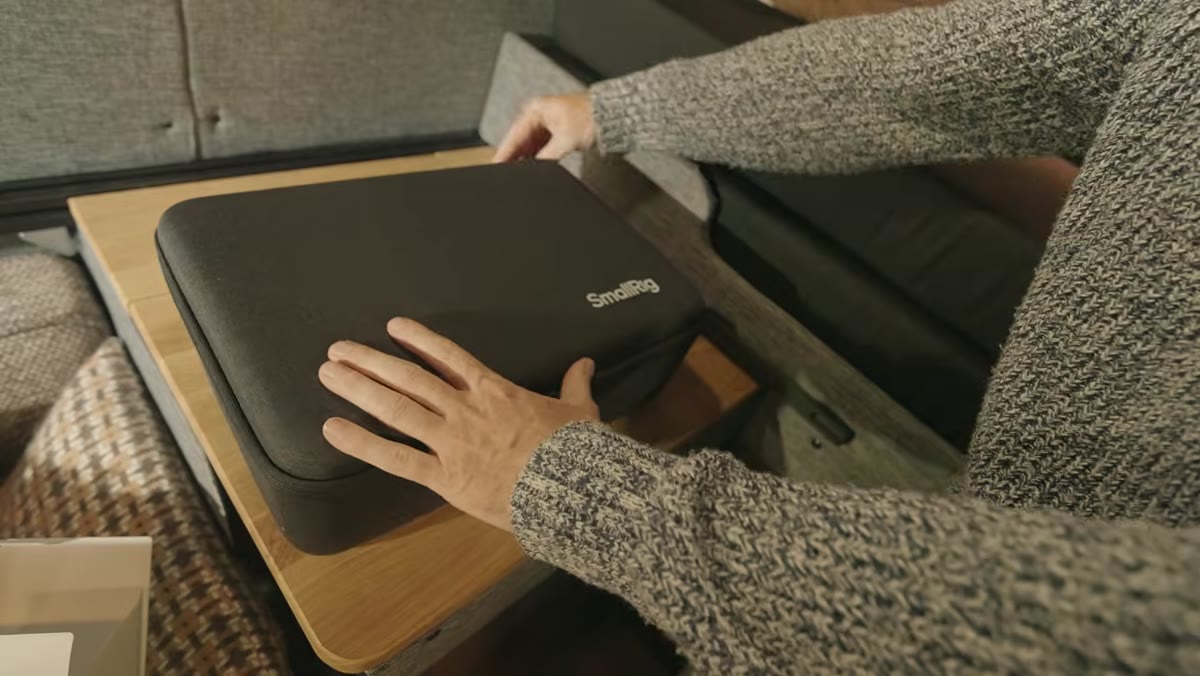 SmallRig LED lights unboxed and shown in carrying case
This is the piece of Heaton’s kit I hadn’t thought much about before. When you’re shooting macro outdoors, the available light is rarely where you need it. The subject is often in shadow, or the angle of natural light creates harsh specular highlights on small reflective surfaces. Heaton solves this with three SmallRig LED panel lights designed for field use, bought as a set for around £159.
SmallRig LED lights unboxed and shown in carrying case
This is the piece of Heaton’s kit I hadn’t thought much about before. When you’re shooting macro outdoors, the available light is rarely where you need it. The subject is often in shadow, or the angle of natural light creates harsh specular highlights on small reflective surfaces. Heaton solves this with three SmallRig LED panel lights designed for field use, bought as a set for around £159.
The key detail here is that he bought three rather than one. Macro lighting benefits from being able to come at your subject from multiple angles simultaneously. One light from the front kills shadows but flattens texture. A second light from the side brings back dimensionality. A third from below or behind can separate the subject from the background. He notes he deliberately avoided the cheapest options after reading poor reviews, landing on SmallRig as a middle-ground brand that most videographers will already recognize. If you’re already familiar with SmallRig’s camera cages and accessories, the quality consistency holds.
Step 4: Scout for Subjects Before You Set Up
 Mushroom spotted on forest floor among fallen leaves
Before any lights go on or settings get dialed in, Heaton spends time walking and looking. He finds a mushroom, acknowledges it’s the cliche choice, and shoots it anyway because it happens to be pristine and surrounded by beautiful color in the surrounding leaves. The context matters. A great macro subject isn’t just the small thing itself, it’s the relationship between the subject and what’s immediately behind it.
Mushroom spotted on forest floor among fallen leaves
Before any lights go on or settings get dialed in, Heaton spends time walking and looking. He finds a mushroom, acknowledges it’s the cliche choice, and shoots it anyway because it happens to be pristine and surrounded by beautiful color in the surrounding leaves. The context matters. A great macro subject isn’t just the small thing itself, it’s the relationship between the subject and what’s immediately behind it.
When scouting for macro subjects, get low before you commit. Look at the background at the actual shooting angle, not from standing height. Bokeh and compressed backgrounds behave very differently when you’re 10 centimeters from a subject versus 2 meters. A busy background that looks fine from above can ruin a shot when you’re down at ground level with a wide aperture.
Step 5: Check Your Firmware Before You Go Out
 Camera screen showing “lens not detected” error message
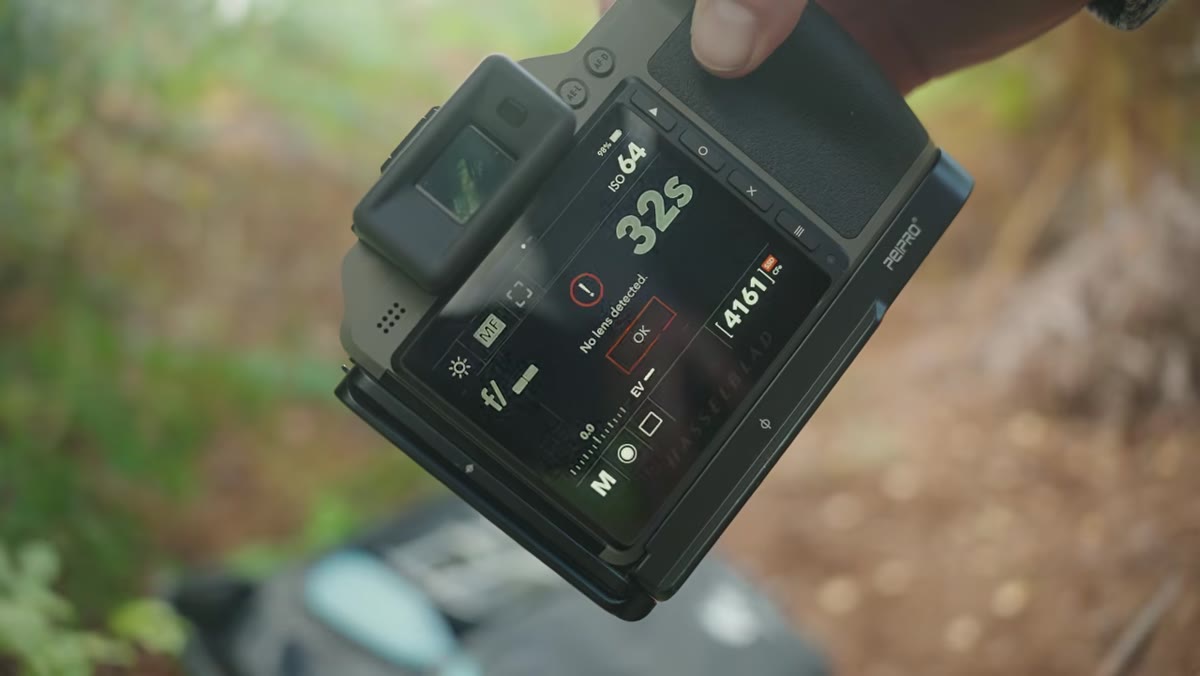
Here’s the part where everything stops. Heaton sets up his shot, goes to take the picture, and the Hasselblad throws a “lens not detected” error. After troubleshooting, the likely culprit is a firmware update that hadn’t been run. The extension ring, being a relatively new accessory, required the camera to be on a current firmware version to recognize the connection correctly.
Camera screen showing “lens not detected” error message
Here’s the part where everything stops. Heaton sets up his shot, goes to take the picture, and the Hasselblad throws a “lens not detected” error. After troubleshooting, the likely culprit is a firmware update that hadn’t been run. The extension ring, being a relatively new accessory, required the camera to be on a current firmware version to recognize the connection correctly.
This is genuinely useful information because it’s the kind of thing nobody thinks to mention in gear reviews. Before you take any new accessory into the field, update your firmware. Do it the day before, not the morning of. Let the camera sit connected to a power source while it updates. It’s tedious, unglamorous advice, and it would have saved Heaton his entire afternoon.
What I’d Do Differently (From Someone Who Works Mostly in the Digital Side)
I don’t shoot macro in the field the way Heaton does, but I do a lot of work retouching macro product photography that clients send over, and the problems I see most often in those files map directly back to what goes wrong in the field. The biggest one is depth of field. Macro shooting at wide apertures gives you razor-thin focus planes, and photographers often come back with a single frame where only a sliver of the subject is sharp.
The fix that Heaton doesn’t get to try in this video, because the firmware kills the session early, is focus stacking. You shoot multiple frames at slightly different focus distances, then blend them in post. Photoshop handles this natively under Edit, then Auto-Blend Layers, with the Stack Images option selected. It’s the technique that bridges great macro capture with great macro output, and it’s worth building into your workflow from the start rather than retrofitting it later.
The single most useful thing this video demonstrates isn’t a camera setting or a lighting trick. It’s that showing up with modest, well-chosen gear and a willingness to problem-solve in the field is worth more than waiting until you can afford the perfect kit. Extension rings cost less than a decent lens filter. Three portable LEDs cost less than a single studio strobe. The gap between “I can’t do macro yet” and “I’m doing macro” is smaller than most people assume.
Watch the full tutorial on YouTube to see Heaton’s full gear unboxing, his field scouting process, and the exact moment the camera decides it’s done cooperating.
Comments
Leave a Comment