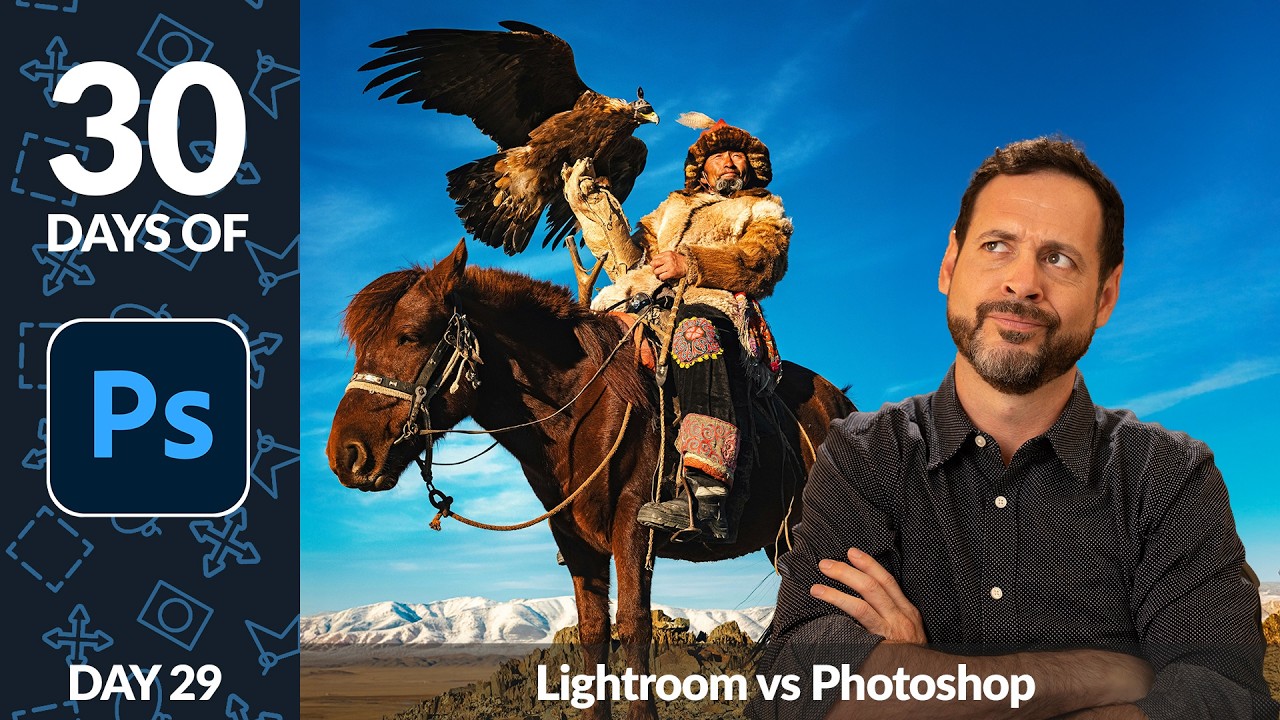
For years I had a bad habit. Every photo I wanted to edit, I’d open straight in Photoshop. Weddings, portraits, random test shots, it all went through Photoshop one at a time like I was hand-stitching a quilt. It worked, technically, but it was slow, messy, and my file organization was basically a folder called “FINALS” containing 47 files named “final_FINAL_v3_USE_THIS_ONE.psd.” Not exactly a professional operation.
The thing that eventually fixed my workflow wasn’t a new plugin or a faster computer. It was actually understanding what each tool is for. In this Aaron Nace (PHLEARN) tutorial from his 30 Days of Photoshop series, he lays out the Lightroom vs. Photoshop distinction more clearly than anything else I’ve seen on the subject. Watch the full tutorial on YouTube – then come back here for the breakdown with some extra context from someone who learned this the hard way.
The tutorial uses a real-world workflow: import and organize a batch of photos in Lightroom Classic, edit them broadly, then pull one image into Photoshop to do something Lightroom simply can’t – a full sky replacement with compositing. That two-step structure is the whole point, and once you see it demonstrated, it clicks in a way that’s hard to unsee.
Step 1: Understand What Lightroom Is Actually Built For
 Lightroom family of products explained on screen
Lightroom isn’t one thing – it’s a family of three products. Lightroom Classic is the desktop-based, locally organized version that’s been around forever. The newer Lightroom (confusingly, just called “Lightroom”) is cloud-based and syncs across devices. Lightroom Mobile handles your phone and tablet editing, also through the cloud. For this tutorial and most professional workflows, Lightroom Classic is what you want on your main machine.
Lightroom family of products explained on screen
Lightroom isn’t one thing – it’s a family of three products. Lightroom Classic is the desktop-based, locally organized version that’s been around forever. The newer Lightroom (confusingly, just called “Lightroom”) is cloud-based and syncs across devices. Lightroom Mobile handles your phone and tablet editing, also through the cloud. For this tutorial and most professional workflows, Lightroom Classic is what you want on your main machine.
The key thing to internalize is what Lightroom is optimized for: editing many images quickly, organizing and rating your catalog, and culling – the process of sorting through a big shoot to pick your keepers. If you shoot events, real estate, or anything with volume, Lightroom is doing work that Photoshop simply isn’t designed to do. Think of it as the production floor, not the craft room.
Step 2: Know Where Photoshop Picks Up
 Photoshop layer-based editing concept explained
Photoshop is a one-image-at-a-time tool, and that’s not a limitation – it’s by design. Where Lightroom adjusts what’s already in a photo (exposure, color, tone, lens corrections), Photoshop lets you add things, combine images, work with layers, introduce graphics or text, and do retouching that requires surgical precision. Packaging design, photo compositing, poster work, complex masking – that’s Photoshop territory.
Photoshop layer-based editing concept explained
Photoshop is a one-image-at-a-time tool, and that’s not a limitation – it’s by design. Where Lightroom adjusts what’s already in a photo (exposure, color, tone, lens corrections), Photoshop lets you add things, combine images, work with layers, introduce graphics or text, and do retouching that requires surgical precision. Packaging design, photo compositing, poster work, complex masking – that’s Photoshop territory.
The practical workflow Aaron describes is exactly how I run client jobs now: Lightroom handles the batch, Photoshop handles the hero image. You cull in Lightroom, make your broad edits there, then export only the images that need extra work into Photoshop. Trying to do everything in Photoshop is like using a scalpel to cut a birthday cake. Technically possible, wildly inefficient.
Step 3: Import Your Images Into Lightroom Classic
 Sample images being dragged into Lightroom Classic catalog
The practical portion of the tutorial starts with dragging a folder of sample images directly into the Lightroom Classic catalog. You can do this by going to File > Import Photos and Video, or in some versions literally dragging the folder onto the catalog panel. Lightroom will prompt you with import options – for most workflows, choose “Add” if the files are already in your intended folder, or “Copy” if you’re pulling from a memory card.
Sample images being dragged into Lightroom Classic catalog
The practical portion of the tutorial starts with dragging a folder of sample images directly into the Lightroom Classic catalog. You can do this by going to File > Import Photos and Video, or in some versions literally dragging the folder onto the catalog panel. Lightroom will prompt you with import options – for most workflows, choose “Add” if the files are already in your intended folder, or “Copy” if you’re pulling from a memory card.
Once imported, your images show up in the Library module. This is where the organizational power lives. You can rename files in bulk here, which is a genuine time-saver. Select all your images, go to Library > Rename Photos, and set up a naming template – something like “ClientName_Date_Sequence” keeps things searchable and sane. I spent two years naming files whatever the camera spat out and I’m still paying for it emotionally.
Step 4: Make Batch Edits Across Multiple Photos
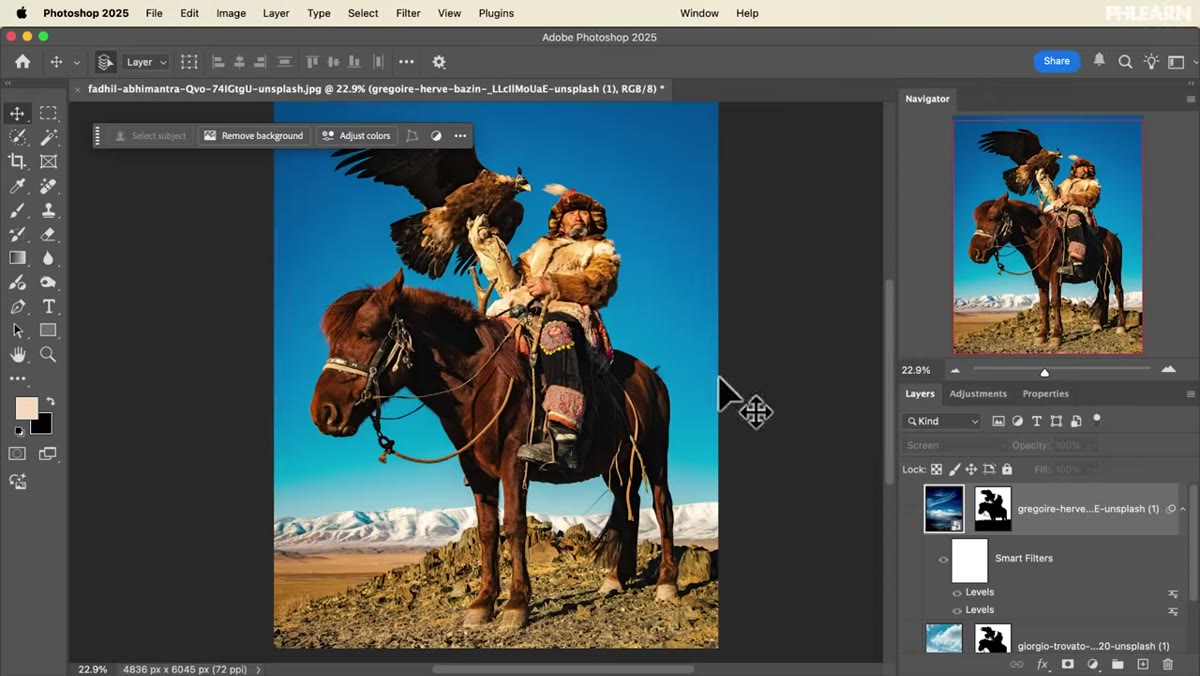 Editing large amounts of photos discussed in Lightroom
This is where Lightroom earns its reputation. Once you’ve edited one image to your liking – adjusted white balance, pulled shadows, added a little punch to the highlights – you can sync those settings across an entire shoot in a few clicks. Select the edited photo, shift-click to select the rest, and hit “Sync Settings.” You choose which settings to apply and Lightroom handles the rest across all selected images simultaneously.
Editing large amounts of photos discussed in Lightroom
This is where Lightroom earns its reputation. Once you’ve edited one image to your liking – adjusted white balance, pulled shadows, added a little punch to the highlights – you can sync those settings across an entire shoot in a few clicks. Select the edited photo, shift-click to select the rest, and hit “Sync Settings.” You choose which settings to apply and Lightroom handles the rest across all selected images simultaneously.
This is the move that saves wedding photographers hours of their lives every weekend. For consistency across a shoot, whether that’s a 200-image corporate event or a 500-shot portrait session, batch editing in Lightroom produces results that would be physically impossible to replicate image-by-image in Photoshop. Broad strokes, applied fast, across the whole job.
Step 5: Send One Image to Photoshop for Advanced Editing
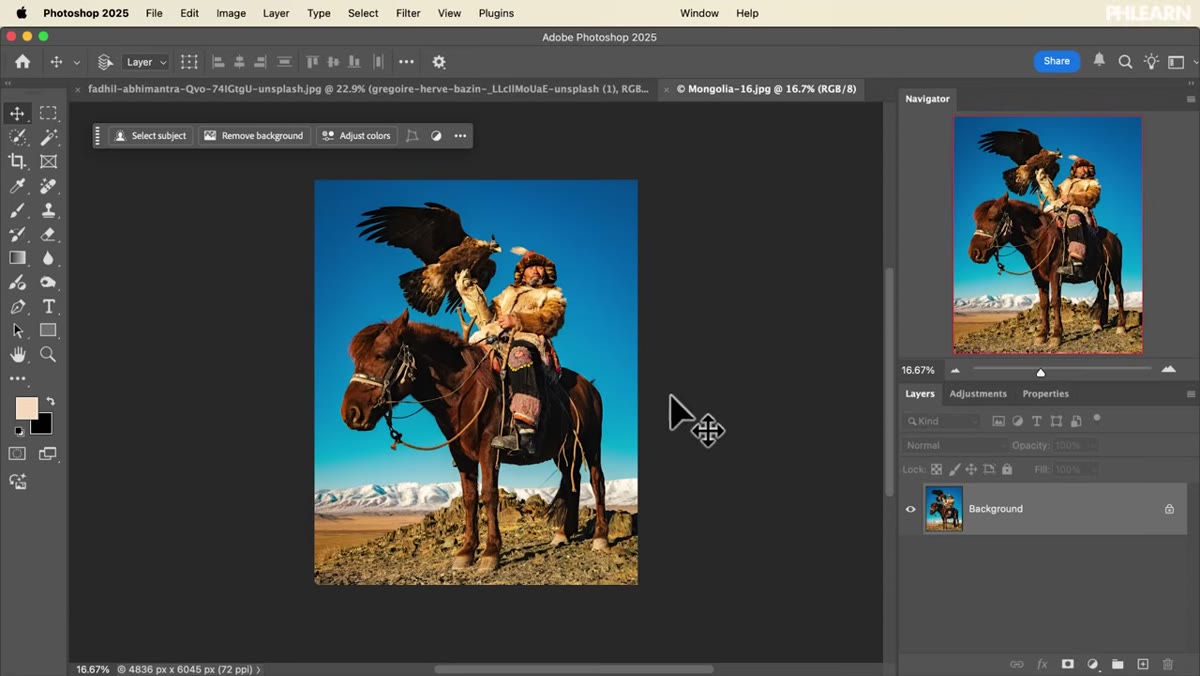 Workflow moving from Lightroom to Photoshop described
Once you’ve identified the image that needs more than Lightroom can offer – in this case, a sky replacement with clouds added behind the subject – you right-click the image in Lightroom and choose “Edit In > Adobe Photoshop.” This opens the image in Photoshop while keeping a reference back in your Lightroom catalog. When you save and close in Photoshop, the edited version appears alongside the original in Lightroom automatically.
Workflow moving from Lightroom to Photoshop described
Once you’ve identified the image that needs more than Lightroom can offer – in this case, a sky replacement with clouds added behind the subject – you right-click the image in Lightroom and choose “Edit In > Adobe Photoshop.” This opens the image in Photoshop while keeping a reference back in your Lightroom catalog. When you save and close in Photoshop, the edited version appears alongside the original in Lightroom automatically.
This handoff is smoother than it sounds, and it’s the bridge that makes the two-app workflow actually work. You’re not abandoning your organizational structure when you jump to Photoshop. You’re extending it. The Lightroom catalog stays intact; Photoshop just gets to do the thing it’s actually built for.
Step 6: Use Photoshop to Replace the Sky
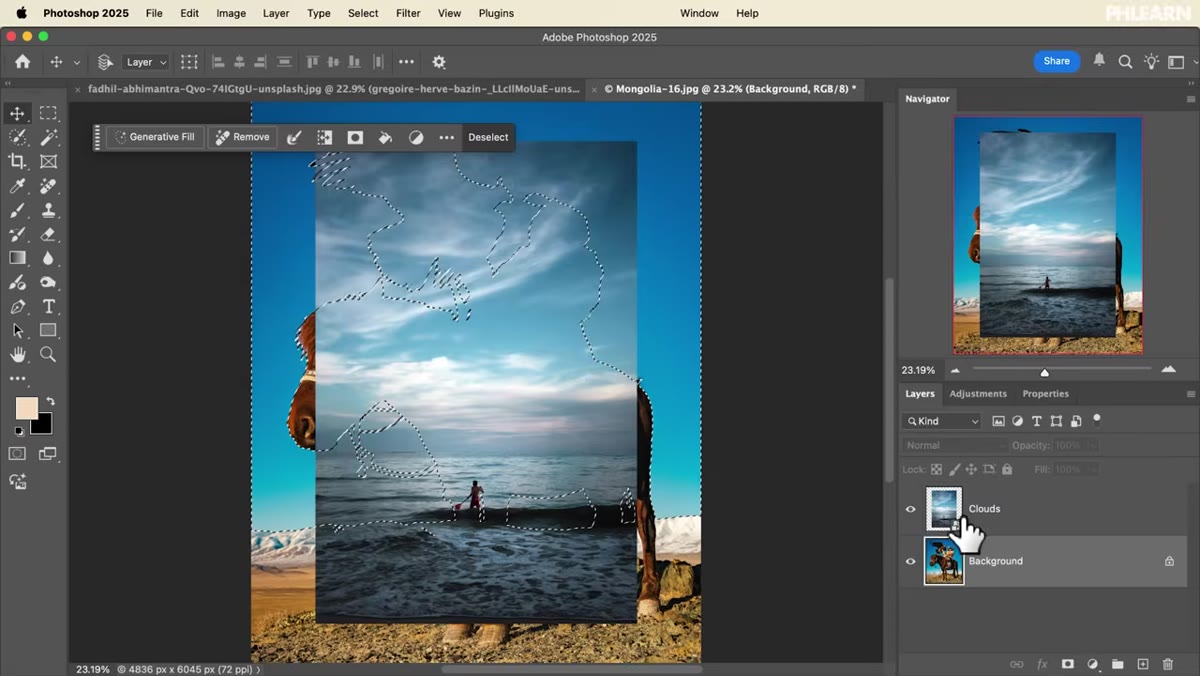 Sky replacement with clouds behind subject described
The sky replacement in this example is the clearest possible demonstration of the Lightroom-can’t-do-this category. Photoshop’s Sky Replacement tool (Edit > Sky Replacement) uses AI-based masking to detect the sky and swap it out with a replacement of your choice. You can fine-tune the edge detection, adjust lighting to match your new sky to the foreground, and blend the result with the original image using layer-based compositing.
Sky replacement with clouds behind subject described
The sky replacement in this example is the clearest possible demonstration of the Lightroom-can’t-do-this category. Photoshop’s Sky Replacement tool (Edit > Sky Replacement) uses AI-based masking to detect the sky and swap it out with a replacement of your choice. You can fine-tune the edge detection, adjust lighting to match your new sky to the foreground, and blend the result with the original image using layer-based compositing.
What makes this distinctly a Photoshop task is the layer architecture underneath it. Sky Replacement generates masked layers automatically, and you can go in and refine any of them manually. Lightroom can adjust the sky’s color and tone, but it can’t replace the sky with an entirely different image and composite it convincingly. That’s a different category of editing, and Photoshop handles it because the whole application is built around that kind of pixel-level, layer-by-layer control.
My Take: The Workflow Shift That Actually Stuck
I resisted this two-app workflow for longer than I should have, mostly because switching between programs felt like admitting I couldn’t do everything in one place. What changed my mind was a job where I had 300 photos from a product shoot and was trying to color-correct them individually in Photoshop. Three hours in, I’d done maybe 40. A Lightroom sync job would have taken 15 minutes.
Now I think of it as specialization, not redundancy. Lightroom is my production environment. Photoshop is my studio. I go to the studio when I need to build something that doesn’t exist yet – a composite, a retouch, a graphic overlay. For everything else, Lightroom handles it faster and with better organizational structure than I’d ever manage manually. Keeping them as two distinct tools with two distinct purposes is the thing that actually cleaned up my workflow.
The single most important takeaway from this tutorial is this: use the right tool for the scale and type of work. Lightroom for volume and organization, Photoshop for precision and compositing. It sounds obvious until you realize how many people (including past me) are doing it backwards.
Watch the full tutorial on YouTube to see Aaron walk through the complete workflow, including the Lightroom import and the sky replacement composite from start to finish.
Comments
Leave a Comment