There’s a specific kind of frustration that hits when you’re 45 minutes into a project and you realize the asset you need would take you another two hours to build from scratch. Buttons, icons, tool illustrations – the kind of stuff that looks deceptively simple but eats your whole afternoon. For the longest time I was either building these manually or paying for stock assets I’d use once and forget. Then I actually started poking around the Creative Cloud Market properly, and I felt like someone had been hiding a snack drawer from me this whole time.
In this KelbyOne tutorial from Photoshop User TV, hosts Pete Collins and Corey Barker walk through exactly how to pull SVG files out of the Creative Cloud Market and get them working in Photoshop. Watch the full tutorial on YouTube – it’s a quick one, but it packs in two separate workflows depending on whether you have Illustrator installed. I’m going to break both of those down here so you can follow along without scrubbing back and forth.
The abbreviation SVG stands for Scalable Vector Graphics. Pete admits he had to look it up before filming, which I respect enormously. The short version: it’s a vector-based image format, which means you can scale it to any size without it going soft or pixelated. For icons, logos, or any graphic that might need to live at multiple sizes, that’s a huge deal.
Step 1: Open the Creative Cloud Desktop App and Browse the Market
 Creative Cloud desktop app open showing the Market tab
Launch the Creative Cloud desktop app on your machine – not the browser, the desktop app itself. Once it’s open, look for the Market section in the navigation. This is where Adobe stocks a library of free assets for Creative Cloud subscribers, and if you’re already paying for CC, you’re leaving money on the table by ignoring it. Browse the vector image category and find something you actually want to use. Don’t just grab the first thing you see; the library is big enough that you’ll find something project-relevant.
Creative Cloud desktop app open showing the Market tab
Launch the Creative Cloud desktop app on your machine – not the browser, the desktop app itself. Once it’s open, look for the Market section in the navigation. This is where Adobe stocks a library of free assets for Creative Cloud subscribers, and if you’re already paying for CC, you’re leaving money on the table by ignoring it. Browse the vector image category and find something you actually want to use. Don’t just grab the first thing you see; the library is big enough that you’ll find something project-relevant.
Step 2: Download the SVG File to Your Library
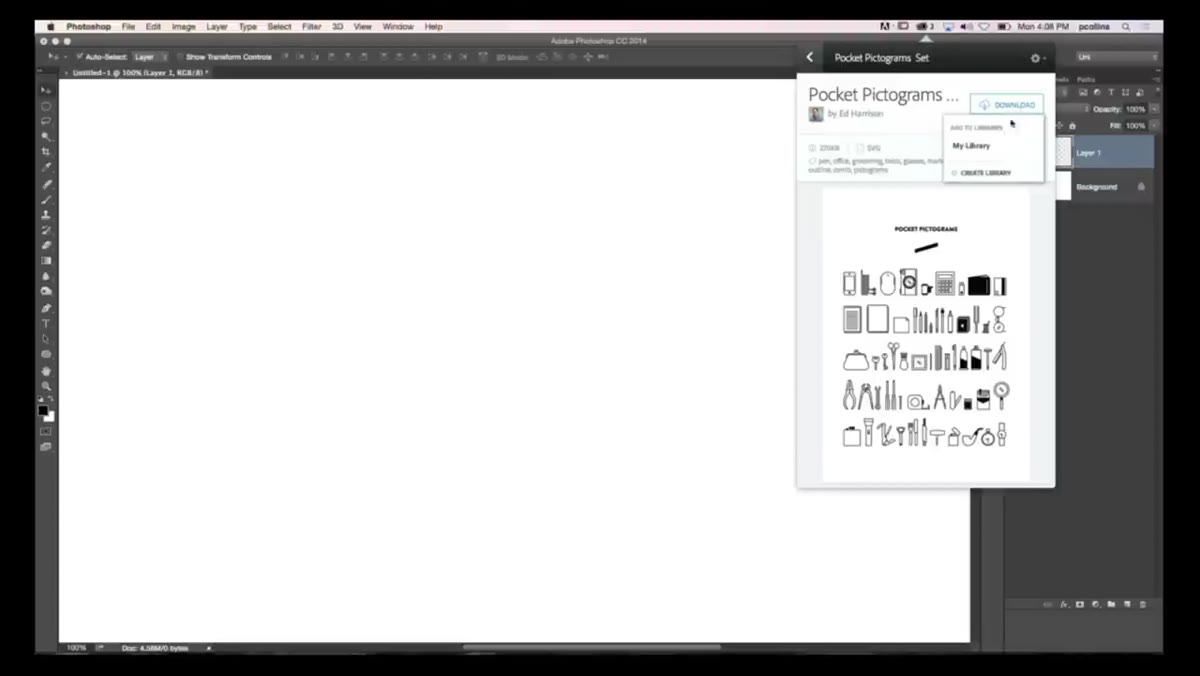 Downloading an SVG asset to the CC Library
When you find an asset you like, check the file type before downloading. The Market will show you what format the file is – in this case, you’re looking for SVG. Hit download and choose to save it to your CC Library. It’ll sync across your Creative Cloud apps from there. If you’re not sure where your downloaded files actually land on your hard drive, the next step covers that.
Downloading an SVG asset to the CC Library
When you find an asset you like, check the file type before downloading. The Market will show you what format the file is – in this case, you’re looking for SVG. Hit download and choose to save it to your CC Library. It’ll sync across your Creative Cloud apps from there. If you’re not sure where your downloaded files actually land on your hard drive, the next step covers that.
Step 3: Locate the File in Finder (Mac) or File Explorer (Windows)
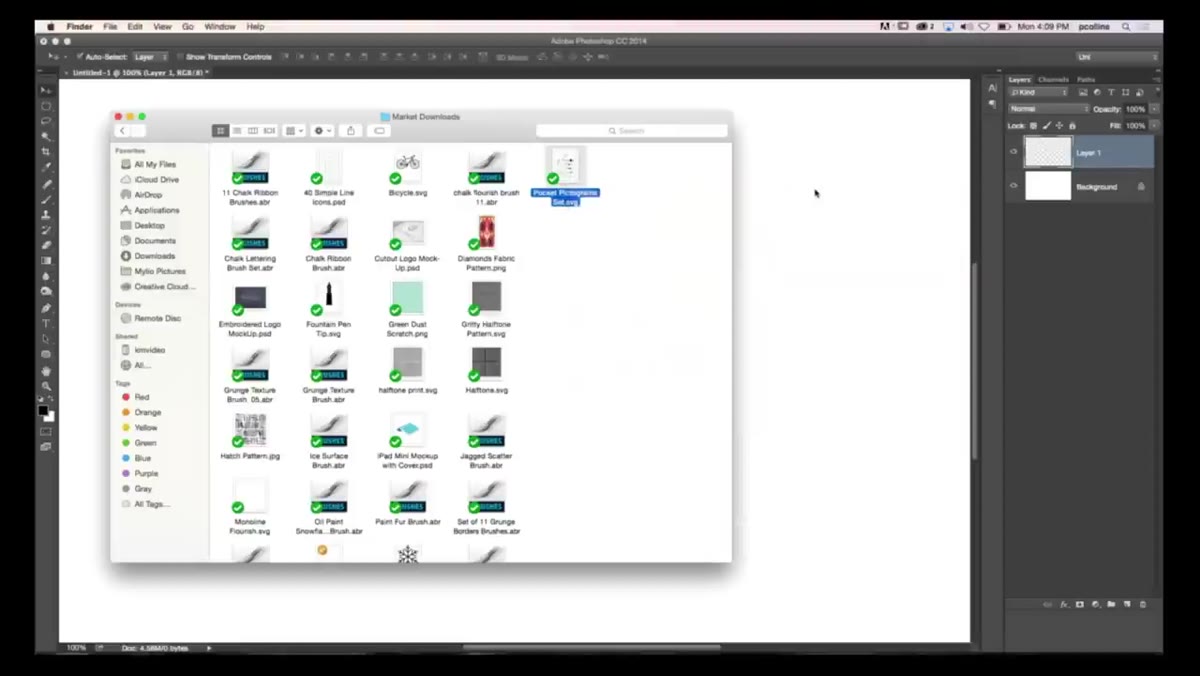
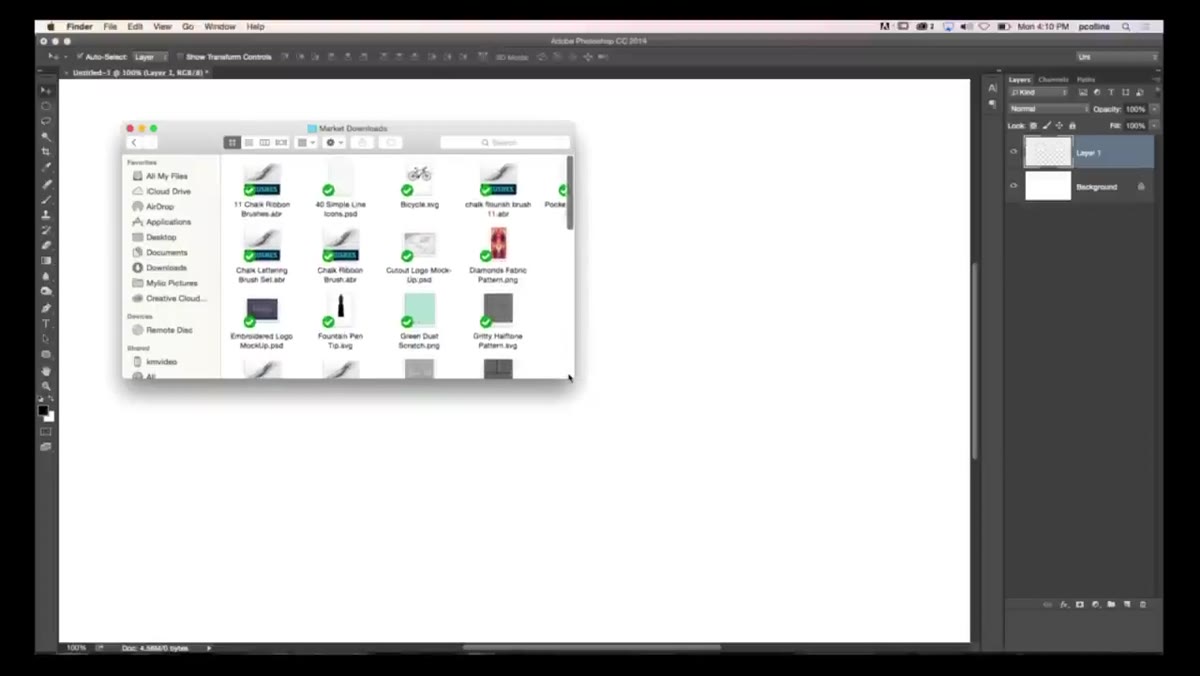
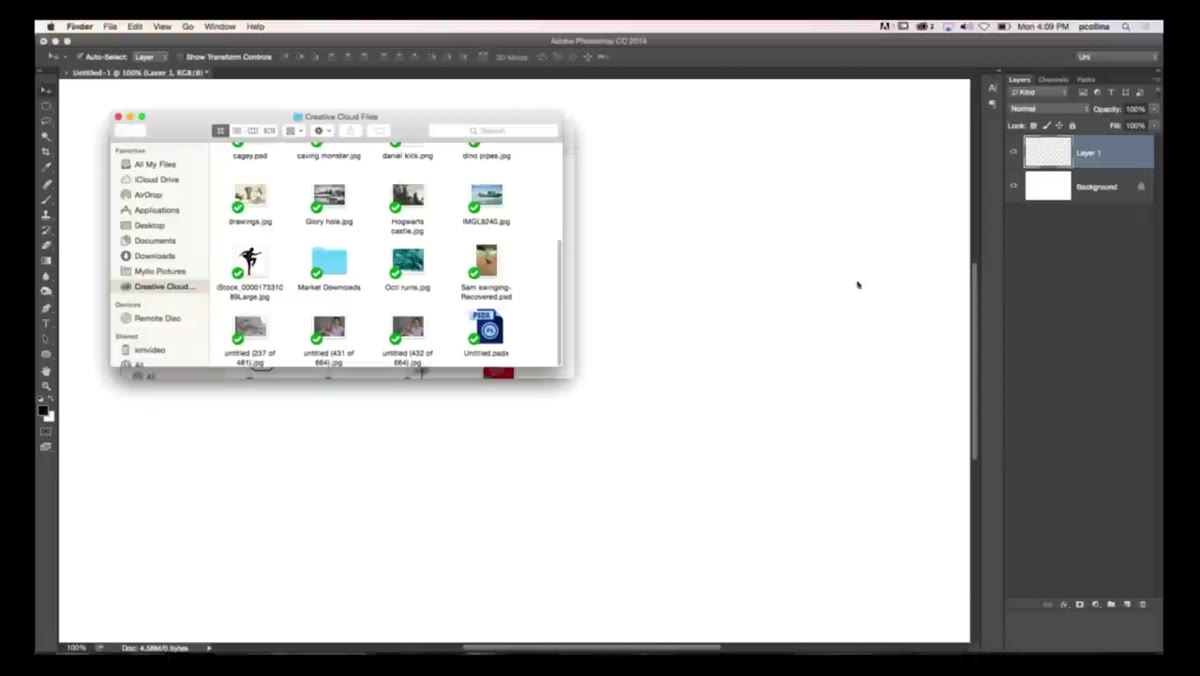 Finder window open showing the CC Market Downloads folder
Go to your system file browser and navigate to your Creative Cloud market downloads folder. On Mac, this lives in your user directory under Creative Cloud Files. The file will have a .svg extension. Once you find it, right-click on it – this is where the workflow splits into two paths depending on what software you have available.
Finder window open showing the CC Market Downloads folder
Go to your system file browser and navigate to your Creative Cloud market downloads folder. On Mac, this lives in your user directory under Creative Cloud Files. The file will have a .svg extension. Once you find it, right-click on it – this is where the workflow splits into two paths depending on what software you have available.
Step 4: Open the SVG in Adobe Illustrator and Drag It Into Photoshop
 SVG file open in Illustrator with vector elements visible
If you have Illustrator installed, this is the cleanest route. Right-click the SVG file, choose “Open With,” and select Illustrator. The file will open and you’ll see all the individual vector elements laid out. Select the pieces you want to use – you can grab everything with Command+A (Ctrl+A on Windows) or pick specific elements. Then literally click and drag the selected elements from Illustrator directly over into your open Photoshop document. Photoshop receives them as a Smart Object, which means they stay vector and fully scalable. You can scale them up to poster size without any quality loss. This is the method I use almost every time, and the drag-and-drop handoff between the two apps is smoother than you’d expect.
SVG file open in Illustrator with vector elements visible
If you have Illustrator installed, this is the cleanest route. Right-click the SVG file, choose “Open With,” and select Illustrator. The file will open and you’ll see all the individual vector elements laid out. Select the pieces you want to use – you can grab everything with Command+A (Ctrl+A on Windows) or pick specific elements. Then literally click and drag the selected elements from Illustrator directly over into your open Photoshop document. Photoshop receives them as a Smart Object, which means they stay vector and fully scalable. You can scale them up to poster size without any quality loss. This is the method I use almost every time, and the drag-and-drop handoff between the two apps is smoother than you’d expect.
Step 5: Use the Creative Cloud App to Open SVGs Without Illustrator
 Right-click context menu showing Creative Cloud as an open option
No Illustrator? No problem – this is the workaround Pete covers in the tutorial. Right-click the SVG file again, but this time look further down the “Open With” menu. You’ll see an option listed under Creative Cloud. Select that. This routes the file through the Creative Cloud app itself rather than requiring a dedicated vector editor. It’s not as flexible as the Illustrator method – you won’t be able to cherry-pick individual elements as easily – but it gets the asset into a usable state without needing to own or install Illustrator separately.
Right-click context menu showing Creative Cloud as an open option
No Illustrator? No problem – this is the workaround Pete covers in the tutorial. Right-click the SVG file again, but this time look further down the “Open With” menu. You’ll see an option listed under Creative Cloud. Select that. This routes the file through the Creative Cloud app itself rather than requiring a dedicated vector editor. It’s not as flexible as the Illustrator method – you won’t be able to cherry-pick individual elements as easily – but it gets the asset into a usable state without needing to own or install Illustrator separately.
Step 6: Place the Asset Into Your Photoshop Project
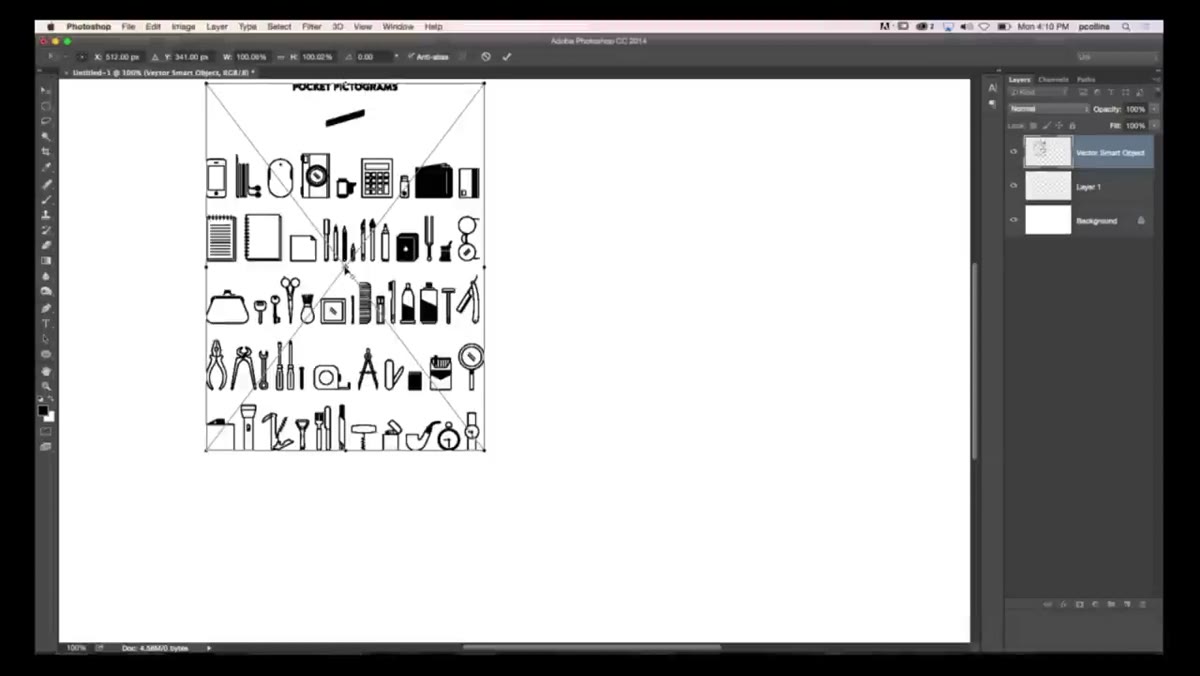 Vector artwork dragged into Photoshop document as Smart Object
However the file gets to Photoshop – through Illustrator or through the CC app – the goal is the same: place it as a Smart Object into your document. If you’re dragging from Illustrator, this happens automatically. If you’re using the CC app method, you’ll use File > Place Embedded to bring it in. Either way, once it’s in your Photoshop document as a Smart Object, you can transform it freely. Scale it, rotate it, position it – all without committing to a pixel size until you’re ready to flatten. Double-click the Smart Object thumbnail to jump back and edit the vector contents at any time.
Vector artwork dragged into Photoshop document as Smart Object
However the file gets to Photoshop – through Illustrator or through the CC app – the goal is the same: place it as a Smart Object into your document. If you’re dragging from Illustrator, this happens automatically. If you’re using the CC app method, you’ll use File > Place Embedded to bring it in. Either way, once it’s in your Photoshop document as a Smart Object, you can transform it freely. Scale it, rotate it, position it – all without committing to a pixel size until you’re ready to flatten. Double-click the Smart Object thumbnail to jump back and edit the vector contents at any time.
What I’d Add: Check the Asset License Before You Ship
The CC Market assets are free for Creative Cloud subscribers, but “free” doesn’t always mean “use anywhere for anything.” Before I drop a Market asset into a client deliverable, I check the licensing terms on the asset’s page in the Market. Most are fine for commercial use, but some have attribution requirements or restrictions on redistribution. Takes about 30 seconds to verify and saves you from an awkward conversation later. I learned to be paranoid about this after a client asked me to confirm the usage rights on every asset in a project – nothing was wrong, but I couldn’t answer confidently, which felt bad. Now I just make it a reflex.
The single biggest takeaway here is that the Creative Cloud Market is a genuinely useful free resource that most CC subscribers walk right past. SVG files in particular are worth grabbing because of how well they behave at any scale inside Photoshop. If you have Illustrator, the drag-and-drop method is fast and flexible. If you don’t, the CC app workaround still gets you there. Either way, you’re working with clean, resolution-independent assets instead of hunting down PNGs and hoping they’re big enough.
Watch the full tutorial on YouTube to see both workflows demonstrated side by side – Pete and Corey keep it short and actually show the files behaving in real time, which helps.
Comments
Leave a Comment