
There’s a specific flavor of design panic that hits when a client asks for a “visually interesting” website presentation and all you’ve got is a flat screenshot and a deadline. I’ve been there more times than I’d like to admit, usually on my third coffee in whatever shop I’ve claimed as my office that morning. The fix, it turns out, doesn’t require you to be a 3D wizard or spend four hours rage-quitting Blender (speaking from vivid personal experience). Sometimes Photoshop already has everything you need baked right in.
In this KelbyOne tutorial from Photoshop User TV episode 179, host Dave Cross walks through a surprisingly accessible technique using Photoshop CS4 Extended’s built-in 3D tools. The idea came from an ad he spotted that displayed websites in a dimensional, angled way, and he realized you could replicate that look without touching any dedicated 3D software. The whole workflow starts with something you can do in about thirty seconds: a screenshot. Watch the full tutorial on YouTube
What I like about this approach is that it’s rooted in a real design problem. Mockups matter. Whether you’re presenting your own portfolio, showing a client how their site looks in context, or just making a promotional graphic look less like it was assembled in a hurry, a little dimension goes a long way. Here’s how Dave breaks it down.
Step 1: Grab Your Screenshots
 Dave with two website screenshots open as separate documents
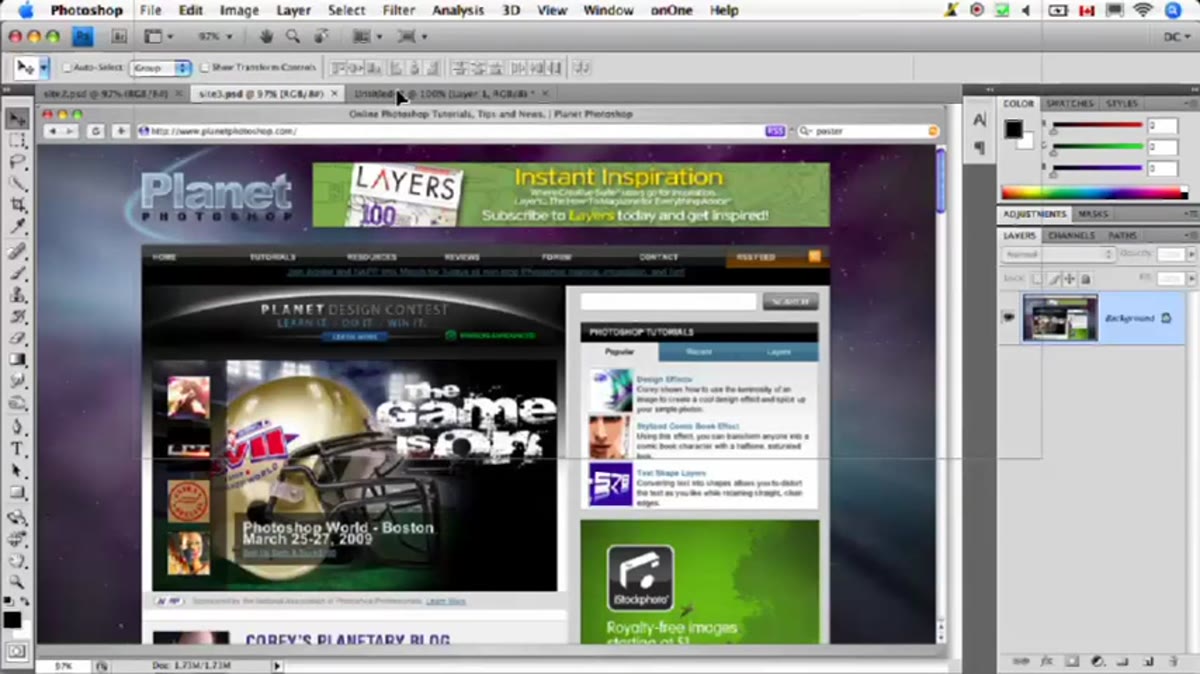
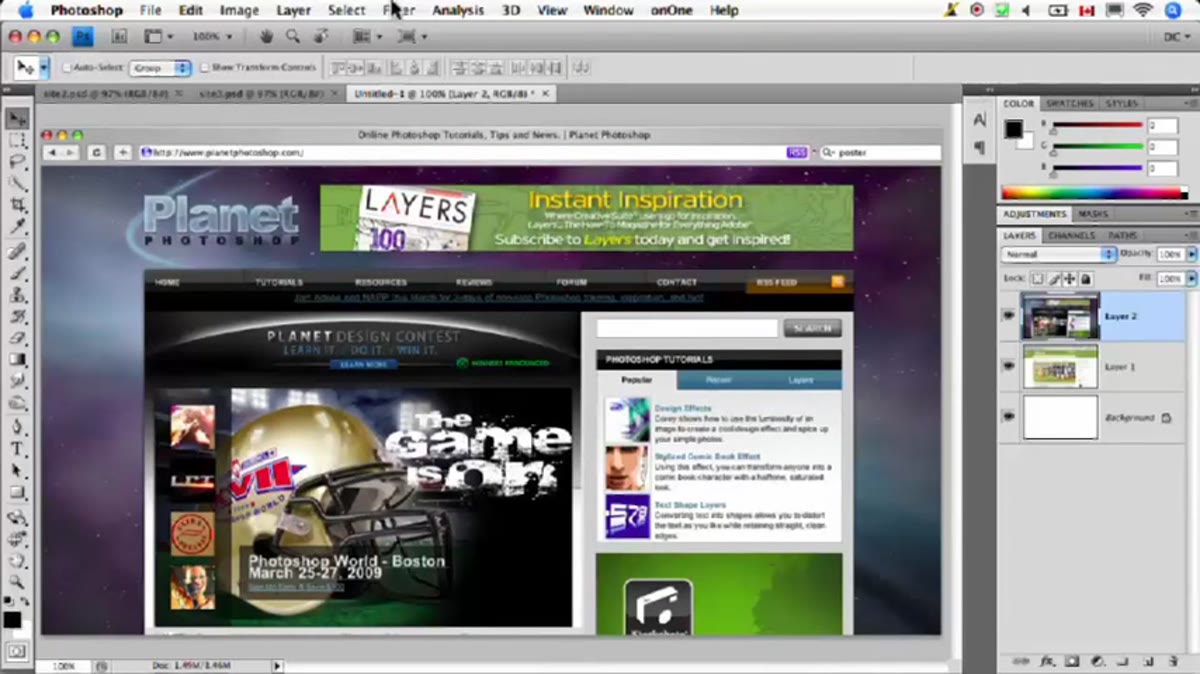
Start by taking screen captures of whatever websites you want to feature. Dave pulls two examples here, one from Kelby Training and one from Planet Photoshop. Don’t overthink the capture process. A simple full-page screenshot works fine. The goal is a clean, readable image of the site you want to place into your 3D composition. Save each one as its own file so you have them ready to drag in.
Dave with two website screenshots open as separate documents
Start by taking screen captures of whatever websites you want to feature. Dave pulls two examples here, one from Kelby Training and one from Planet Photoshop. Don’t overthink the capture process. A simple full-page screenshot works fine. The goal is a clean, readable image of the site you want to place into your 3D composition. Save each one as its own file so you have them ready to drag in.
Step 2: Set Up a Blank Document
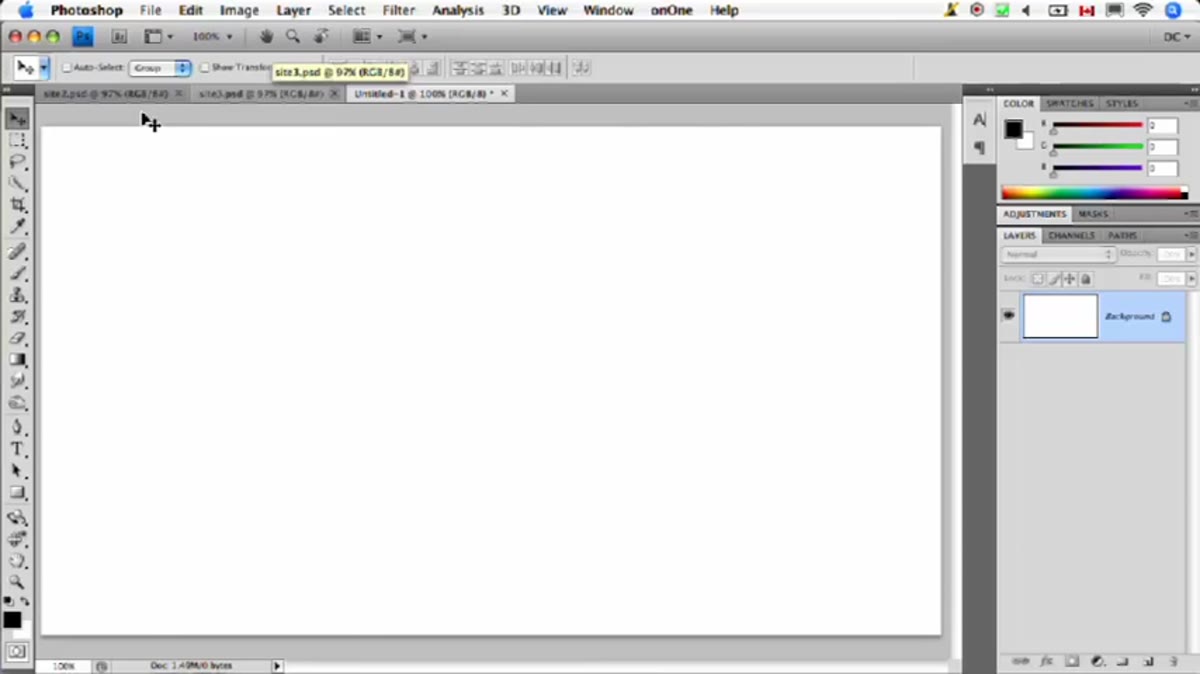 Blank Photoshop document open and ready for composition
Open a new blank document in Photoshop CS4 Extended. The size depends on your final output, but give yourself room to work. You’re going to be placing and transforming multiple images inside this document, so generous canvas dimensions help. This blank file is your stage, and everything else gets dragged onto it from here.
Blank Photoshop document open and ready for composition
Open a new blank document in Photoshop CS4 Extended. The size depends on your final output, but give yourself room to work. You’re going to be placing and transforming multiple images inside this document, so generous canvas dimensions help. This blank file is your stage, and everything else gets dragged onto it from here.
Step 3: Drag and Drop Your First Screenshot
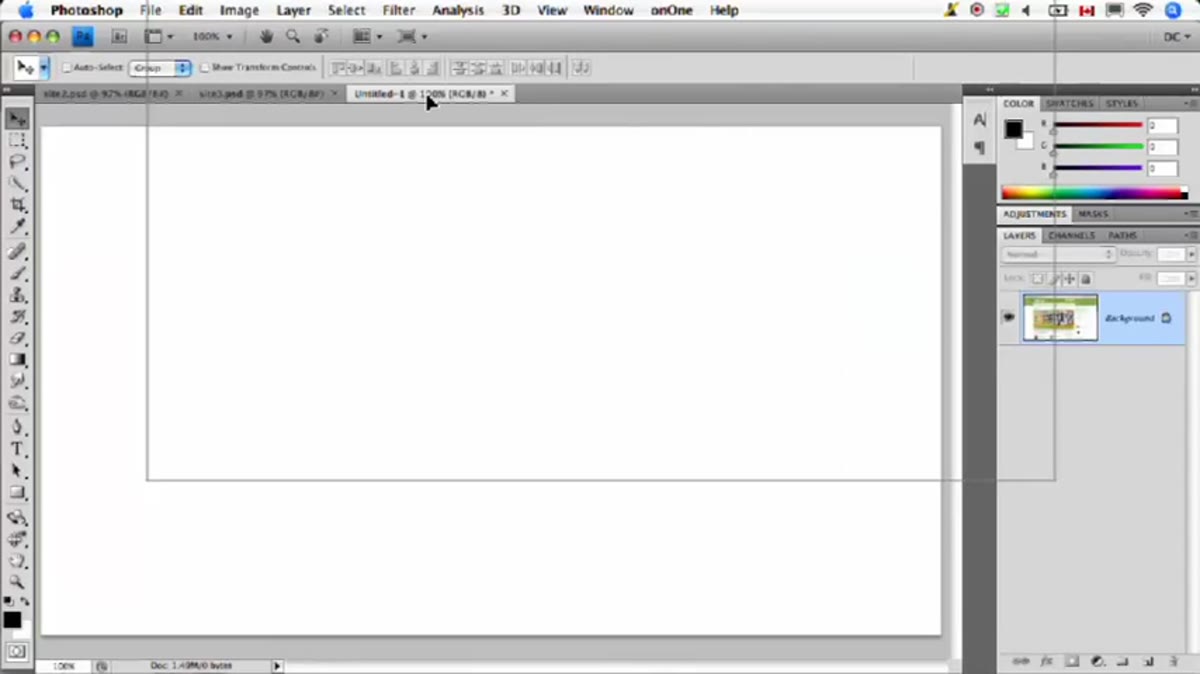 Dave dragging first website screenshot onto blank document
With both your screenshot file and your blank document open, drag the first screenshot directly onto the blank canvas. Photoshop places it as a Smart Object layer automatically when you drag between documents, which is exactly what you want. Smart Objects preserve quality when you scale and transform, so you’re not degrading your image every time you adjust its angle or size. Position it roughly where you want it to live in the final composition, then commit the placement.
Dave dragging first website screenshot onto blank document
With both your screenshot file and your blank document open, drag the first screenshot directly onto the blank canvas. Photoshop places it as a Smart Object layer automatically when you drag between documents, which is exactly what you want. Smart Objects preserve quality when you scale and transform, so you’re not degrading your image every time you adjust its angle or size. Position it roughly where you want it to live in the final composition, then commit the placement.
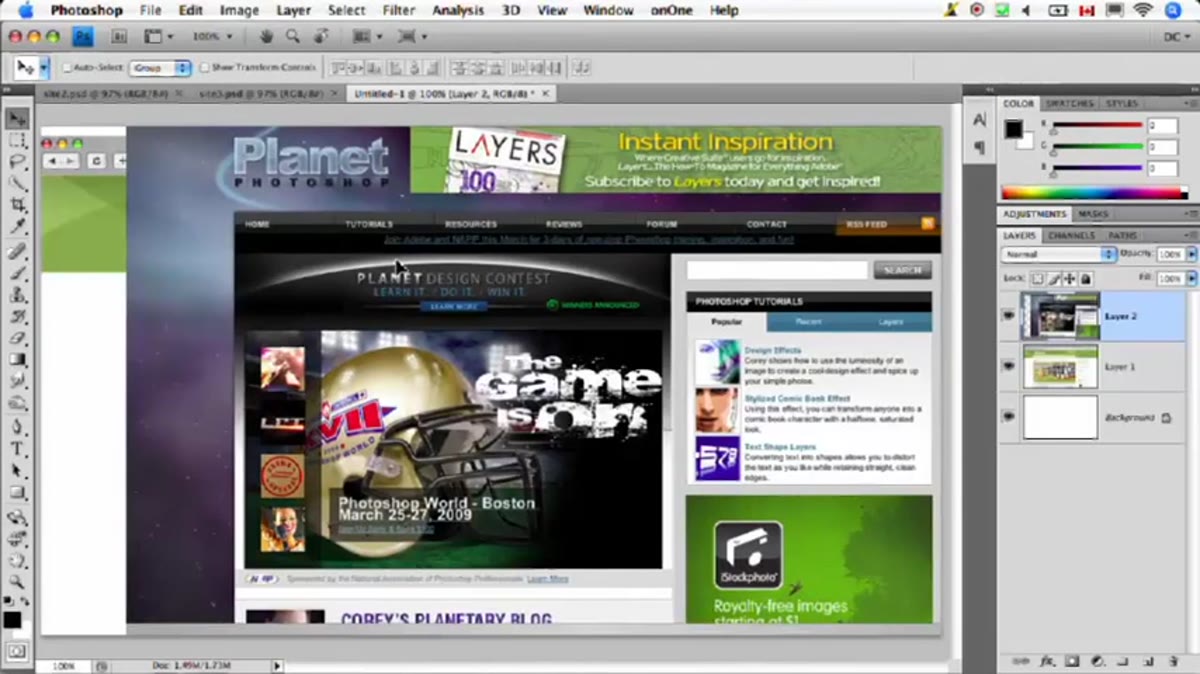
Step 4: Drag and Drop Your Second Screenshot
 Second website screenshot being dragged onto the same canvas
Repeat the drag-and-drop with your second screenshot. Now you have two Smart Object layers sitting on your canvas. Dave brings in the Planet Photoshop site here as his second example. At this point both images are still flat, stacked on top of each other or side by side. That’s fine. The transformation into 3D space happens in the next step, and having them as separate layers gives you independent control over each one.
Second website screenshot being dragged onto the same canvas
Repeat the drag-and-drop with your second screenshot. Now you have two Smart Object layers sitting on your canvas. Dave brings in the Planet Photoshop site here as his second example. At this point both images are still flat, stacked on top of each other or side by side. That’s fine. The transformation into 3D space happens in the next step, and having them as separate layers gives you independent control over each one.
Step 5: Convert a Layer to a 3D Object
 3D menu open in Photoshop CS4 Extended showing conversion options
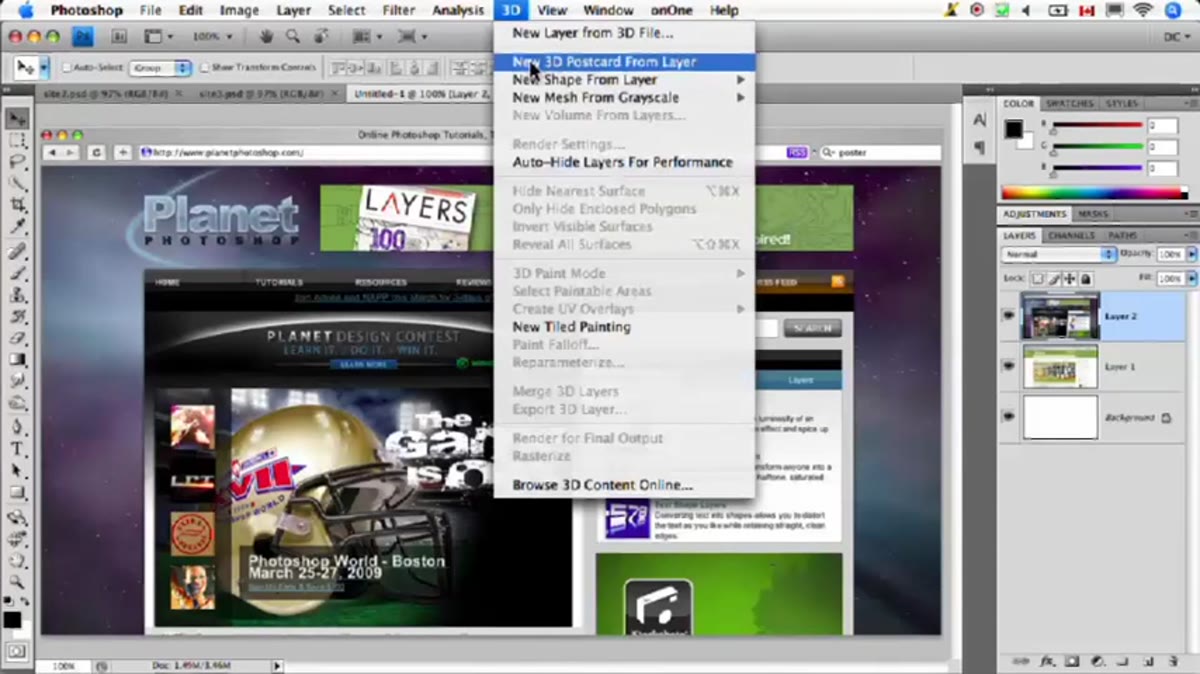
Here’s where CS4 Extended earns its keep. Select one of your screenshot layers in the Layers panel, then head up to the 3D menu at the top of the screen. From there, choose the option to create a 3D postcard from the layer. This wraps your flat image around a 3D plane, which sounds fancier than it looks in practice. What you get is your screenshot mapped onto a flat surface that you can now tilt, rotate, and reposition in actual 3D space. Do this for both layers so each screenshot becomes its own positionable 3D plane.
3D menu open in Photoshop CS4 Extended showing conversion options
Here’s where CS4 Extended earns its keep. Select one of your screenshot layers in the Layers panel, then head up to the 3D menu at the top of the screen. From there, choose the option to create a 3D postcard from the layer. This wraps your flat image around a 3D plane, which sounds fancier than it looks in practice. What you get is your screenshot mapped onto a flat surface that you can now tilt, rotate, and reposition in actual 3D space. Do this for both layers so each screenshot becomes its own positionable 3D plane.
Step 6: Position and Angle Your 3D Planes
 3D planes being rotated and angled on the canvas
Once both layers are 3D objects, you can use the 3D manipulation tools in the toolbar to rotate and angle each one independently. This is where the composition comes together. Dave angles the screens to create that perspective look you see in polished software and portfolio ads, where the website appears to be floating at an angle in space rather than sitting flat on the page. Experiment here. A slight angle reads as sophisticated; too much tilt and your site becomes unreadable. Aim for something that shows off the content while still giving the viewer that sense of depth.
3D planes being rotated and angled on the canvas
Once both layers are 3D objects, you can use the 3D manipulation tools in the toolbar to rotate and angle each one independently. This is where the composition comes together. Dave angles the screens to create that perspective look you see in polished software and portfolio ads, where the website appears to be floating at an angle in space rather than sitting flat on the page. Experiment here. A slight angle reads as sophisticated; too much tilt and your site becomes unreadable. Aim for something that shows off the content while still giving the viewer that sense of depth.
Step 7: Render and Fine-Tune
 Final rendered composition showing both angled website mockups
Once you’re happy with the positioning, let Photoshop render the final view. CS4’s 3D rendering gives you clean edges and accurate perspective on your placed images. From here you can add a background, drop in some color, apply adjustment layers, or composite the whole thing into a larger graphic. The screenshots maintain their sharpness because they started as Smart Objects, so zooming in for detail work won’t reveal ugly pixelation.
Final rendered composition showing both angled website mockups
Once you’re happy with the positioning, let Photoshop render the final view. CS4’s 3D rendering gives you clean edges and accurate perspective on your placed images. From here you can add a background, drop in some color, apply adjustment layers, or composite the whole thing into a larger graphic. The screenshots maintain their sharpness because they started as Smart Objects, so zooming in for detail work won’t reveal ugly pixelation.
What I’d Add: Stack More Than Two, and Mind Your Background
The technique Dave shows is a two-image setup, which is clean and presentation-ready. But once you’ve got the workflow down, there’s no reason to stop there. I’ve used this same approach to build mockup grids with three or four screens arranged at varying depths, kind of like a tech product lookbook. The key is giving each plane a slightly different Z-depth so they don’t compete visually. Also, the background you choose matters more than you’d expect. A flat dark gradient behind angled, lit screens reads as premium. A white background with no shadow work reads as unfinished. Spend ten extra minutes on the backdrop and the whole thing levels up.
One honest caveat: the 3D tools in CS4 Extended have been significantly expanded in later versions of Photoshop, and if you’re running something more current, your menu options may look a little different. The core concept, placing a layer into 3D space as a flat plane and rotating it, still applies across versions. The labels just shift around a bit.
The real takeaway here is that you don’t need to learn an entirely separate piece of software to create convincing 3D-style mockups. Photoshop Extended’s built-in 3D tools, combined with Smart Objects and a little compositional thinking, can produce results that look like they took far more effort than they actually did. That’s the kind of technique worth keeping in your back pocket.
Watch the full tutorial on YouTube to see Dave Cross walk through the whole thing in real time, including how he handles the drag-and-drop setup and the actual 3D conversion steps.
Comments
Leave a Comment