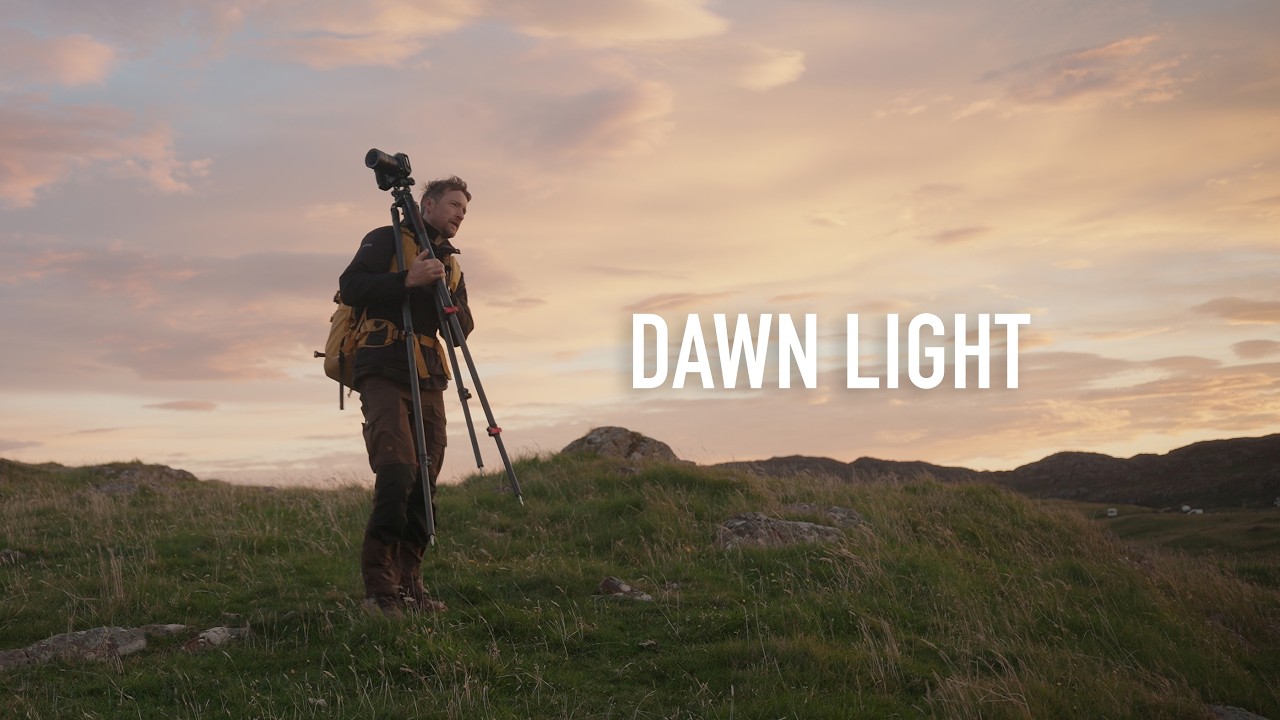
There’s a specific kind of photography frustration I know too well. You show up somewhere beautiful, the light looks promising, and then the clouds roll in and eat everything. You’re left standing there with a thermos of lukewarm coffee and a card full of “almost” shots. I’ve been there more times than I’d like to admit, and my instinct is usually to pack up and call it a loss. Thomas Heaton didn’t do that. In this Thomas Heaton tutorial shot on the northwest coast of Scotland, he arrives at a dramatic sea stack called Split Rock with a closing weather window, makes fast decisions with his gear, and walks away with one genuinely great exposure before the light disappears entirely.
Watch the full tutorial on YouTube
What makes this video worth unpacking isn’t just the pretty scenery. It’s the field logic. Heaton is shooting in good-but-not-great light, working with contrast and motion to compensate, and committing to a black and white conversion from the start. That last part is the piece I want to focus on here, because too many people shoot RAW color and then half-heartedly drag the saturation down later and call it monochrome. Planning for black and white at the capture stage changes every decision you make, from your filter stack to your shutter speed. Here’s how it breaks down.
Step 1: Read the Light Before You Touch the Camera
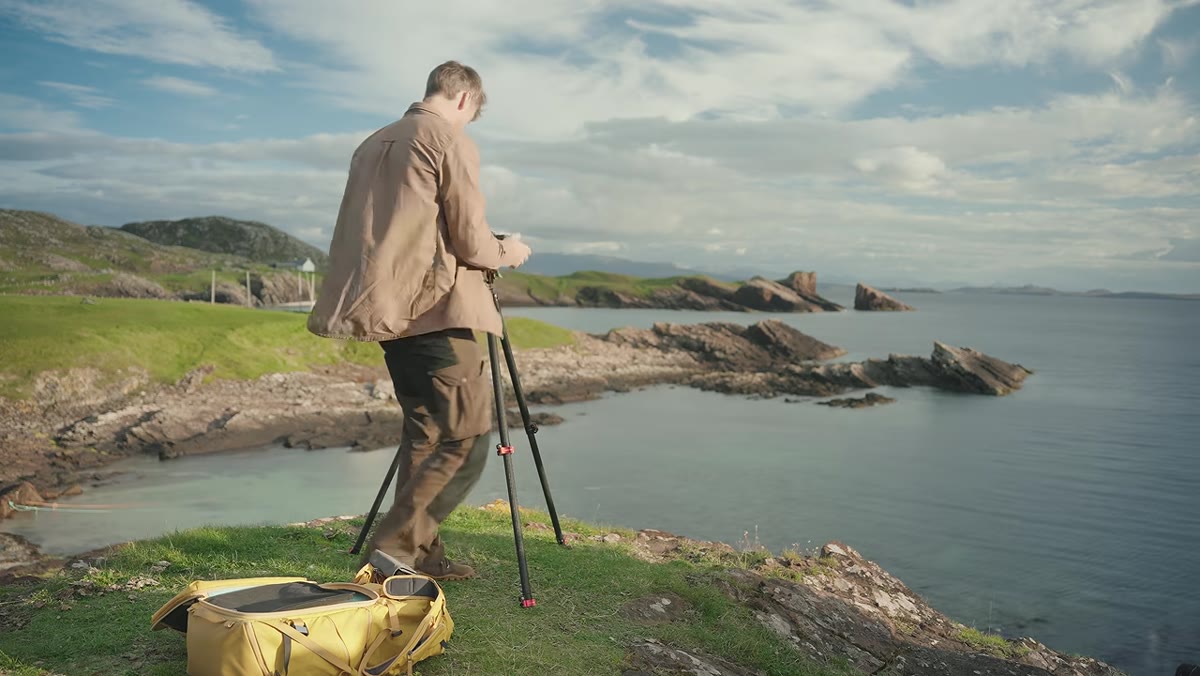
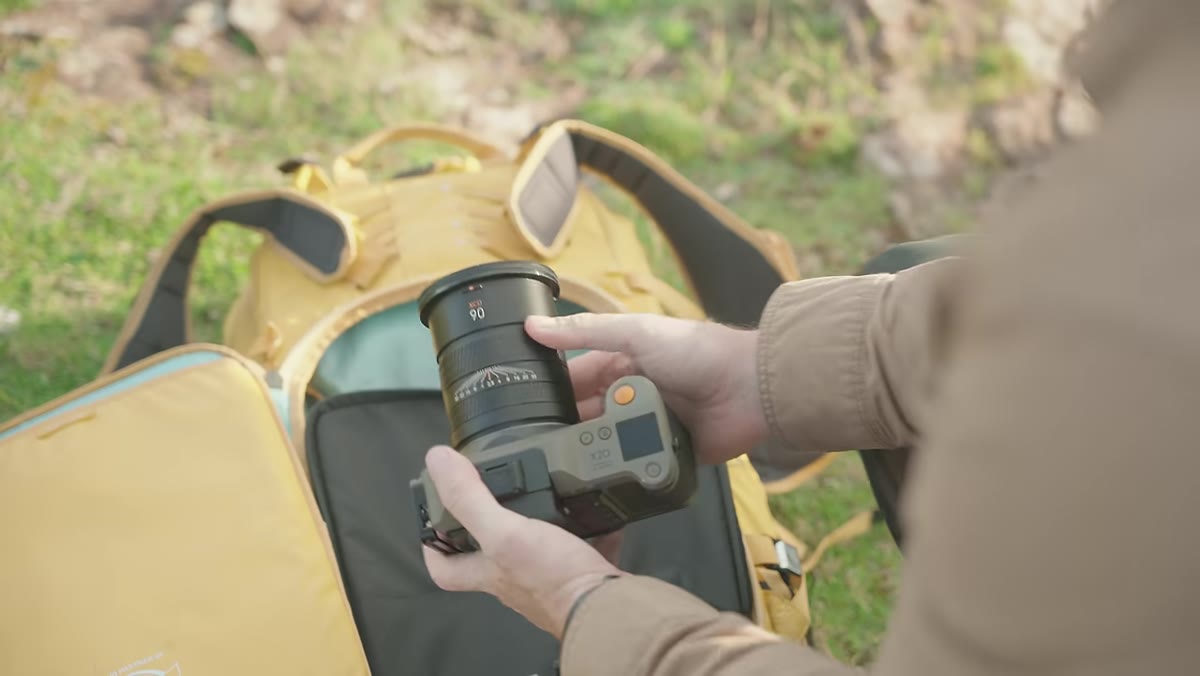 Thomas assessing the scene at Split Rock
When Heaton arrives at Split Rock, he doesn’t immediately set up the tripod. He looks. He clocks that clouds are moving in from the west, which means the directional light he’s currently seeing is on borrowed time. That assessment tells him two things: he needs to work fast, and the contrast he’s looking at right now, the side-lit texture on the rocks, is actually an asset for black and white.
Thomas assessing the scene at Split Rock
When Heaton arrives at Split Rock, he doesn’t immediately set up the tripod. He looks. He clocks that clouds are moving in from the west, which means the directional light he’s currently seeing is on borrowed time. That assessment tells him two things: he needs to work fast, and the contrast he’s looking at right now, the side-lit texture on the rocks, is actually an asset for black and white.
In Photoshop terms, this is the part where you’d be thinking about your Black and White adjustment layer. High-contrast directional light separates tonal values in a way that flat overcast light simply doesn’t. If you’re editing a shot with strong shadows and lit rock faces, you’ve got natural separation to work with. If you’re editing a flat gray scene, you’re going to be pushing sliders hard and fighting noise. Heaton’s decision to shoot during the brief window of contrast rather than wait is the whole ballgame.
Step 2: Lock Down Your Tripod Lower Than You Think
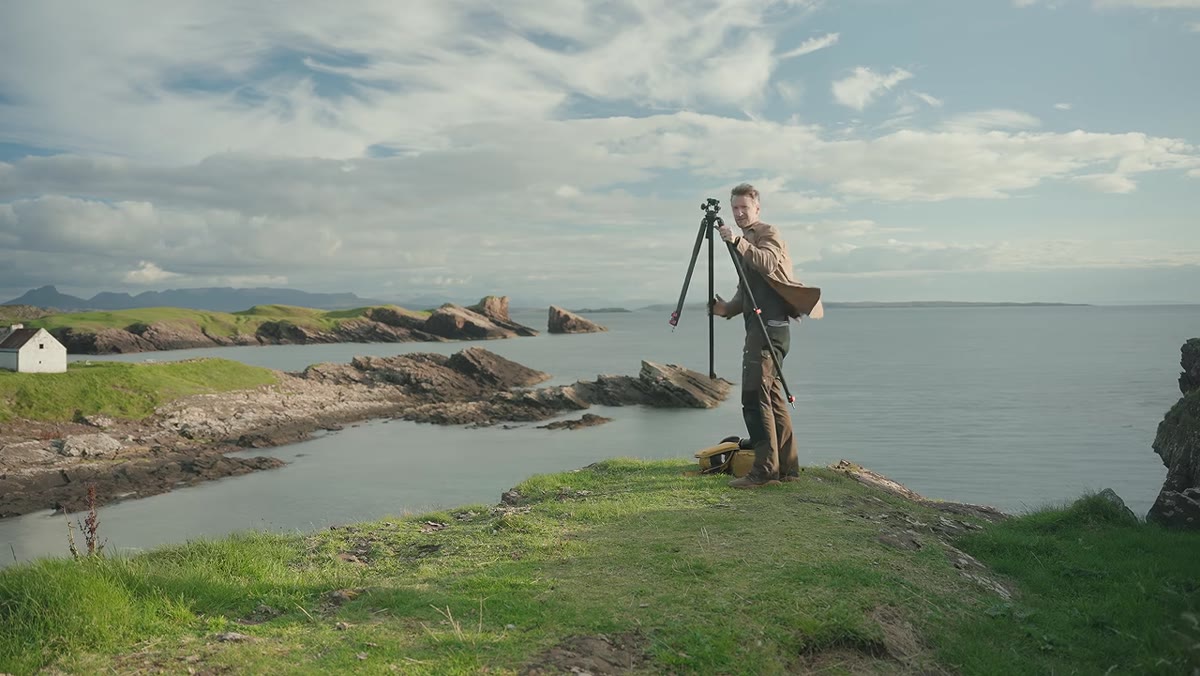 Tripod set at half height on rocky shoreline
Heaton explicitly drops his tripod to half height because of wind. This isn’t a compositional choice, it’s a physics one. A tall tripod in strong coastal wind acts like a sail, and on a 32-second exposure, any vibration reads as blur. He also spikes the feet into the ground where possible.
Tripod set at half height on rocky shoreline
Heaton explicitly drops his tripod to half height because of wind. This isn’t a compositional choice, it’s a physics one. A tall tripod in strong coastal wind acts like a sail, and on a 32-second exposure, any vibration reads as blur. He also spikes the feet into the ground where possible.
If you’re editing long exposures and seeing weird ghosting or soft edges that aren’t motion blur from water or clouds, this is often the culprit. In Photoshop, you can recover some camera shake with Smart Sharpen using the Lens Blur reduction setting, but there’s a ceiling. Getting the shot stable in camera is always cleaner than fixing it in post. When you’re editing, zoom to 100% immediately and check your stationary elements like rocks and horizon lines for sharpness before you do anything else.
Step 3: Stack a 10-Stop ND with a Polarizer for a Black and White Conversion
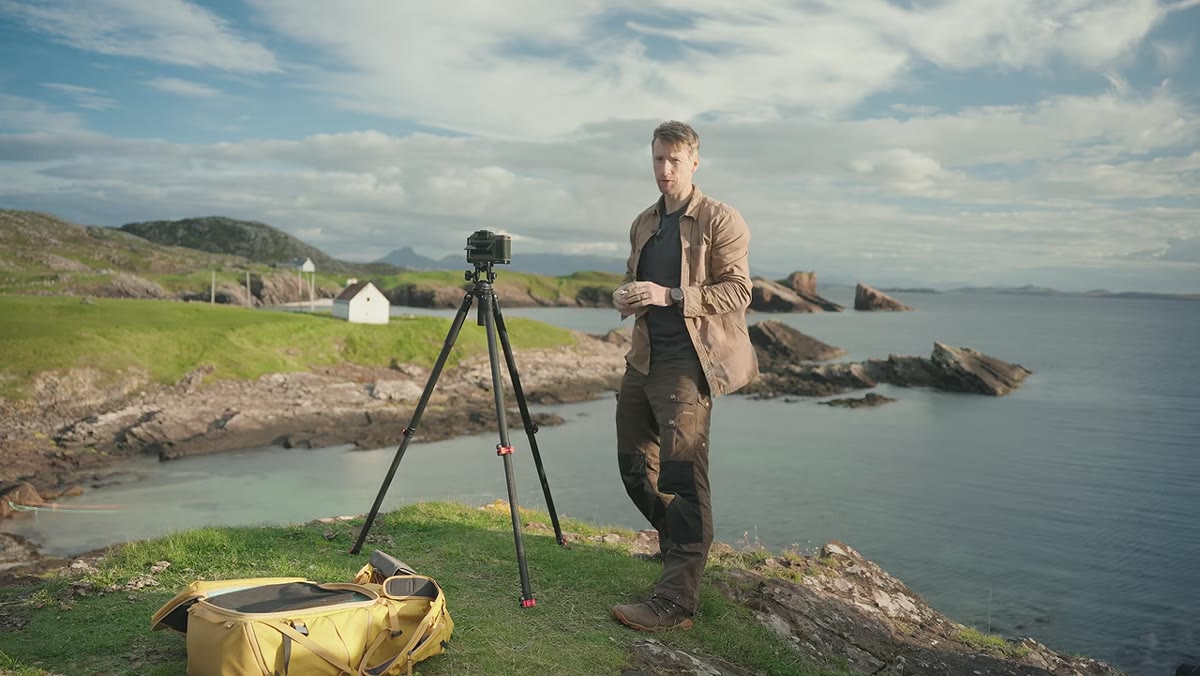 Filter being attached to lens before exposure
Heaton goes straight for a 10-stop ND filter combined with a polarizing filter. The ND gets him a 32-second exposure in daylight, which smooths the water into that silky motion blur that reads beautifully in black and white. The polarizer does two things simultaneously: it cuts glare off the wet rocks and water surface, and it deepens the blue channel in the sky, which translates to richer darks in your monochrome conversion.
Filter being attached to lens before exposure
Heaton goes straight for a 10-stop ND filter combined with a polarizing filter. The ND gets him a 32-second exposure in daylight, which smooths the water into that silky motion blur that reads beautifully in black and white. The polarizer does two things simultaneously: it cuts glare off the wet rocks and water surface, and it deepens the blue channel in the sky, which translates to richer darks in your monochrome conversion.
In Photoshop, when you pull a RAW file into Camera Raw or Lightroom before handing it off, go to your HSL panel and look at what the Blue and Aqua luminance channels are doing. A polarizer in the field effectively pre-darkens those channels, so your sky has real depth before you’ve touched a single slider. If you didn’t shoot with a polarizer, you can simulate some of this in the Black and White adjustment layer by pulling the Blues and Cyans down manually, but you’ll lose detail and add noise faster than the real filter would.
Step 4: Expose for 32 Seconds at f/11
 Camera settings displayed: 32 seconds, f/11
The exposure settings here are specific for a reason. f/11 is the sweet spot for landscape sharpness across a wide depth of field without hitting the diffraction that starts creeping in at f/16 and f/22. The 32-second shutter duration is long enough to completely smooth any wave action into flowing streaks around the base of the rock, which gives the image a sense of movement and drama.
Camera settings displayed: 32 seconds, f/11
The exposure settings here are specific for a reason. f/11 is the sweet spot for landscape sharpness across a wide depth of field without hitting the diffraction that starts creeping in at f/16 and f/22. The 32-second shutter duration is long enough to completely smooth any wave action into flowing streaks around the base of the rock, which gives the image a sense of movement and drama.
When you’re bringing this kind of shot into Photoshop, the smoothed water needs careful handling. It’s easy to over-sharpen it by accident, especially if you have a Sharpening action applied globally. Use a luminosity mask or a manual layer mask to apply sharpening only to the rock and sky, keeping the water smooth. The contrast between sharp geology and silky water is the whole visual tension of the shot.
Step 5: Commit to Black and White Before You Edit
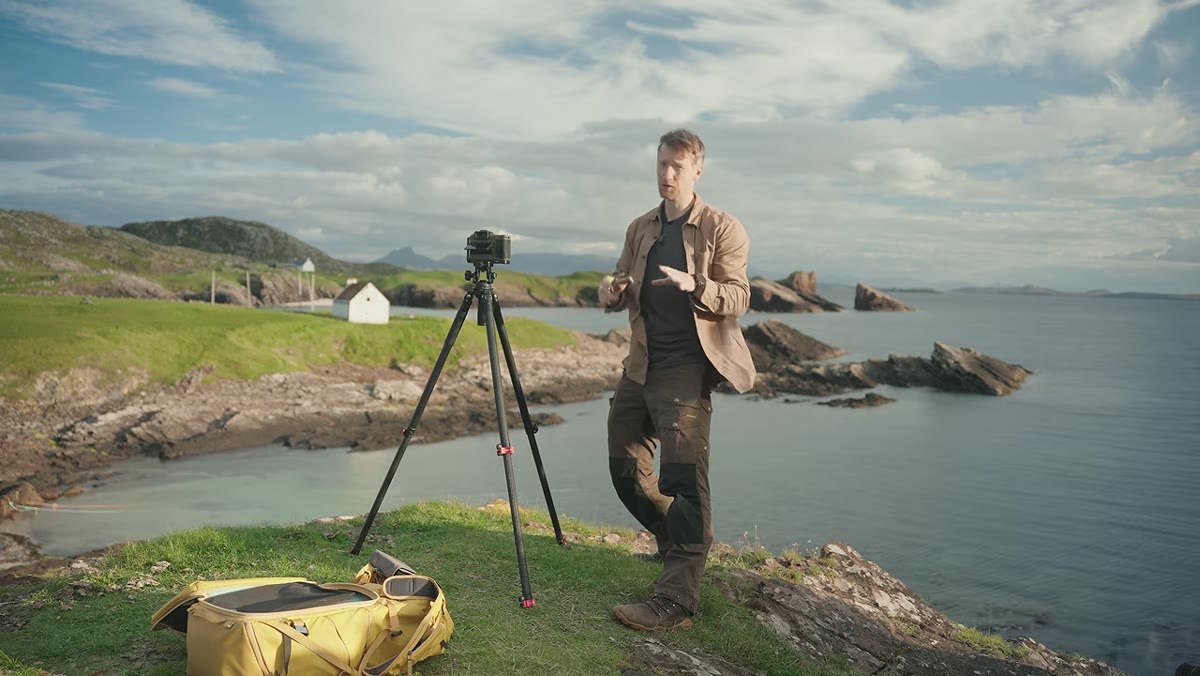 Discussion of black and white conversion plan
Heaton calls out his plan to convert to black and white before he even takes the shot. That’s not throwaway commentary. It means he’s mentally mapping tonal relationships instead of color ones. He’s thinking about how the lit rock faces will separate from the dark water, not what the color of the moss looks like.
Discussion of black and white conversion plan
Heaton calls out his plan to convert to black and white before he even takes the shot. That’s not throwaway commentary. It means he’s mentally mapping tonal relationships instead of color ones. He’s thinking about how the lit rock faces will separate from the dark water, not what the color of the moss looks like.
In Photoshop, apply your Black and White adjustment layer early, before you do any significant tonal work. Convert first, then adjust. If you brighten and contrast a color image and then convert, you’ve lost control over which colors map to which tones. With the adjustment layer on, use the color channel sliders to push yellows and oranges up for brighter rock textures, and pull blues down for a darker, more dramatic sky. This is where your polarizer investment from Step 3 pays off in spades.
What I’d Add From My Own Experience
The convert-early rule is one I learned the hard way on a composite project where I spent two days building out a moody stormy scene in full color before flattening it to monochrome. The color corrections I’d made to blend multiple source images stopped making sense in black and white. The adjustment layers I thought were fixed were actually just masking problems I hadn’t noticed because color was covering them.
Heaton’s whole session at Split Rock is a single image from a brief window of good light. He doesn’t try to rescue the flat gray light that follows. He knows when the shot happened and when it didn’t. That’s a discipline that applies directly to editing. Know when the shot is done and don’t keep poking at it.
The single most useful thing in this video is the planning-for-monochrome mindset. Filter choice, shutter speed, exposure timing, all of it feeds into a black and white result that was designed rather than defaulted into.
Watch the full tutorial on YouTube and pay attention to how quickly Heaton moves once the light appears. That speed comes from having a plan before the moment arrives.
Comments
Leave a Comment