
Client asks for a shirt mockup. You think, easy. You drop a houndstooth pattern onto the image, and it either tiles like a ransom note or sits completely flat with zero sense of the fabric underneath. I’ve been there more times than I’d like to admit, usually in a coffee shop, definitely panicking. The fix is more systematic than you’d think, and it starts way earlier in the process than most people expect.
In this Aaron Nace (PHLEARN) tutorial, Aaron walks through the full workflow: cropping a pattern down to its repeatable core, defining it in Photoshop, scaling it correctly, and then making it actually look like it belongs on a piece of clothing rather than floating on top of one. It’s one of those techniques where the setup work determines whether the final result looks professional or like clip art. Here’s the full breakdown so you can follow along without pausing the video every thirty seconds.
Step 1: Identify the Smallest Repeatable Unit of Your Pattern
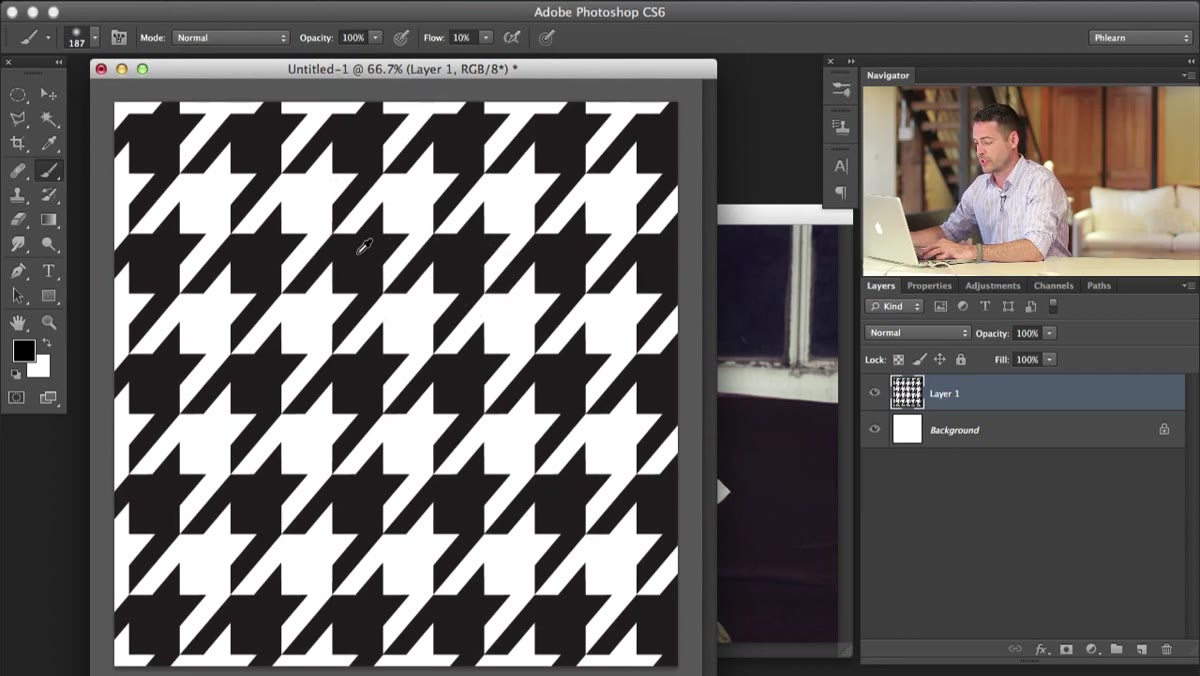 Simplified houndstooth pattern reduced to four-square grid
Before you define anything as a pattern, you need to strip it down to its true minimum. Aaron uses houndstooth as the example, and the key insight is that the full houndstooth motif is actually just four squares arranged in a two-by-two grid: one dark square, one light square, and two transitional pattern blocks. Most people would look at a houndstooth swatch and try to define a huge chunk of it as the tile. That’s where things go wrong. The smaller and more accurate your base tile, the cleaner and more flexible the repeat.
Zoom in on your pattern source file and find where the repeat actually starts and ends. Look for the moment where the image could mirror itself perfectly both horizontally and vertically. That boundary, not the full visible pattern, is what you’re cropping to.
Step 2: Crop to That Exact Boundary Using the Crop Tool
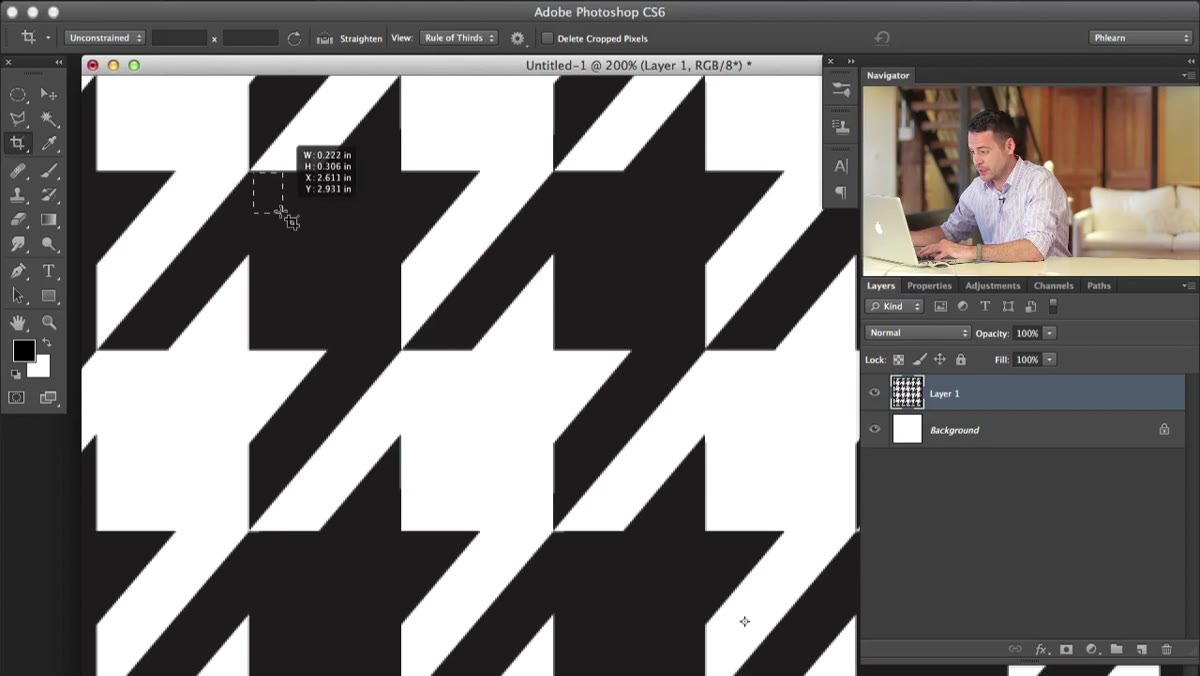 Crop tool active, selection drawn from top-left to bottom-right of tile
Grab the Crop tool (C) and drag a selection from the very top-left corner of your minimum tile to the bottom-right corner. You want precision here. Sloppy cropping means visible seams when the pattern tiles, and those seams are basically impossible to fix later without starting over. Once your crop selection is placed, hit Enter to commit.
One thing worth knowing: make sure “Delete Cropped Pixels” is checked in the options bar before you commit the crop. If it’s not, Photoshop will just hide the surrounding pixels rather than remove them, and they’ll come back to haunt you when you define the pattern. Aaron catches this mid-tutorial, and it’s a genuinely easy thing to miss.
Step 3: Resize the Tile to Match the Scale You Actually Need
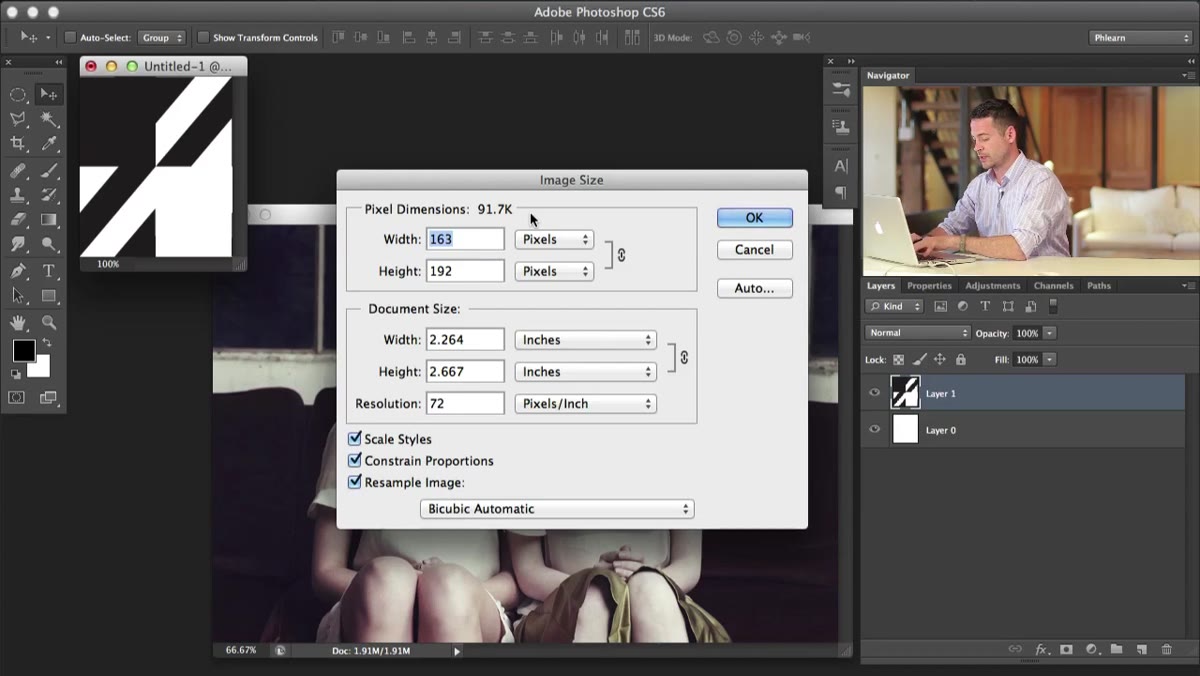 Image Size dialog open, width being reduced from 160 to smaller value
Here’s where a lot of people skip a step and then wonder why their pattern looks giant or blurry. After cropping, go to Image - Image Size and scale your tile down to something appropriate for the final composition. Aaron is working with a shirt photo, and he ends up going down to around 30 pixels wide before he’s happy with the proportions relative to the garment.
The logic is important: once you define a pattern, Photoshop tiles it at the defined pixel size. If you define a 160-pixel tile and then try to scale the whole pattern fill down later, you’re going to lose the seamless quality because the transform affects the fill differently than the definition does. Sizing first means sizing once. Think of it as doing the math before you commit, not after.
Step 4: Define the Pattern
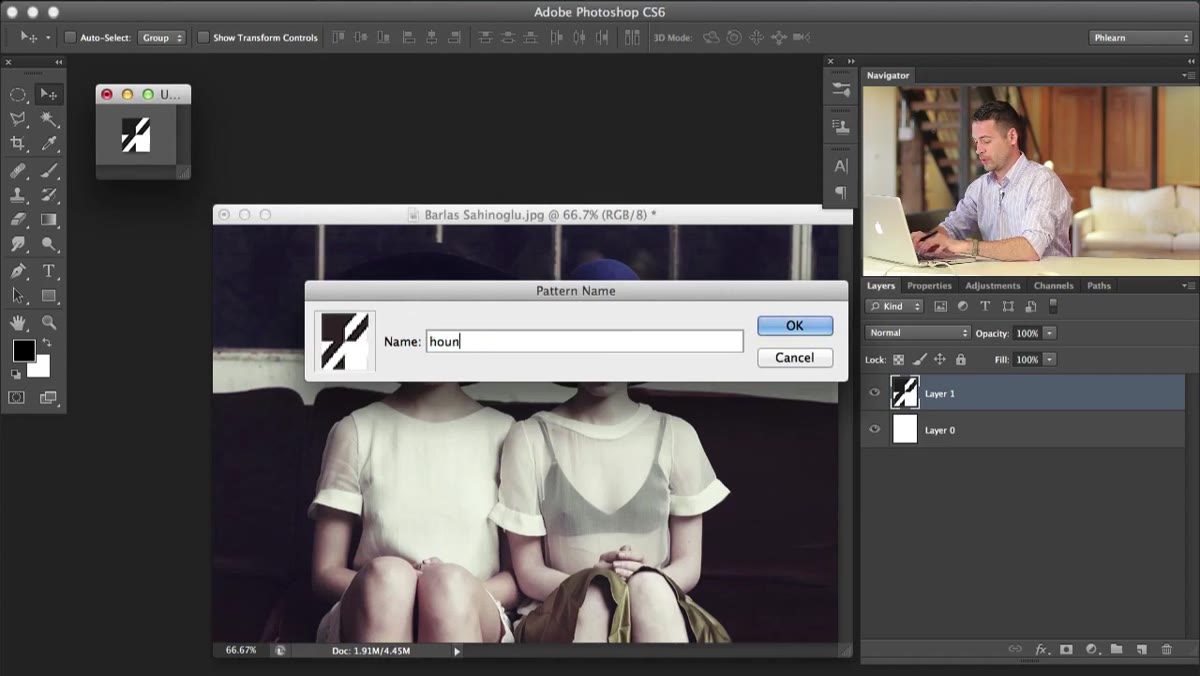 Edit menu open with Define Pattern option highlighted
With your correctly sized tile open, go to Edit - Define Pattern. Photoshop will ask you to name it. Name it something that makes sense to future-you, not just “Pattern 1” (or “houndstooth 4” like Aaron does after a few false starts, which is relatable). Hit OK, and your pattern is now available system-wide in Photoshop until you decide to wipe your presets.
That’s it for the definition step. The tile is locked in at that size and will repeat exactly as defined. If you later decide the scale is wrong, you’ll need to go back, resize the source tile, and redefine. It’s not painful, but it’s worth getting right the first time.
Step 5: Fill a New Layer with the Pattern
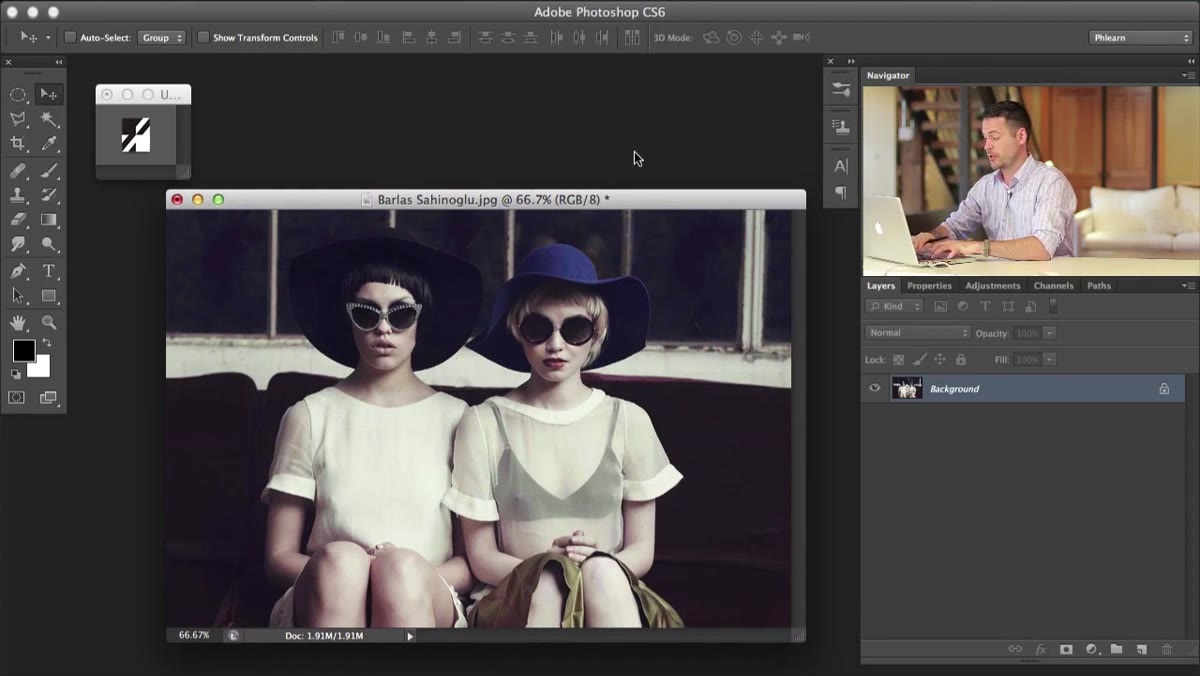 Fill dialog open, Pattern selected as fill type
Create a new layer above your base photo, then open the Fill dialog with Shift-Delete (Mac) or Shift-Backspace (Windows). In the Contents dropdown, choose Pattern instead of Foreground Color or Background Color. A secondary dropdown will appear showing your saved patterns. Scroll to find the one you just defined and select it.
Hit OK, and the layer will flood with your seamlessly tiling pattern at exactly the size you defined. At this point it looks like a flat graphic sitting on top of a photo, which is expected. The next step is where the magic happens.
Step 6: Blend the Pattern into the Fabric Using Layer Modes and Masking
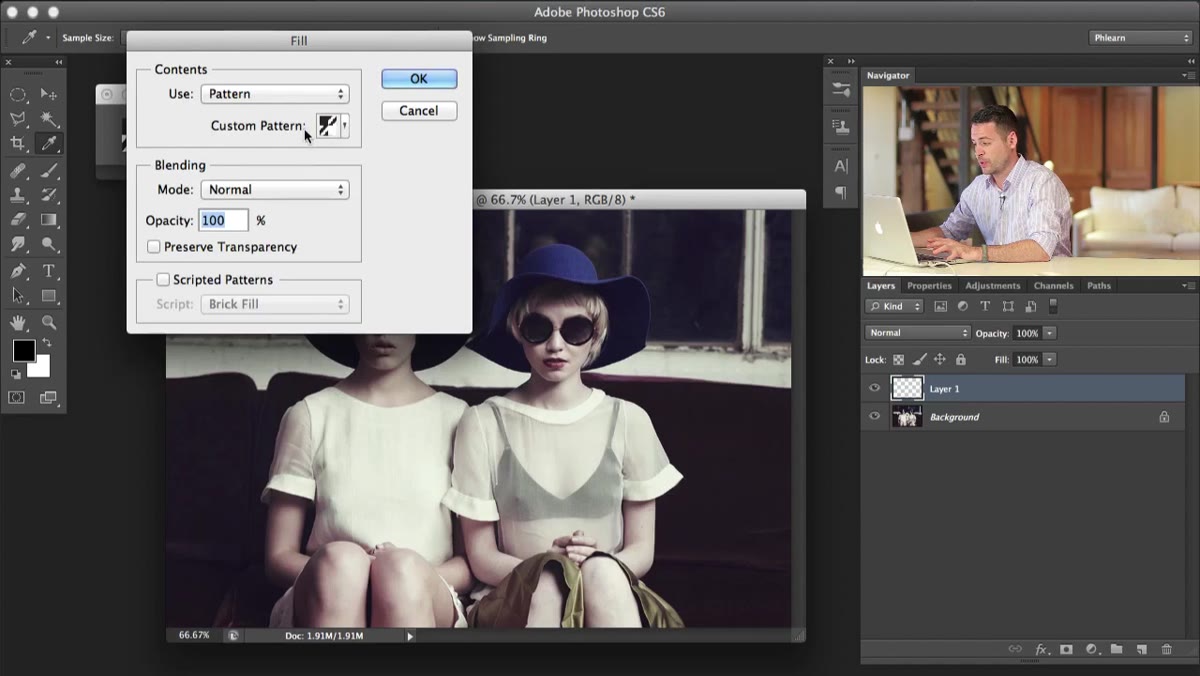 Pattern fill layer visible over shirt photo in layers panel
With the pattern layer selected, change the blend mode (in the Layers panel dropdown) to something like Multiply or Overlay, depending on whether your pattern is dark-on-light or needs to interact with the tones beneath it. Multiply works well for darker patterns on fabric because it lets the shadows and folds of the underlying shirt show through, giving the pattern the natural contour of the cloth.
From here, Aaron uses masking and warping techniques to push the pattern further into the shape of the garment. You can add a layer mask and paint away the pattern on areas like the sleeves or collar where it shouldn’t appear. For a more convincing wrap, Photoshop’s Warp transform (Edit - Transform - Warp) lets you bend the pattern layer to follow the natural drape of fabric. It takes some patience, but the result looks like the pattern was printed on the shirt, not pasted over a photo.
What I’d Add: Use a Smart Object for the Pattern Layer
Aaron’s approach is clean, but if I’m doing this for a client, I always convert that pattern fill layer to a Smart Object before I start warping. The reason: warp is a destructive transform by default, but on a Smart Object it stays editable. That means when the client wants the pattern slightly bigger, or decides houndstooth was the wrong call entirely (it happens), you can swap the pattern without redoing all your masking and blending work.
It’s a thirty-second habit that has saved me hours. Right-click the pattern layer and choose “Convert to Smart Object” before you touch the Warp tool.
The single most important takeaway here is to size your tile before you define it, not after. Everything downstream, from tiling quality to scaling flexibility, depends on getting that step right at the beginning. The rest is blending and masking, which are skills you probably already have.
Watch the full tutorial on YouTube to see Aaron work through the houndstooth pattern live, including the parts where he figures it out in real time, which honestly makes it more useful than a polished walkthrough would be.
Comments (2)
Solid advice. Especially the part about taking your time with it.
This saved me so much time on my last edit. Wish I'd found this sooner.
Leave a Comment