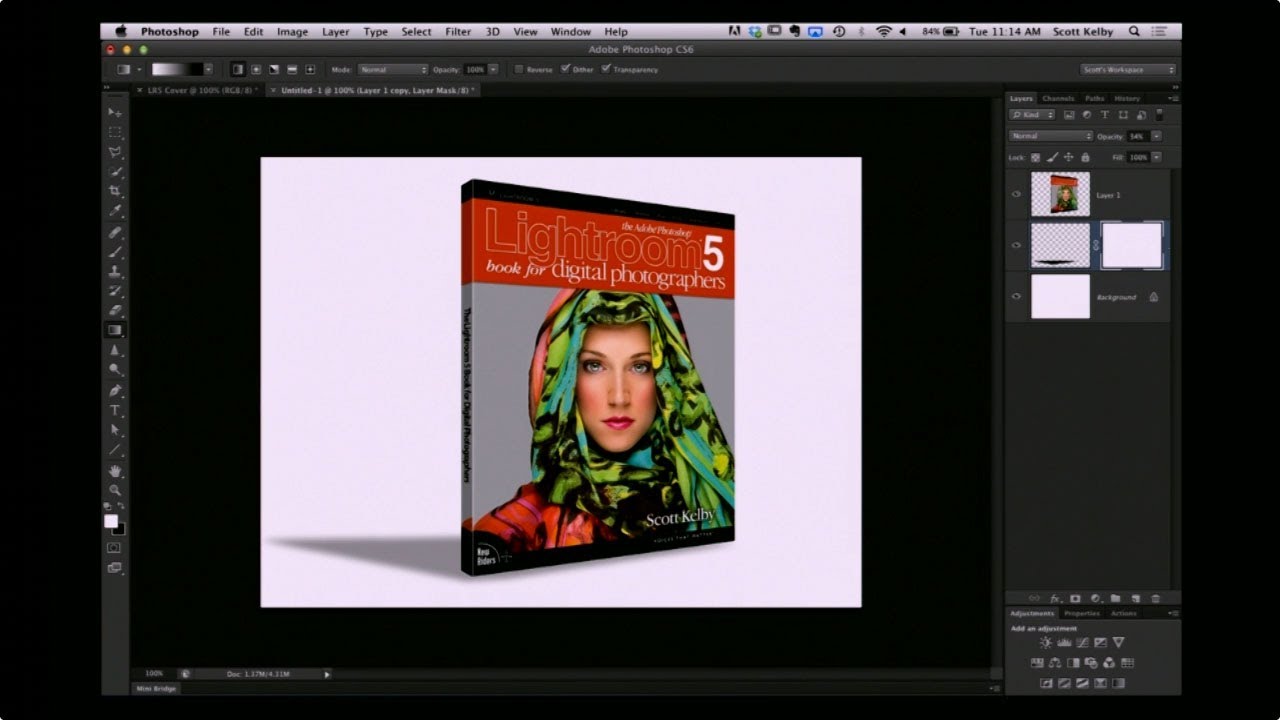
Every freelancer hits the moment where a client asks for a mockup and you have exactly one flat image, zero budget for a dedicated mockup tool, and a deadline measured in hours rather than days. That’s the situation I kept running into when clients wanted to see their book covers, product boxes, or packaging “in context” before going to print. I’d either be hunting through free mockup sites hoping something roughly matched the dimensions, or worse, trying to wrangle Photoshop’s actual 3D workspace, which – for a task this simple – is like renting a forklift to move a couch.
In this KelbyOne tutorial from Photoshop User TV, the team walks through exactly the kind of technique that makes you wonder why you ever did it the harder way. The core idea: use Free Transform’s distort capability to wrap a flat cover image around a simple three-sided box shape, creating a convincing 3D book mockup from scratch. No 3D mode, no plugins, no subscription to a mockup service. Just Photoshop doing what Photoshop does best when you actually know where to poke it. Watch the full tutorial on YouTube
Here’s the step-by-step breakdown so you can follow along without pausing the video every 30 seconds.
Step 1: Copy Your Flat Cover Image
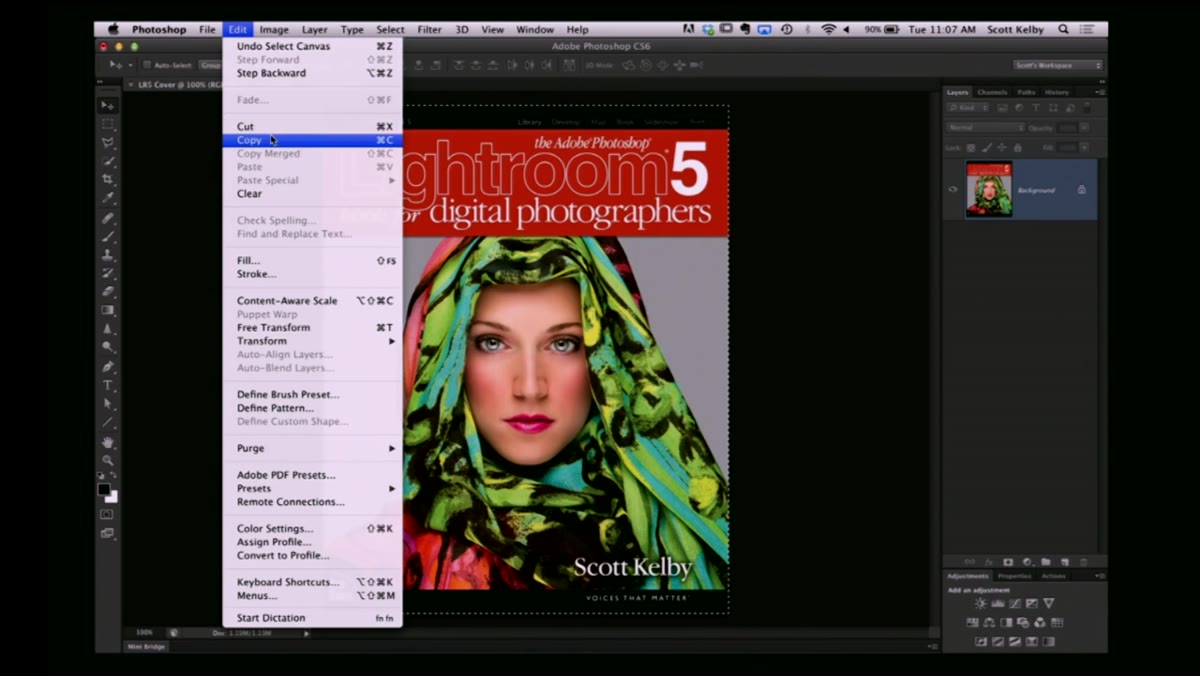 Selecting the flat book cover image before copying
Open your flat cover artwork – whatever it is, a book, a box, a DVD sleeve – and do a straight Select All (Cmd/Ctrl + A) followed by Copy (Cmd/Ctrl + C). You’re not doing anything fancy here yet. The cover stays flat and untouched in its original document. You’re just grabbing the pixels so you can paste them into the working document where the actual transformation happens.
Selecting the flat book cover image before copying
Open your flat cover artwork – whatever it is, a book, a box, a DVD sleeve – and do a straight Select All (Cmd/Ctrl + A) followed by Copy (Cmd/Ctrl + C). You’re not doing anything fancy here yet. The cover stays flat and untouched in its original document. You’re just grabbing the pixels so you can paste them into the working document where the actual transformation happens.
If your cover has multiple layers, flatten it or merge visible layers first. You want a single clean pixel layer to work with, not a stack of things that will separate the moment you start distorting.
Step 2: Paste Into a New Blank Document
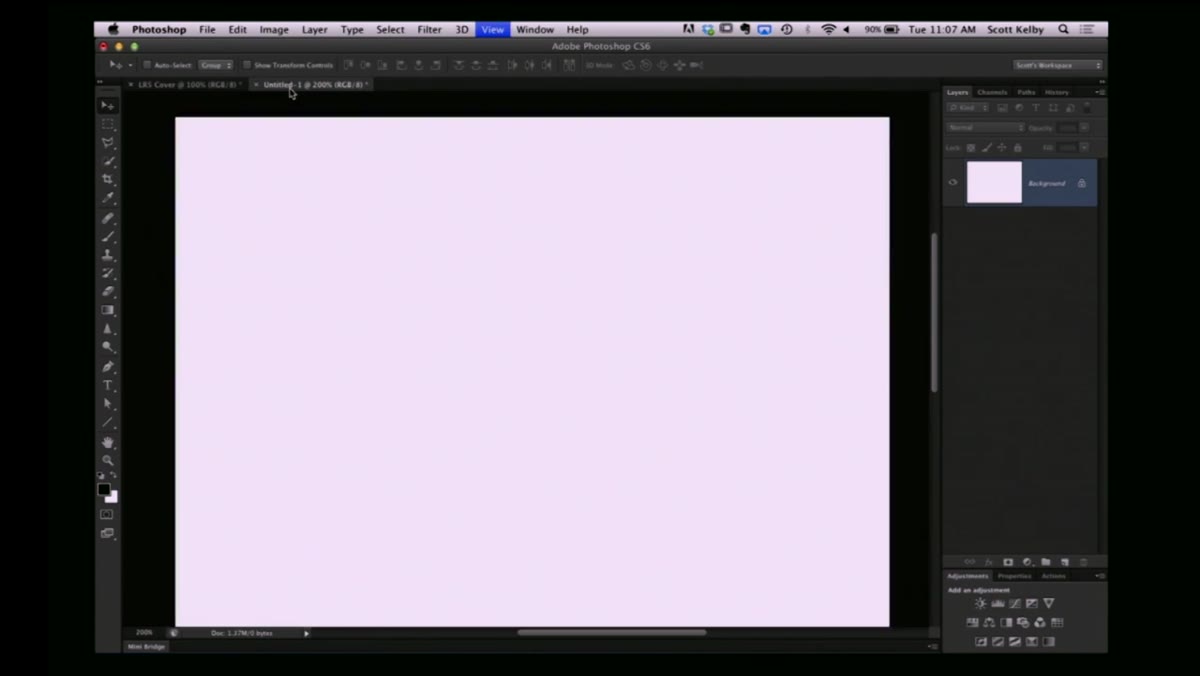 Pasting the cover into a new blank working document
Create a new blank document – size it to give yourself room to build the three-sided box shape with some breathing space around it. Paste your copied cover in (Cmd/Ctrl + V) and it’ll land as a new layer. It’ll probably be too large for the canvas, which is fine.
Pasting the cover into a new blank working document
Create a new blank document – size it to give yourself room to build the three-sided box shape with some breathing space around it. Paste your copied cover in (Cmd/Ctrl + V) and it’ll land as a new layer. It’ll probably be too large for the canvas, which is fine.
The blank document is your stage. Think of it like setting up a scene before you start moving furniture. You want enough canvas that when you distort the cover into perspective, you’re not clipping corners or running out of room.
Step 3: Scale It Down With Free Transform
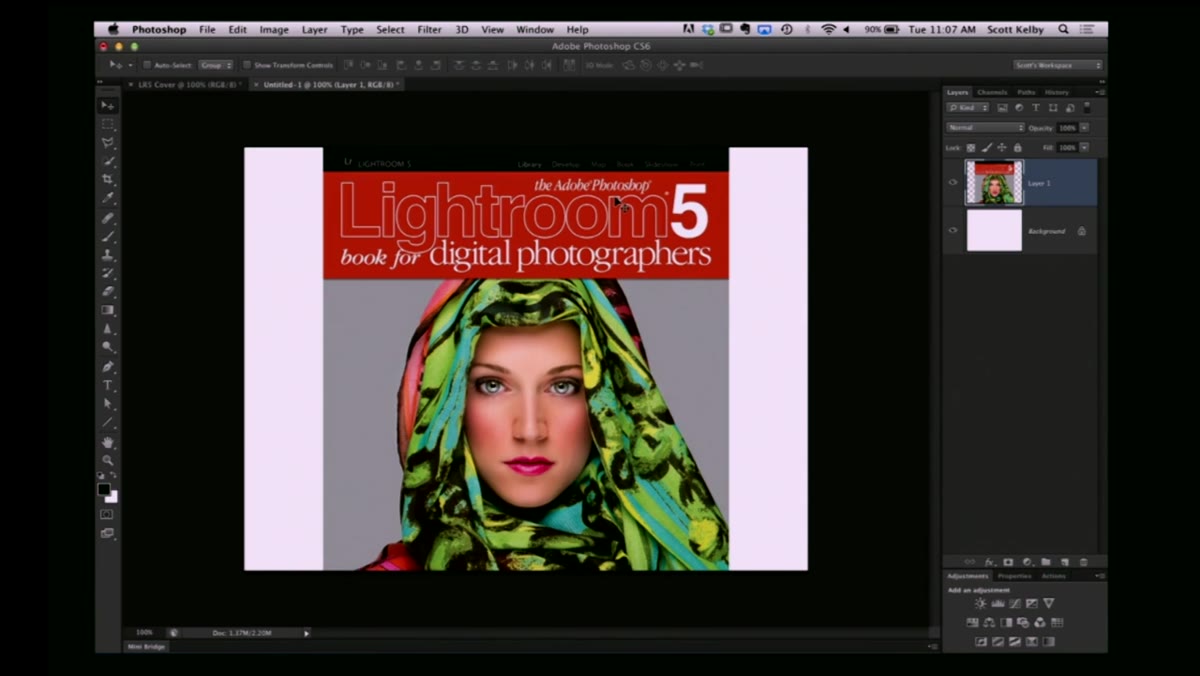 Using Free Transform to resize the pasted cover layer
Hit Cmd/Ctrl + T to bring up Free Transform, hold Shift to constrain proportions, and drag a corner handle to scale the cover down to a reasonable working size. You’re not going for final dimensions yet – just get it manageable so it fits on the canvas with room to spare.
Using Free Transform to resize the pasted cover layer
Hit Cmd/Ctrl + T to bring up Free Transform, hold Shift to constrain proportions, and drag a corner handle to scale the cover down to a reasonable working size. You’re not going for final dimensions yet – just get it manageable so it fits on the canvas with room to spare.
One habit worth building here: before you commit the transform, take a beat to think about how large the front face of your box will actually be. You want the cover scaled to roughly that size before you start distorting it. Makes the next steps cleaner.
Step 4: Duplicate the Layer for Each Face of the Box
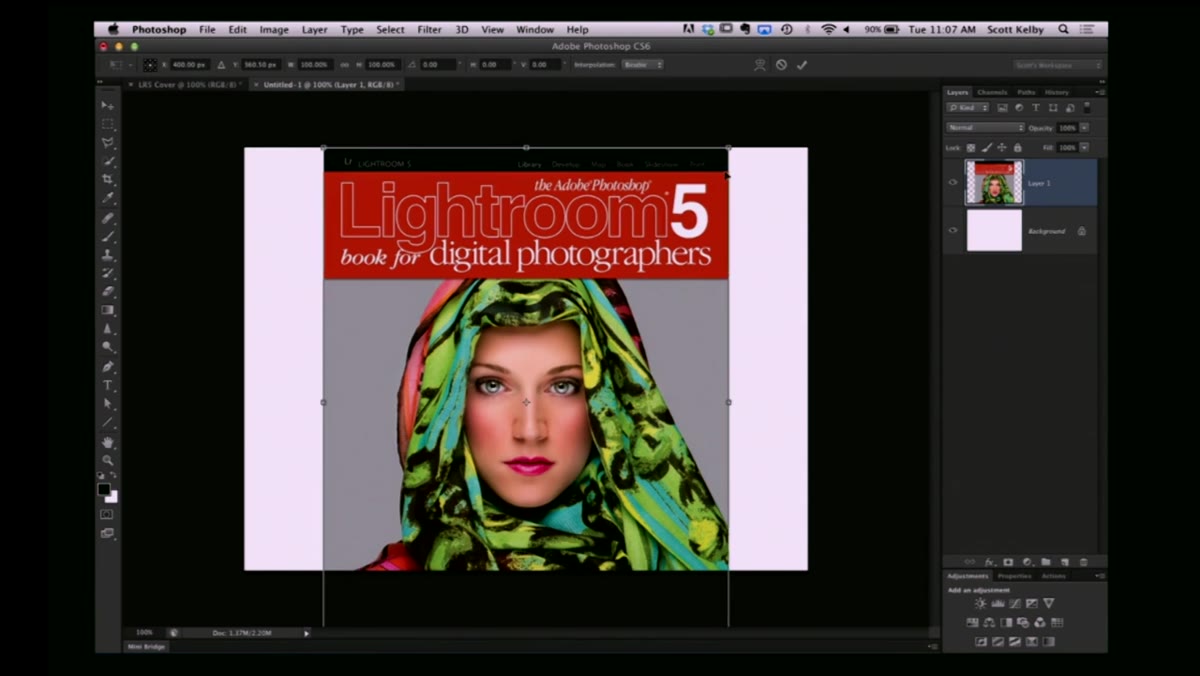 Duplicating the cover layer to create multiple box faces
The box has three visible sides: the front, the spine, and the top. Each face needs its own layer because each one gets distorted independently. Duplicate the pasted layer twice (Cmd/Ctrl + J, twice) so you have three copies total. Label them “Front,” “Spine,” and “Top” – I know, I know, nobody actually labels layers until they’ve spent 20 minutes hunting through a stack of “Layer 3 copy 2” files. Do it now, thank yourself later.
Duplicating the cover layer to create multiple box faces
The box has three visible sides: the front, the spine, and the top. Each face needs its own layer because each one gets distorted independently. Duplicate the pasted layer twice (Cmd/Ctrl + J, twice) so you have three copies total. Label them “Front,” “Spine,” and “Top” – I know, I know, nobody actually labels layers until they’ve spent 20 minutes hunting through a stack of “Layer 3 copy 2” files. Do it now, thank yourself later.
Turn off two of the copies and work on one face at a time. This is the part where staying organized pays off immediately.
Step 5: Distort Each Face Into Perspective Using Free Transform
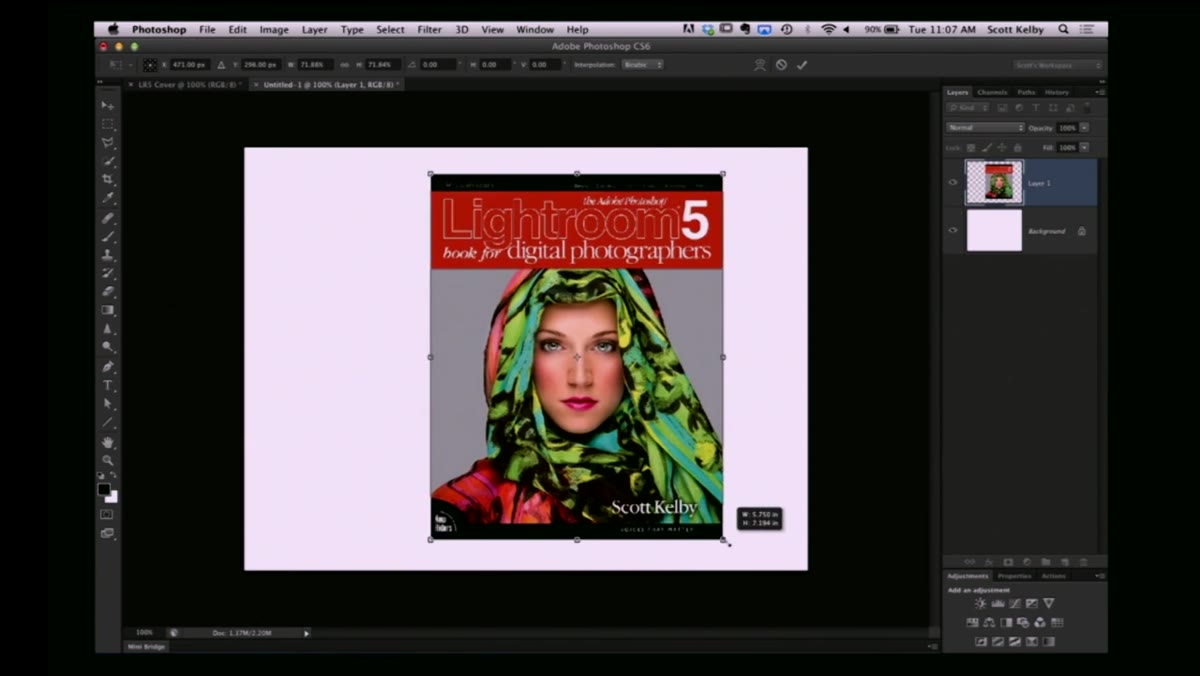 Applying Free Transform Distort to angle the cover face into perspective
This is the actual magic step. Select your Front layer, hit Cmd/Ctrl + T for Free Transform, then right-click inside the transform box and choose “Distort.” Now instead of scaling uniformly, you can drag each corner handle independently. This lets you angle the flat cover into a perspective plane – pull the top-right corner up and in, pull the bottom-right corner down and in, and you’ll see the flat image start to look like it’s facing you at an angle.
Applying Free Transform Distort to angle the cover face into perspective
This is the actual magic step. Select your Front layer, hit Cmd/Ctrl + T for Free Transform, then right-click inside the transform box and choose “Distort.” Now instead of scaling uniformly, you can drag each corner handle independently. This lets you angle the flat cover into a perspective plane – pull the top-right corner up and in, pull the bottom-right corner down and in, and you’ll see the flat image start to look like it’s facing you at an angle.
The Distort option is the thing most people overlook because they only ever use Free Transform for scaling or rotating. But dragging individual corners is where the 3D illusion actually comes from. Take your time getting the angles to feel natural. A common mistake is making the perspective too extreme – real books and boxes have fairly subtle angles unless you’re going for a dramatic hero shot.
Step 6: Build the Spine and Top Faces
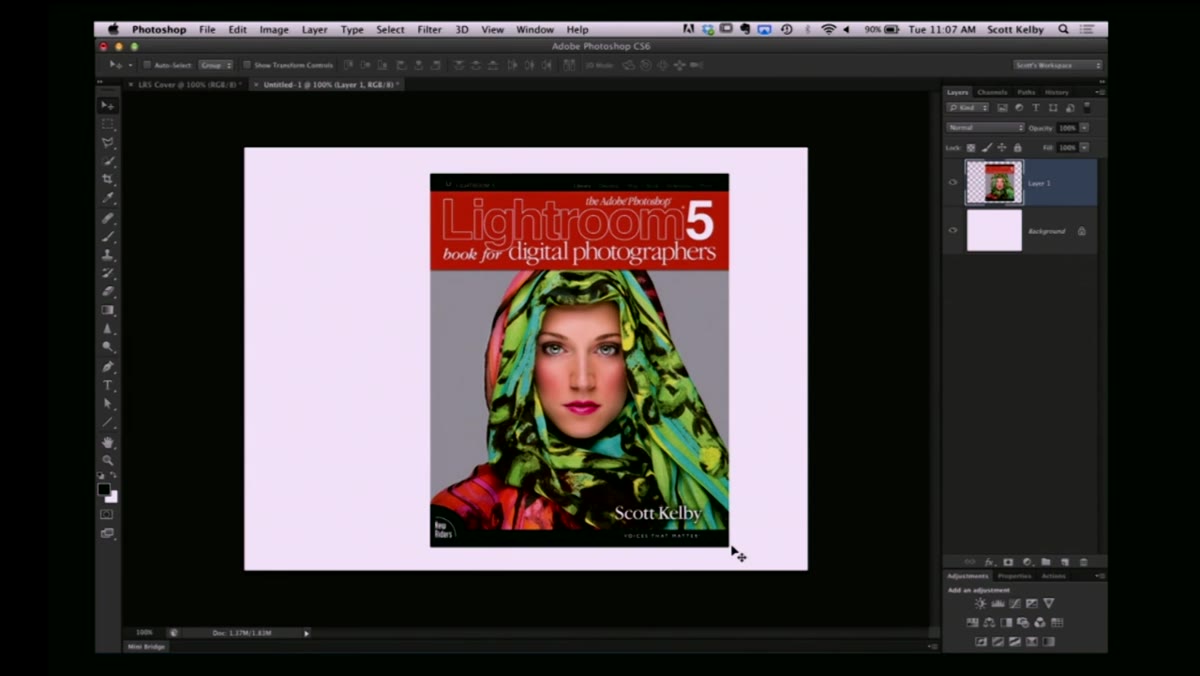 Transforming the spine and top layers to complete the box shape
Turn on your Spine layer and repeat the Distort process, this time pulling the corners to form the narrow vertical strip on the left side of the front face. The spine will use a heavily compressed horizontal width since it’s the thin edge of the book. Then do the same for the Top layer, flattening it and angling it to form the horizontal surface visible above the front face.
Transforming the spine and top layers to complete the box shape
Turn on your Spine layer and repeat the Distort process, this time pulling the corners to form the narrow vertical strip on the left side of the front face. The spine will use a heavily compressed horizontal width since it’s the thin edge of the book. Then do the same for the Top layer, flattening it and angling it to form the horizontal surface visible above the front face.
For the spine and top, it helps to use a slightly darkened version of the cover image to simulate shadow – the front face catches the most light, the top catches a bit less, and the spine is the darkest. You can do this with a Curves or Brightness/Contrast adjustment clipped to each layer. Even subtle darkening sells the 3D effect more than almost anything else.
My Own Extension: Build It as a Smart Object Template
The one upgrade I’d add to this workflow – learned after rebuilding the same mockup from scratch for three different clients on the same project – is to set the whole thing up using Smart Objects from the start.
Before you paste your cover into the working document, convert it to a Smart Object. That way, when the client wants to swap out the cover for a revised version, you double-click the Smart Object, replace the artwork, save, and the distorted 3D faces update automatically. No redoing the Distort transforms. No rebuilding the mockup. I now keep a blank version of the finished box – all three faces distorted and in place, with empty Smart Object placeholders – saved as a template file. New cover comes in, I replace the Smart Objects, export the mockup in under two minutes. That’s the kind of system that makes the difference between a tidy freelance workflow and a chaotic one.
The single biggest thing to take away from this technique is that Photoshop’s Free Transform Distort mode is a surprisingly powerful faux-3D tool hiding in plain sight. You don’t need the 3D workspace. You don’t need a plugin. You need three duplicated layers, some careful corner-dragging, and a light touch with the shadows.
Watch the full tutorial on YouTube and see how the KelbyOne team builds this out in real time – there are details in the visual flow that are worth watching even after you’ve read through the steps here.
Comments (6)
Applied this to my portfolio shots and the improvement is noticeable.
This is exactly what I needed today. Been struggling with this for weeks.
Excellent tutorial. I'd add that from a retouching standpoint, this technique is incredibly versatile.
Shared this with my photography group. Everyone loved it.
Great breakdown. The step-by-step approach really helps.
Love this. I referenced a similar technique in one of my recent posts. Always good to see other perspectives.
Leave a Comment