Every photographer or designer hits the point where they want to put their name on their work without it looking like they slapped a watermark on it in 2009. I’ve been there. For a while I was just typing my name in some cursive font and calling it a signature, which, if you’ve done the same thing, you already know looks exactly as lazy as it sounds.
The real solution is an actual handwritten signature, digitized and dropped onto your photo with a transparent background. In this Matt Kloskowski tutorial on YouTube, Matt walks through the whole process from scratch inside Photoshop, and it’s one of those techniques that sounds complicated until you actually see it. It’s not. The whole thing comes down to about four moves, and once you’ve got your signature saved as a PSD, adding it to any image takes maybe fifteen seconds.
Here’s the full breakdown so you can follow along without pausing the video every thirty seconds.
Step 1: Open a Blank Document and Set Up Your Layers
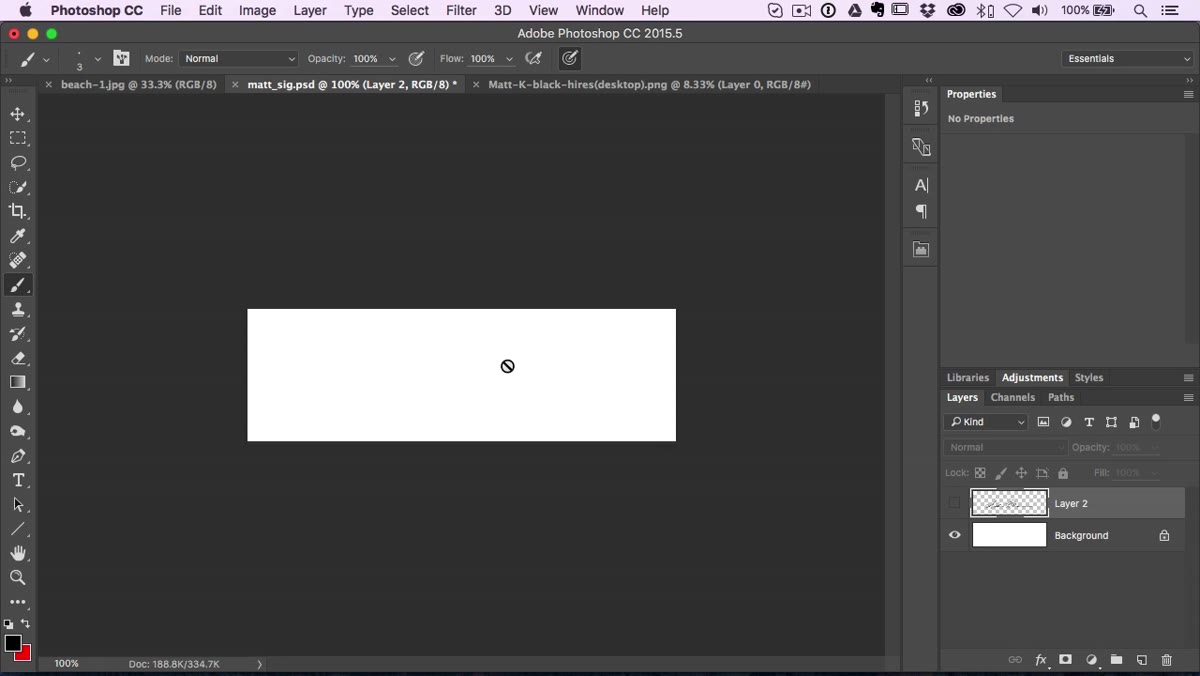 Blank Photoshop document with white background layer
Open a new document in Photoshop. You’ll start with a white background layer by default, and that’s fine. The key move here is clicking the new layer icon to create a separate layer on top of the background. Do not paint your signature directly on the background layer. That extra layer is what makes everything else in this process work, because you’ll be hiding the background and copying only the signature later. Keep the layers clean from the start and you won’t have to redo this.
Blank Photoshop document with white background layer
Open a new document in Photoshop. You’ll start with a white background layer by default, and that’s fine. The key move here is clicking the new layer icon to create a separate layer on top of the background. Do not paint your signature directly on the background layer. That extra layer is what makes everything else in this process work, because you’ll be hiding the background and copying only the signature later. Keep the layers clean from the start and you won’t have to redo this.
Step 2: Set Up Your Brush
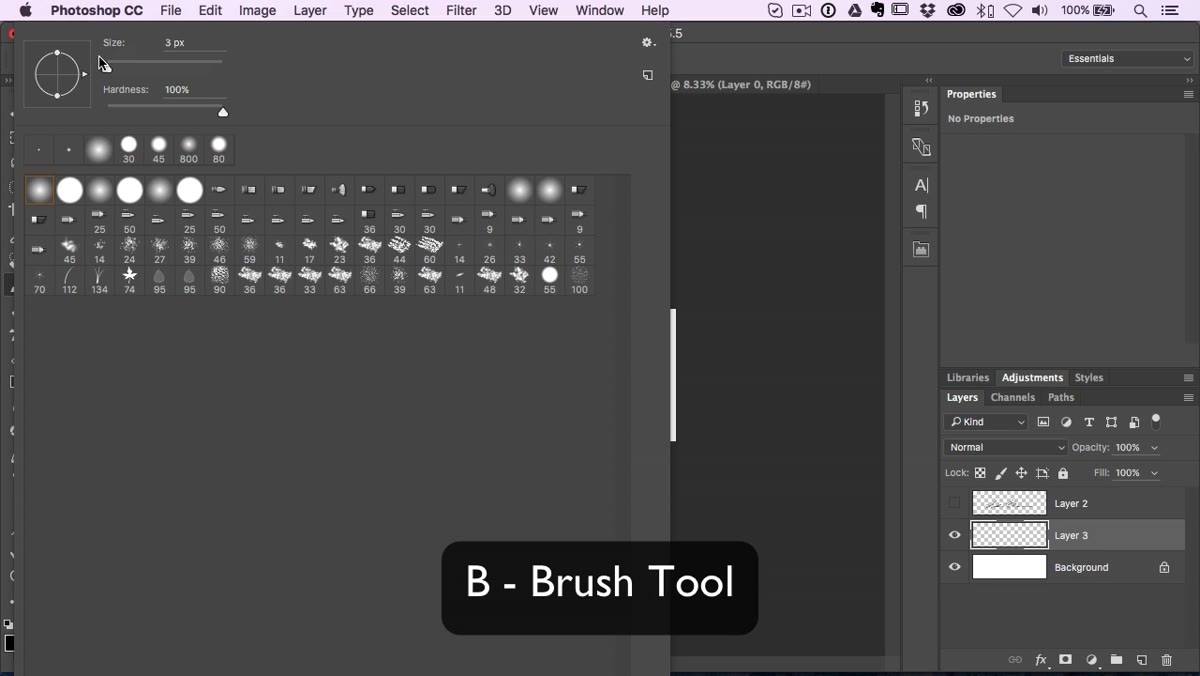 Brush tool settings panel showing small size and 100% hardness
Hit B to grab the Brush tool. Set the size somewhere between 3 and 5 pixels. Here’s the part most people skip: crank the hardness to 100%. You want a completely hard-edged brush, not a soft fluffy one. A soft brush looks fine for painting but will make your signature look blurry and slightly out of focus, which defeats the whole purpose. Small size, full hardness, black foreground color. That’s your setup.
Brush tool settings panel showing small size and 100% hardness
Hit B to grab the Brush tool. Set the size somewhere between 3 and 5 pixels. Here’s the part most people skip: crank the hardness to 100%. You want a completely hard-edged brush, not a soft fluffy one. A soft brush looks fine for painting but will make your signature look blurry and slightly out of focus, which defeats the whole purpose. Small size, full hardness, black foreground color. That’s your setup.
Step 3: Draw Your Signature on the New Layer
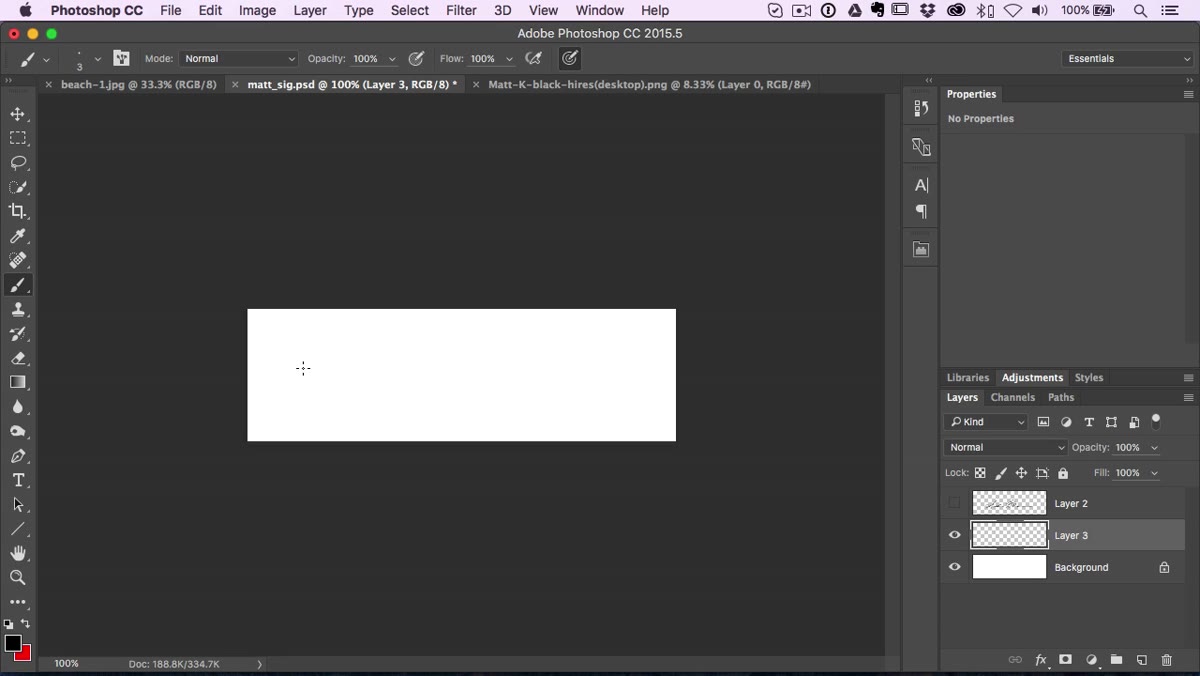 Hand-drawn signature strokes being painted on a blank Photoshop layer
Now you actually sign your name on that new layer. Matt’s honest about the fact that doing this with a mouse is awkward, and he’s right. If you have a Wacom tablet or any stylus, use it. It’ll feel much closer to signing with a pen. If you’re stuck with a mouse, his suggestion is solid: break your signature into sections rather than trying to do it all in one fluid motion. Draw a letter or two, release, draw the next part. It takes longer but the results are way more controlled. Don’t stress about it being perfect on the first try. You’ve got Ctrl+Z.
Hand-drawn signature strokes being painted on a blank Photoshop layer
Now you actually sign your name on that new layer. Matt’s honest about the fact that doing this with a mouse is awkward, and he’s right. If you have a Wacom tablet or any stylus, use it. It’ll feel much closer to signing with a pen. If you’re stuck with a mouse, his suggestion is solid: break your signature into sections rather than trying to do it all in one fluid motion. Draw a letter or two, release, draw the next part. It takes longer but the results are way more controlled. Don’t stress about it being perfect on the first try. You’ve got Ctrl+Z.
Step 4: Save It as a PSD Before You Do Anything Else
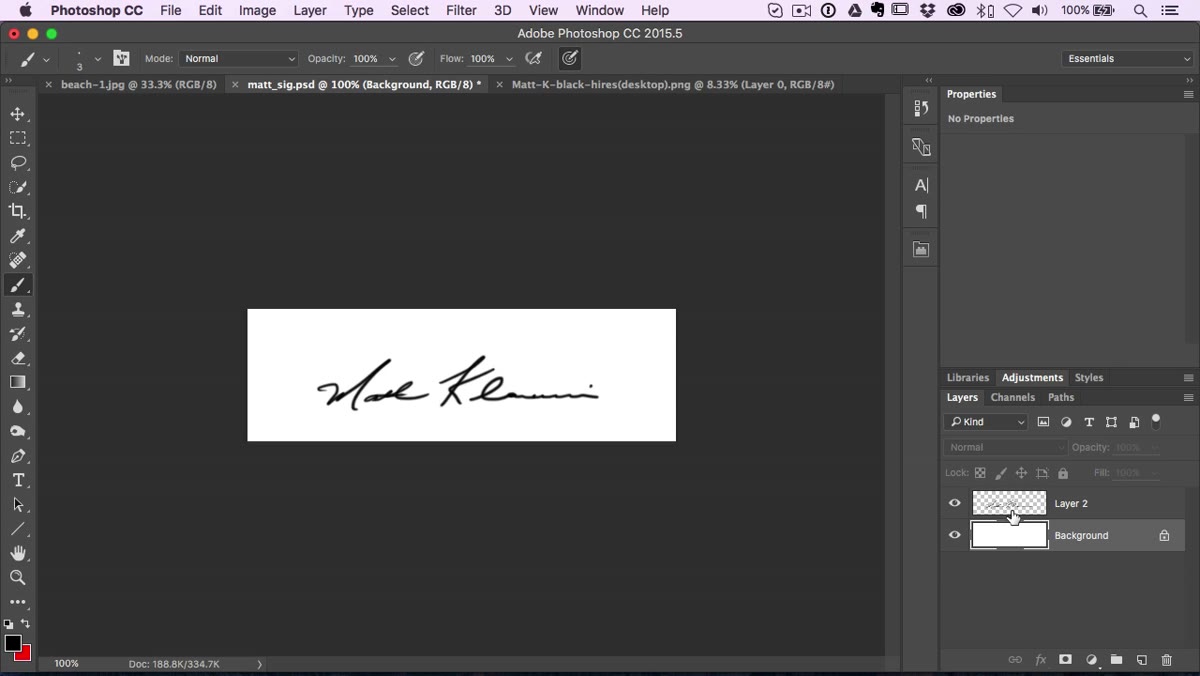 Layers panel showing signature on transparent layer above background
Once you’ve got a signature you’re happy with, save this file as a PSD. This is your master signature file. You’ll reuse it every time you want to brand a photo, so treat it like an asset, not a one-off thing. The PSD format preserves your layers, which is the whole point. Don’t flatten it, don’t save it as a JPEG right now. Just save the layered PSD and set it aside.
Layers panel showing signature on transparent layer above background
Once you’ve got a signature you’re happy with, save this file as a PSD. This is your master signature file. You’ll reuse it every time you want to brand a photo, so treat it like an asset, not a one-off thing. The PSD format preserves your layers, which is the whole point. Don’t flatten it, don’t save it as a JPEG right now. Just save the layered PSD and set it aside.
Step 5: Copy the Signature with a Transparent Background
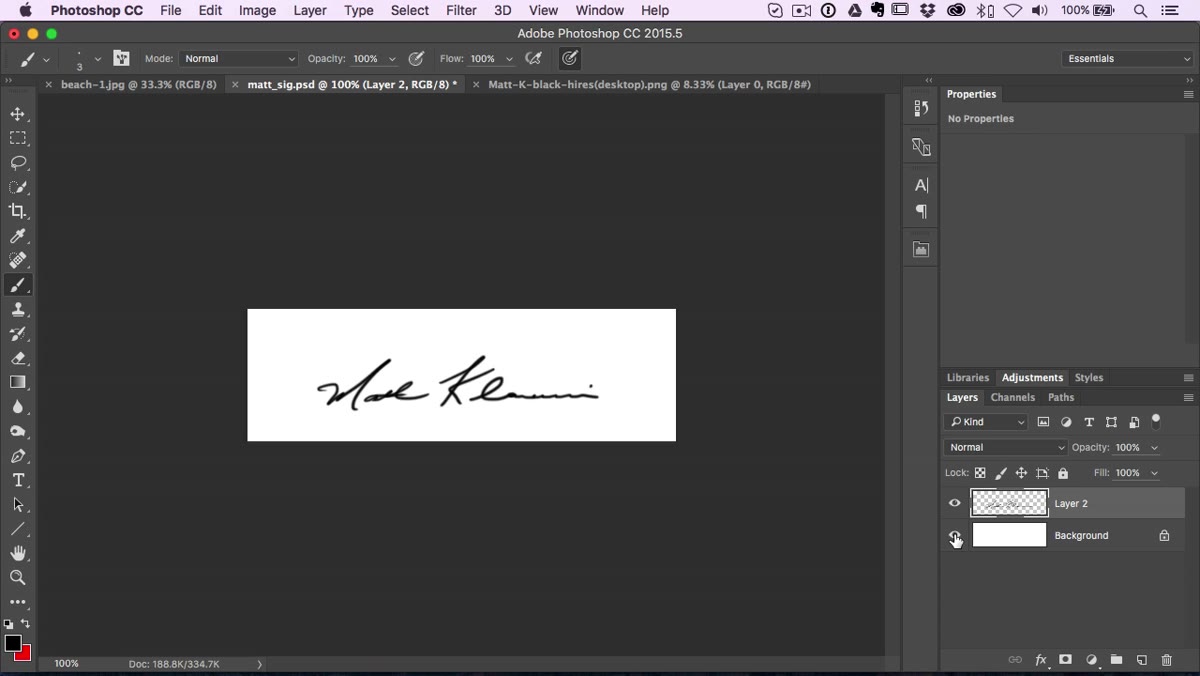 Background layer eyeball toggled off in Layers panel
Here’s the key step. In your signature PSD, click the eyeball icon next to the background layer to hide it. You’ll see the checkerboard pattern, which means transparency. Now hit Ctrl+A (or Cmd+A on Mac) to select all, then Ctrl+C to copy. Because the background layer is hidden, Photoshop only copies what’s visible on screen, which is just your signature floating on a transparent canvas. This is the move that makes everything work cleanly.
Background layer eyeball toggled off in Layers panel
Here’s the key step. In your signature PSD, click the eyeball icon next to the background layer to hide it. You’ll see the checkerboard pattern, which means transparency. Now hit Ctrl+A (or Cmd+A on Mac) to select all, then Ctrl+C to copy. Because the background layer is hidden, Photoshop only copies what’s visible on screen, which is just your signature floating on a transparent canvas. This is the move that makes everything work cleanly.
Step 6: Paste It onto Your Photo
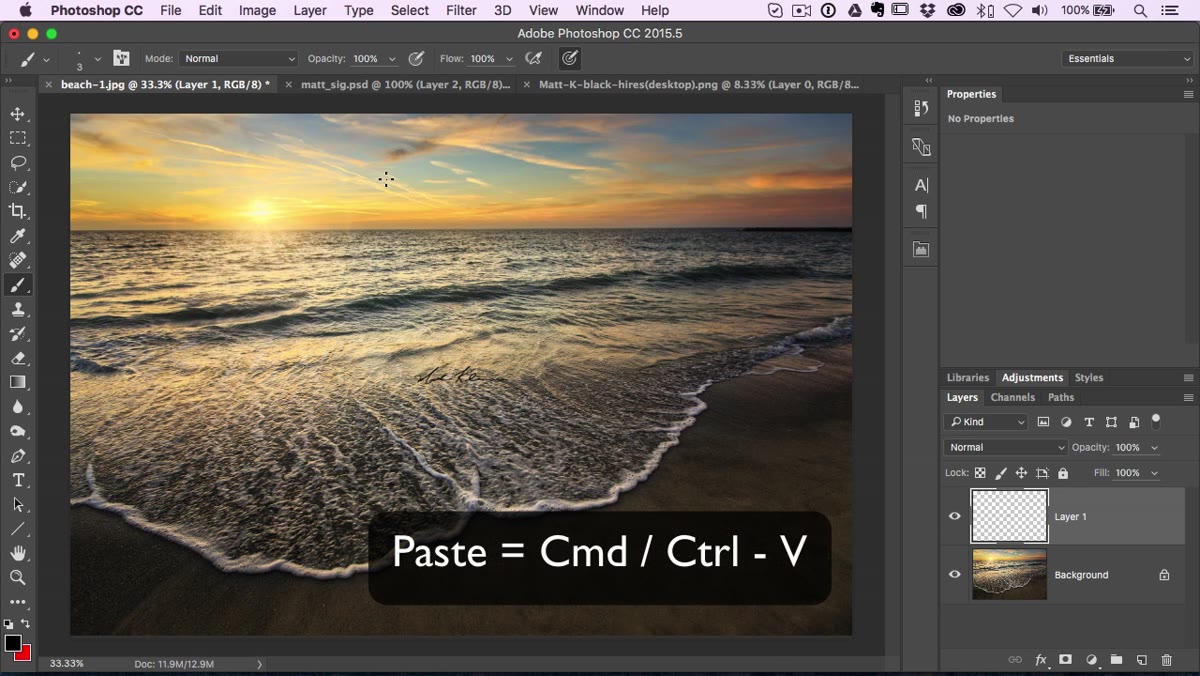 Signature pasted onto photo as a new transparent layer
Switch over to whatever photo you’re working on and hit Ctrl+V to paste. Your signature drops in as a new layer, completely transparent except for the signature strokes themselves. You can move it anywhere with the Move tool. For most photos I’ll drag it to a lower corner or along the bottom edge, but it’s totally up to you. At this point the signature is black, which looks great on bright or light areas of the image.
Signature pasted onto photo as a new transparent layer
Switch over to whatever photo you’re working on and hit Ctrl+V to paste. Your signature drops in as a new layer, completely transparent except for the signature strokes themselves. You can move it anywhere with the Move tool. For most photos I’ll drag it to a lower corner or along the bottom edge, but it’s totally up to you. At this point the signature is black, which looks great on bright or light areas of the image.
Step 7: Invert to White When You Need It
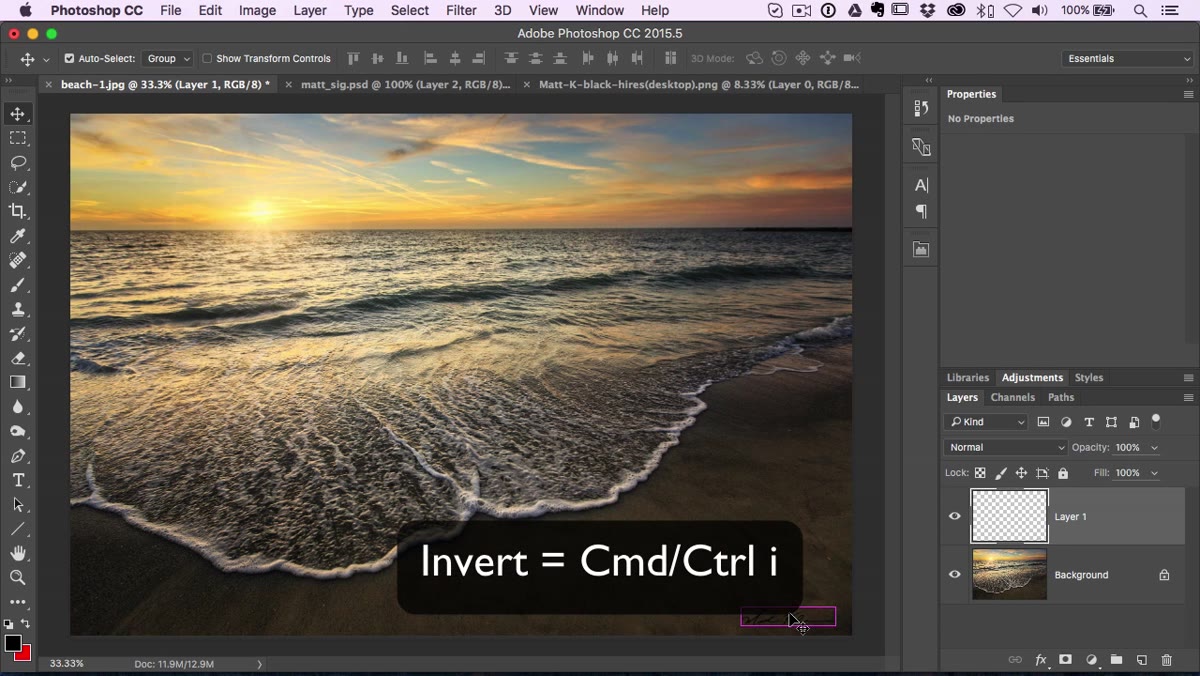 Ctrl+I invert command flipping signature from black to white
If you’re placing the signature over a dark area of the photo and the black strokes are disappearing into the shadows, hit Ctrl+I (or Cmd+I) to invert the layer. This flips the signature from black to white instantly. No need to repaint anything or change your brush color. One keyboard shortcut and you’ve got a white signature ready to drop over any dark background. This also works in reverse if you somehow ended up with a white signature and need it dark.
Ctrl+I invert command flipping signature from black to white
If you’re placing the signature over a dark area of the photo and the black strokes are disappearing into the shadows, hit Ctrl+I (or Cmd+I) to invert the layer. This flips the signature from black to white instantly. No need to repaint anything or change your brush color. One keyboard shortcut and you’ve got a white signature ready to drop over any dark background. This also works in reverse if you somehow ended up with a white signature and need it dark.
What I’d Add: Blend Modes and Opacity for a Cleaner Look
Matt keeps the tutorial tight and beginner-friendly, which is the right call. But if you want to take this a step further, here’s what I do after pasting the signature layer. I drop the layer’s blend mode to Multiply (for black signatures) or Screen (for white ones). Multiply lets dark pixels interact with the image underneath, so instead of a flat black stroke sitting on top of the photo, the signature integrates a bit more naturally with the tones below it. Screen does the same thing for white. From there I’ll usually dial the layer opacity down to somewhere between 60 and 80 percent so it reads clearly but doesn’t scream “WATERMARK” at anyone who looks at the image. It’s a small thing, but it’s the difference between a signature that feels designed and one that feels pasted on.
If you saved your file as a JPEG at some point by mistake, you’ll end up with a white background baked into the signature instead of transparency. Matt covers this in the tutorial too. The fix is using blending options or layer tricks to isolate just the signature strokes, which is a bit more involved but totally doable.
The single most important thing to take away from this whole process is the layer setup at the beginning. Hide the background before you copy, and everything downstream is easy. Mess that up and you’re fighting a white box for the rest of the project.
Watch the full tutorial on YouTube to see Matt walk through each step live, including how to handle the JPEG situation if you’ve already made that particular mistake.
Comments
Leave a Comment