Most of my Photoshop work lives in the post-processing phase. I’m the guy who gets handed a raw file and is expected to make something beautiful out of it, which means I’ve developed a pretty warped view of photography. I tend to underestimate how much the shot itself matters because, hey, I can fix it in post, right? Wrong. Embarrassingly wrong, actually. The more time I spend working on landscape files, the more I realize that the photographers who give me the cleanest, most intentional raw files to work with are the ones who thought hard about composition before they ever touched a shutter button.
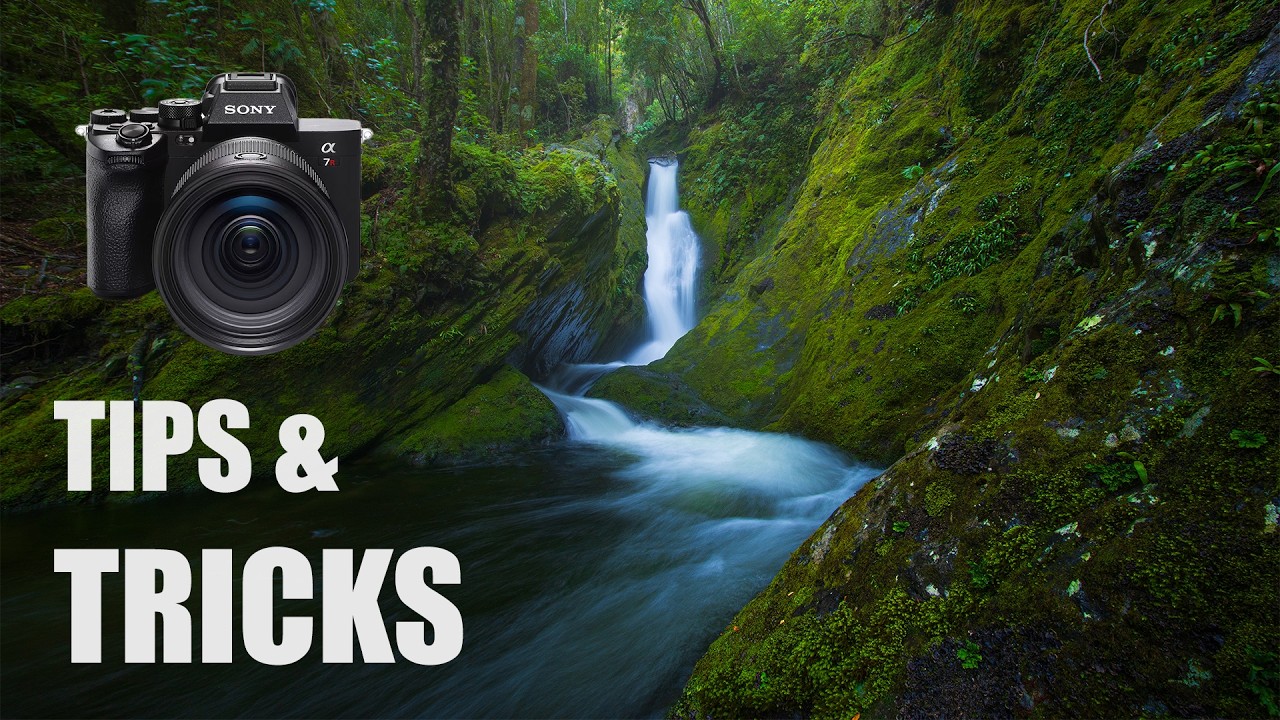
That’s why this William Patino tutorial on landscape and waterfall photography stopped me mid-scroll. Watch the full tutorial on YouTube - Patino shoots in Fiordland, New Zealand, which is essentially a place that exists to make the rest of the world feel aesthetically inadequate. But the real value here isn’t the location. It’s the methodical, unsentimental way he thinks through a scene before committing to a single shot. That thinking translates directly into better raw files, which means less wrestling in Photoshop later.
What follows is my breakdown of how Patino approaches the whole workflow, from finding a location on the water to making final processing decisions. Practical, field-tested, and useful whether you’re shooting Fiordland or a creek behind a strip mall in central Texas.
Step 1: Scout Before You Commit Any Gear
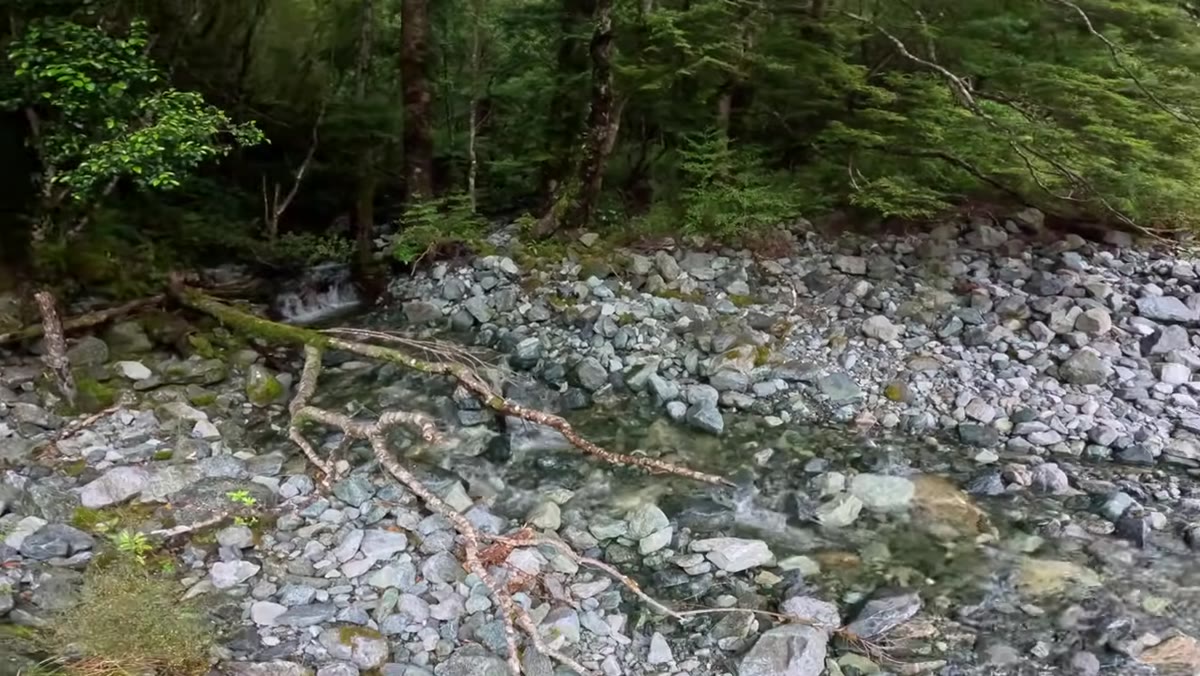 Patino doing a quick visual check before grabbing camera gear
Before Patino pulls out a single piece of kit, he does a fast reconnaissance pass. He’s looking for one specific thing: unobstructed cascades. Not just any waterfall, but one where fallen trees, dense brush, or awkward angles aren’t going to fight you for control of the frame. He spots a fallen tree early on and notes it as an obstruction, then identifies cleaner cascades further back as the actual target.
Patino doing a quick visual check before grabbing camera gear
Before Patino pulls out a single piece of kit, he does a fast reconnaissance pass. He’s looking for one specific thing: unobstructed cascades. Not just any waterfall, but one where fallen trees, dense brush, or awkward angles aren’t going to fight you for control of the frame. He spots a fallen tree early on and notes it as an obstruction, then identifies cleaner cascades further back as the actual target.
This is the step most people skip, and it costs them an hour of frustration. Do a quick walk-through with nothing but your eyes. Ask yourself whether the water flow is visible and clean from multiple angles, and whether there are natural framing elements you can work with. If the answer is no on both counts, it’s not worth setting up the tripod.
Step 2: Gear Down to a Wide Prime Lens
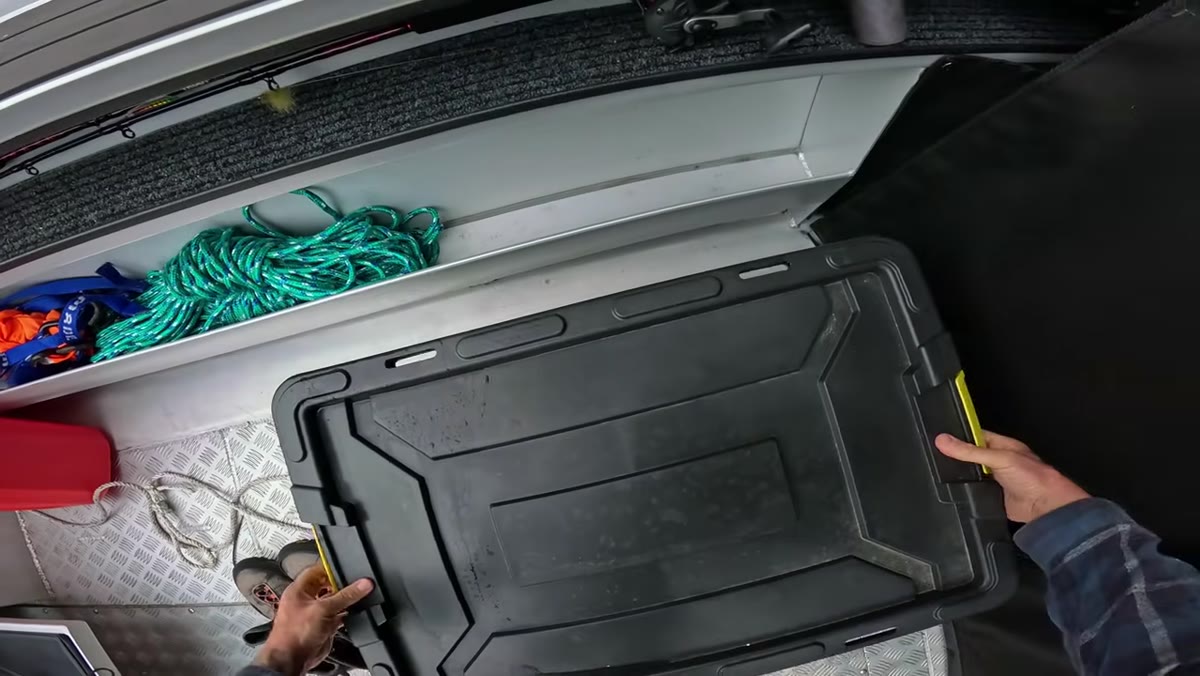 Patino mounting a 10mm prime lens onto his camera body
Patino’s lens choice here is deliberate: a 10mm prime. Wide primes force you to get physically close to your foreground subject, and that proximity is what creates the sense of depth and scale that makes waterfall shots feel immersive rather than flat. A zoom lens is convenient, but convenience makes you lazy. With a prime, you have to move your feet to solve compositional problems, and moving your feet almost always leads to a better composition.
Patino mounting a 10mm prime lens onto his camera body
Patino’s lens choice here is deliberate: a 10mm prime. Wide primes force you to get physically close to your foreground subject, and that proximity is what creates the sense of depth and scale that makes waterfall shots feel immersive rather than flat. A zoom lens is convenient, but convenience makes you lazy. With a prime, you have to move your feet to solve compositional problems, and moving your feet almost always leads to a better composition.
The practical upside to shooting ultra-wide at a waterfall is that you can include multiple layers in the frame: a foreground rock or log, a midground cascade, and a background fall, all in a single image. That layering is what draws the eye through the scene rather than dumping it at one focal point and calling it done.
Step 3: Use the Shoot-Review Loop Instead of Hunting for the Perfect Shot
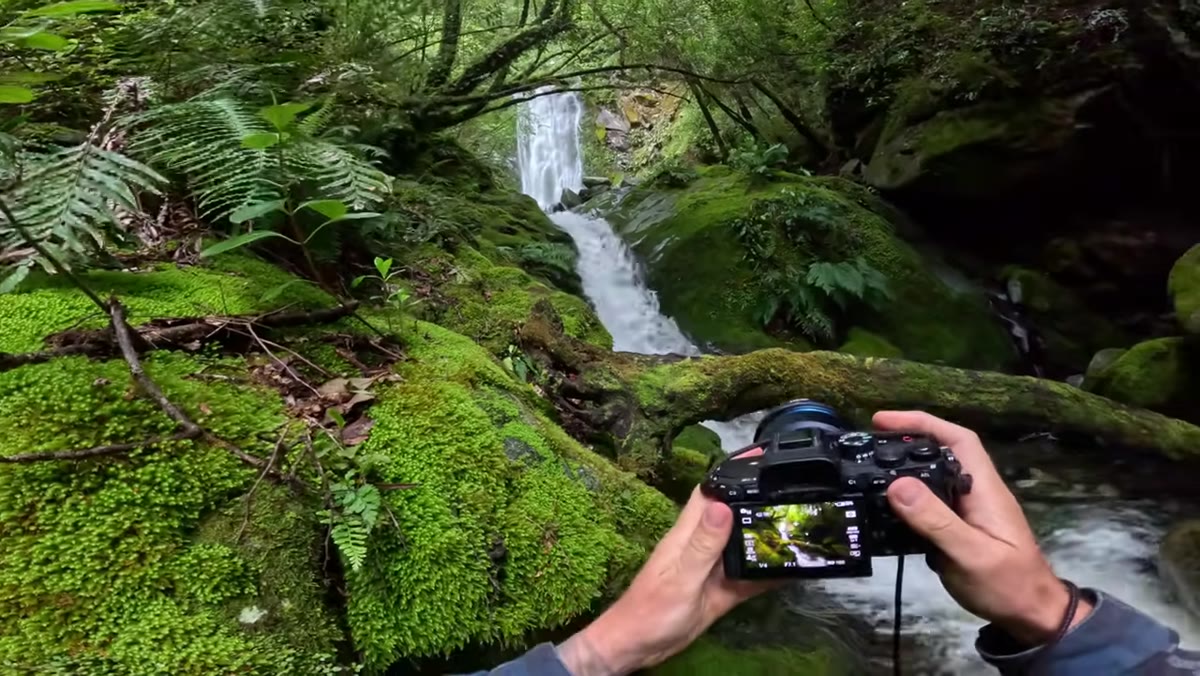 Patino holding camera up and reviewing the live view screen between shots
Here’s the thing Patino does that I genuinely hadn’t considered as a discipline: he shoots, immediately reviews on the live view screen, and then deletes or adjusts. Not after a card full of frames. Shot by shot. He describes holding the camera up and trying to see it the way a viewer would see the finished photograph, using the screen as a direct feedback loop.
Patino holding camera up and reviewing the live view screen between shots
Here’s the thing Patino does that I genuinely hadn’t considered as a discipline: he shoots, immediately reviews on the live view screen, and then deletes or adjusts. Not after a card full of frames. Shot by shot. He describes holding the camera up and trying to see it the way a viewer would see the finished photograph, using the screen as a direct feedback loop.
This isn’t spray-and-pray. It’s the opposite. It’s an iterative, deliberate process where each test shot informs the next one. He mentions instantly deleting a frame because he could tell something felt off, without over-analyzing why. Trust your gut, check the screen, and move on. The goal is responsive, not perfectionist.
Step 4: Identify Your Compositional Hierarchy Before You Finalize the Frame
 Patino evaluating the relationship between foreground log and background waterfall
This is the step that separates photographers who get lucky from ones who get consistent results. Patino notices a small log in the foreground and immediately starts asking whether he can use it as a natural framing device to direct attention toward the upper falls in the background. He’s thinking in terms of a foreground-midground-background hierarchy, and he’s testing whether each element is earning its place in the frame.
Patino evaluating the relationship between foreground log and background waterfall
This is the step that separates photographers who get lucky from ones who get consistent results. Patino notices a small log in the foreground and immediately starts asking whether he can use it as a natural framing device to direct attention toward the upper falls in the background. He’s thinking in terms of a foreground-midground-background hierarchy, and he’s testing whether each element is earning its place in the frame.
When the upper falls turned out to be partially blocked by trees, he adapted. Instead of fighting for a shot that wasn’t going to work cleanly, he shifted his compositional focus to the midground fall. Knowing when to change your primary subject is a skill. A lot of photographers get attached to a preconceived shot and waste time trying to force it. Patino just pivots.
Step 5: Work the Scene Through Multiple Positions
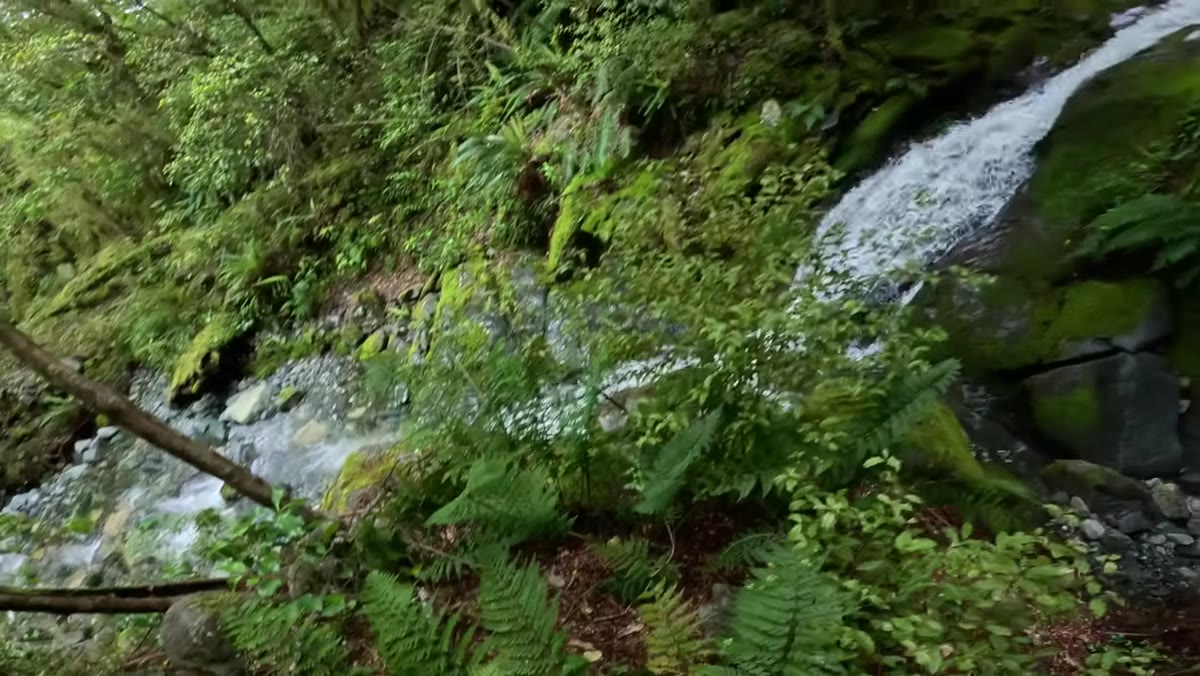 Patino repositioning himself laterally to find a cleaner angle on the cascade
Rather than planting the tripod and declaring victory, Patino keeps moving. He’s working laterally, changing his distance to the foreground elements, and testing how those shifts affect the relationship between the cascade layers. With a 10mm lens, even a small physical shift changes the apparent distance between foreground and background dramatically.
Patino repositioning himself laterally to find a cleaner angle on the cascade
Rather than planting the tripod and declaring victory, Patino keeps moving. He’s working laterally, changing his distance to the foreground elements, and testing how those shifts affect the relationship between the cascade layers. With a 10mm lens, even a small physical shift changes the apparent distance between foreground and background dramatically.
The practical instruction here: once you have a composition that’s working, don’t stop. Move six inches left, check the screen. Crouch lower, check the screen. Get the log closer in the foreground, see how it changes the sense of depth. The best frame in a set is rarely the first one you thought was good.
A Note From Someone Who Lives in Post-Processing
I spend most of my time in Photoshop cleaning up problems that could have been avoided in the field. Blown highlights, muddy foregrounds, compositional confusion where the eye doesn’t know where to land. Watching Patino work, the thing that stuck with me is that every compositional decision he makes in the field is a future Photoshop problem he doesn’t have to solve. That log he used as a framing device? That’s a leading line he doesn’t have to fake with a gradient. That decision to refocus on the midground fall when the upper one was obstructed? That’s a cleaner background he doesn’t have to mask out later.
If you’re primarily a retoucher or digital artist like me, watch this tutorial for the field methodology, not just the camera settings. The compositional thinking Patino demonstrates is the same thinking you’d use when building a composite from scratch: foreground anchor, midground transition, background payoff. It maps directly.
The single most important thing I took from this tutorial is that good landscape photography is iterative, not instinctive. Patino doesn’t arrive at a waterfall knowing what the shot is. He scouts, tests, reviews, repositions, and adapts. That process is what produces an image worth editing, and it’s what makes the Photoshop work that follows feel like refinement rather than rescue.
Watch the full tutorial on YouTube and pay particular attention to the processing section at the end, where Patino walks through how his compositional decisions in the field directly shape his editing choices afterward.
Comments
Leave a Comment