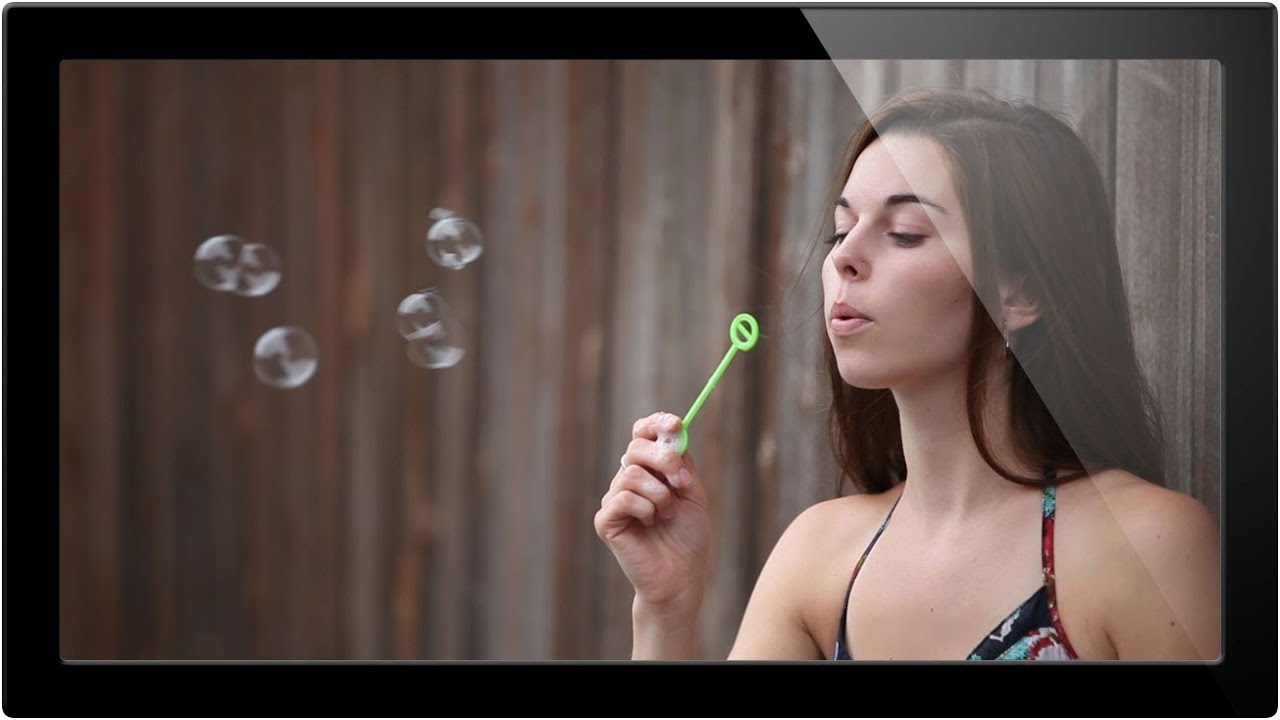
I’ll be honest — the first time I saw a cinemagraph in the wild, I thought someone had broken the internet. Just a woman sitting perfectly still at a café table while steam curled endlessly off her coffee cup. No play button. No loading bar. Just this eerie, beautiful loop that made you do a double take. I spent an embarrassing amount of time staring at it before I even thought to ask how it was made.
Turns out, the answer is Photoshop. And in this Aaron Nace (PHLEARN) tutorial, he breaks down the whole process — from raw video file to polished, looping animated GIF — in a way that actually makes sense. Watch the full tutorial on YouTube if you want to follow along with the original footage. For everyone else, here’s the full walkthrough with enough detail to do it yourself.
The core concept is deceptively simple: take a video clip, freeze most of the image like a photograph, and let one small area keep moving. The effect is almost cinematic in the way it draws the eye. Clients love it. Social media loves it. And once you’ve made one, you’ll start seeing motion in every still photo you shoot.
Step 1: Import Your Video Into Photoshop
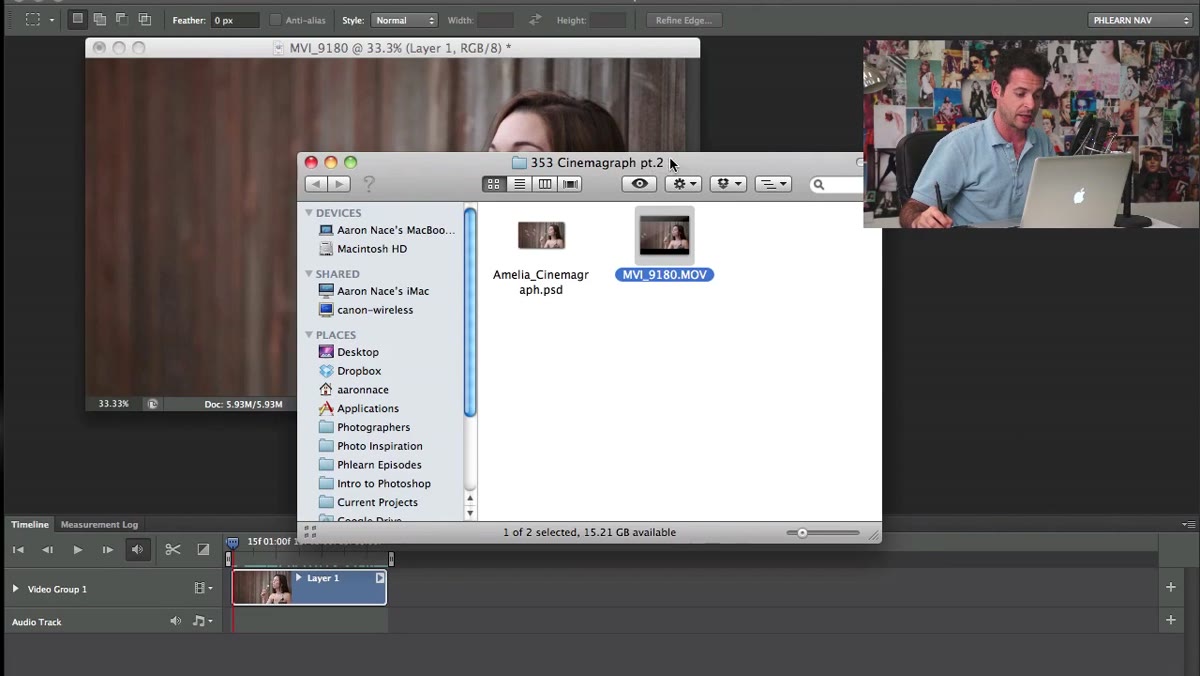 Video file loaded in Photoshop with timeline panel visible
You’ll need Photoshop CS5 Extended or CS6 Extended (or any modern CC version) for this to work. The Extended label is the key thing here — standard editions at that era didn’t include video editing tools. If you’re on a current Creative Cloud subscription, you’re already covered.
Video file loaded in Photoshop with timeline panel visible
You’ll need Photoshop CS5 Extended or CS6 Extended (or any modern CC version) for this to work. The Extended label is the key thing here — standard editions at that era didn’t include video editing tools. If you’re on a current Creative Cloud subscription, you’re already covered.
Open your video by going to File > Open and selecting your clip. Once it loads, the Timeline panel will appear automatically at the bottom of your workspace. If it doesn’t, go to Window > Timeline to bring it up. You should see your video represented as a colored bar across the timeline.
Step 2: Trim the Clip to the Right Loop Section
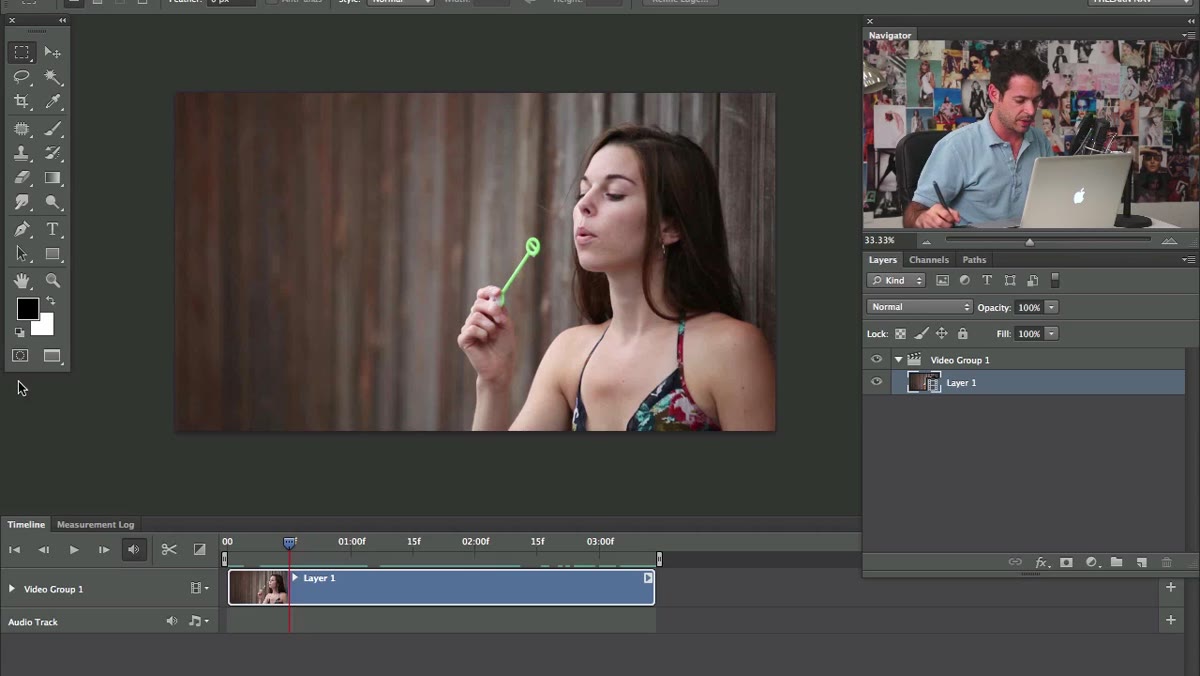 Timeline showing clip being trimmed at the start point
This is where you define the actual loop. Aaron’s working with footage of bubbles rising through liquid, and his goal is to isolate just the portion of the clip where the bubbles enter and exit the frame cleanly. A clean entry and exit is what makes the loop feel seamless rather than jarring.
Timeline showing clip being trimmed at the start point
This is where you define the actual loop. Aaron’s working with footage of bubbles rising through liquid, and his goal is to isolate just the portion of the clip where the bubbles enter and exit the frame cleanly. A clean entry and exit is what makes the loop feel seamless rather than jarring.
Drag the left edge of the video clip in the timeline to set your start point — find a frame just before any movement begins. Then drag the right edge inward to mark your end point, right as the motion wraps up. Photoshop will automatically snap the trimmed clip to the beginning of the timeline. Play it back and check that the transition from the last frame back to the first frame doesn’t have any obvious jump or pop. This part takes some trial and error, so don’t rush it.
Step 3: Map Out Where the Motion Happens
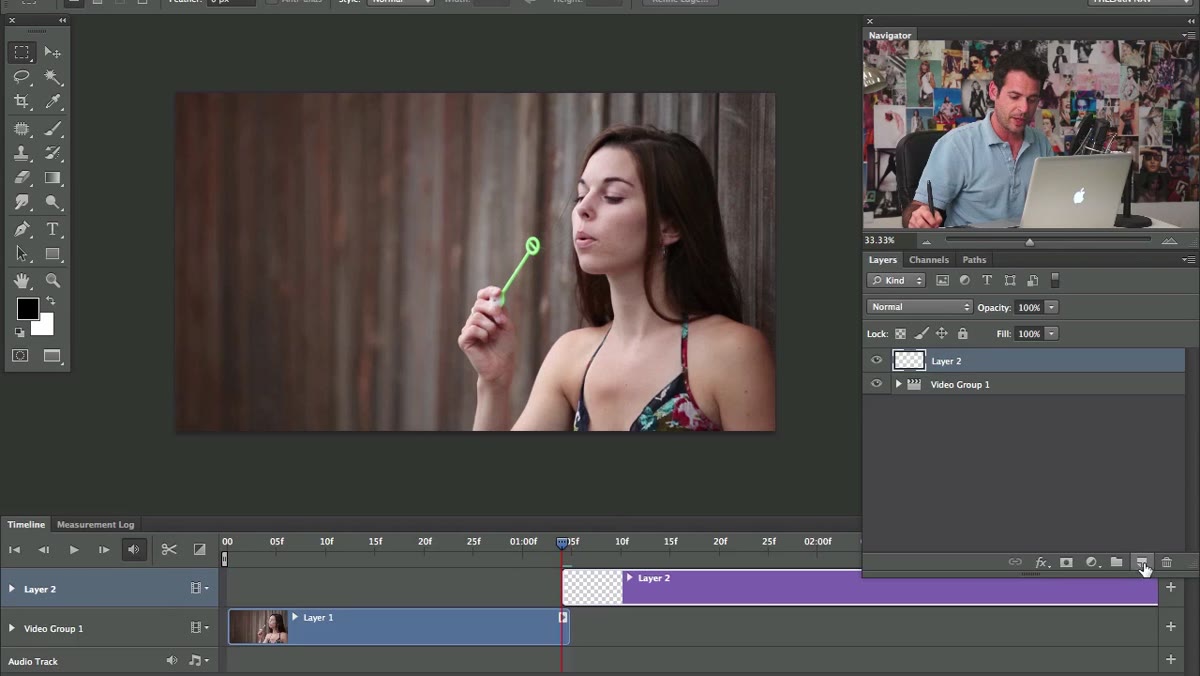 New blank layer created above the video layer in the Layers panel
Before you do anything with masks, you need to understand the motion path. Aaron’s approach here is practical to the point of being almost lo-fi, which is why it works. Create a new blank layer above your video layer in the Layers panel.
New blank layer created above the video layer in the Layers panel
Before you do anything with masks, you need to understand the motion path. Aaron’s approach here is practical to the point of being almost lo-fi, which is why it works. Create a new blank layer above your video layer in the Layers panel.
Grab the Brush tool, pick a bright color (something that’ll stand out clearly), and scrub through the timeline while painting on this new layer wherever you see movement occurring. You’re not trying to be precise here — you’re creating a rough map of the motion zone. Think of it like tracing the ghost of the movement across the frame. For bubbles, that means painting a vertical corridor. For hair blowing in the wind, it might be a wider organic shape around the subject’s head. You’ll use this painted area later to create a mask, so the broader goal is to capture the full range of where the motion travels.
Step 4: Refine Your Selection Area
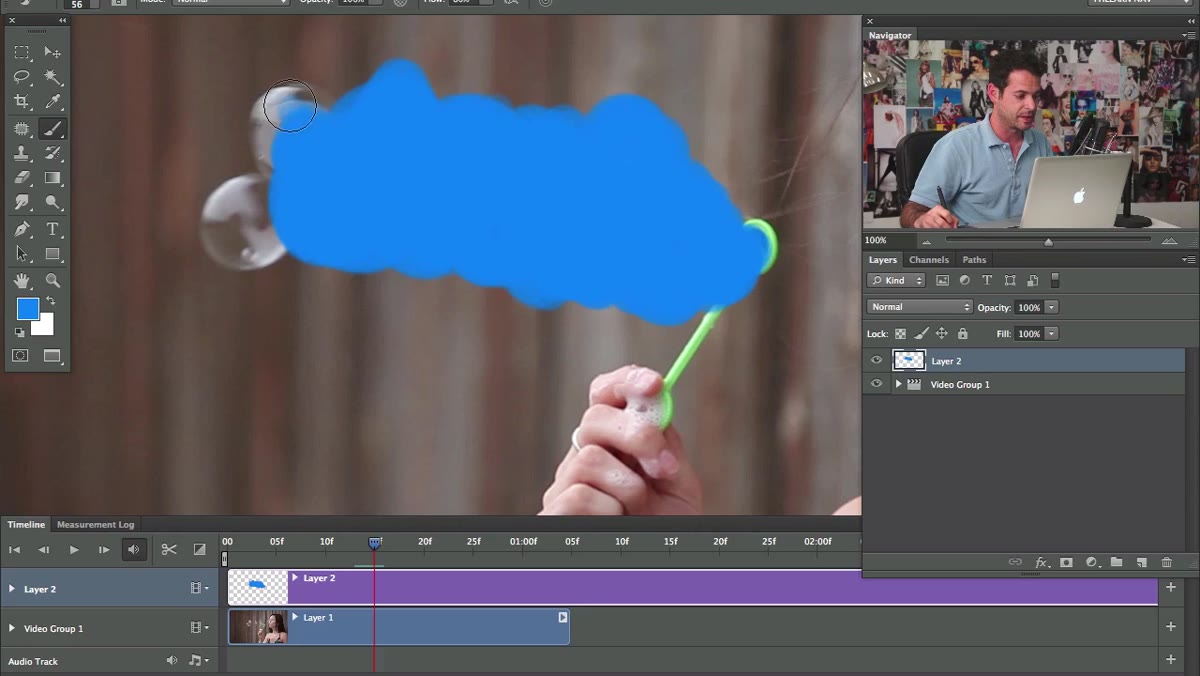 Brush strokes painted over bubble path on new layer
Once you’ve mapped the motion across several frames, step back and look at what you’ve painted. Does it cover the full extent of the movement? Any areas where the motion strays outside your painted zone will show a hard edge in the final result, which breaks the illusion immediately.
Brush strokes painted over bubble path on new layer
Once you’ve mapped the motion across several frames, step back and look at what you’ve painted. Does it cover the full extent of the movement? Any areas where the motion strays outside your painted zone will show a hard edge in the final result, which breaks the illusion immediately.
Aaron’s honest about the fact that you don’t need to frame-by-frame this perfectly — especially on a first pass. But the more carefully you define the motion area now, the cleaner your final mask will be. If your motion is irregular or wide-ranging, consider painting slightly outside the edges of where you actually see movement. A little extra coverage beats a clipped edge every time.
Step 5: Convert Your Paint Layer Into a Mask
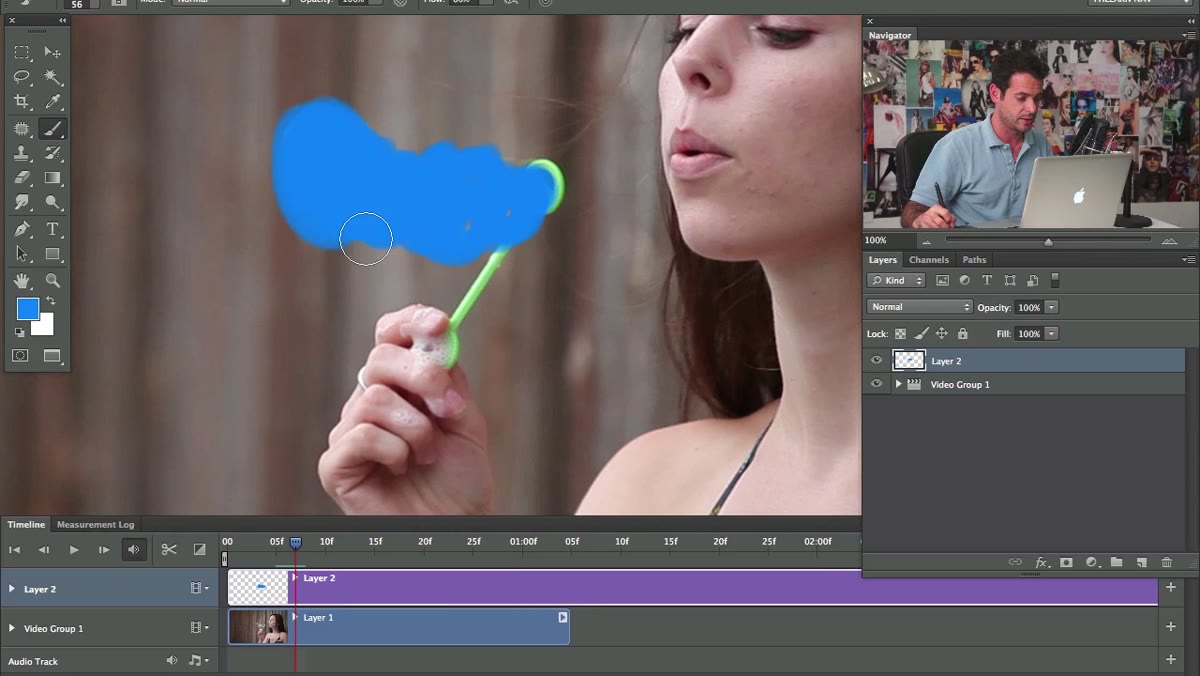 Painted layer being used to define layer mask boundaries
This is the step where the technique clicks into place. The painted layer you created in Step 3 becomes the basis for a layer mask on your video layer. The mask tells Photoshop: “Show motion here, freeze everything else.”
Painted layer being used to define layer mask boundaries
This is the step where the technique clicks into place. The painted layer you created in Step 3 becomes the basis for a layer mask on your video layer. The mask tells Photoshop: “Show motion here, freeze everything else.”
To do this, load your painted layer as a selection (Ctrl+click / Cmd+click on the layer thumbnail in the Layers panel), then select your video layer and add a layer mask using that selection. The areas within your painted shape will show the live video, while everything outside will be frozen as a still frame. You’ll likely want a still photograph of the scene (ideally shot as part of your video setup) sitting underneath as the static background layer. That’s what gives the frozen portions their solid, photographic quality.
Step 6: Export as an Animated GIF
 Mention of animated GIF as final output format
With your mask dialed in, it’s time to export. Go to File > Export > Save for Web (or File > Save for Web and Devices in older versions). Set the format to GIF, make sure the Looping Options are set to Forever, and check your frame rate and file size. Cinemagraphs can get heavy fast, so you may need to reduce the color count or image dimensions to keep the file manageable for web use.
Mention of animated GIF as final output format
With your mask dialed in, it’s time to export. Go to File > Export > Save for Web (or File > Save for Web and Devices in older versions). Set the format to GIF, make sure the Looping Options are set to Forever, and check your frame rate and file size. Cinemagraphs can get heavy fast, so you may need to reduce the color count or image dimensions to keep the file manageable for web use.
Preview the loop in the browser preview option before you commit. That’s always where issues show up — a stutter, a seam, a bit of the mask bleeding at the edge. Fix it now rather than after you’ve already sent it to a client.
A Note on Shooting for the Edit
The thing nobody tells you before you shoot cinemagraph footage: your camera needs to be completely locked down on a tripod. No exceptions. Even the slightest camera movement between frames will make your frozen background flicker, and there’s no easy fix for that in post. I learned this the hard way trying to handheld a “steady” shot and ending up with a ghosting effect around every edge of my mask. Tripod, remote shutter or self-timer, controlled environment. Shoot boring, edit interesting.
Also worth noting: shorter loops almost always work better than longer ones. A 2-3 second loop that cycles naturally feels meditative. A 12-second loop with a visible seam feels like a broken GIF.
The single most important thing to take away from this tutorial is the masking logic. Once you understand that you’re just deciding where the video shows through and where the still image takes over, the whole technique becomes intuitive. The rest is just trimming and exporting.
Go watch Aaron work through it himself here: Watch the full tutorial on YouTube. His source footage makes the masking step especially clear, and seeing the timeline in action is worth more than any written description.
Comments
Leave a Comment