There’s a specific kind of client request that used to send me into a quiet spiral of dread. “Can you make the text look… dimensional? Like it’s actually part of the wall?” Sure, I’d say. Absolutely. Then I’d spend two hours nudging drop shadows around and delivering something that looked like a PowerPoint slide from 2009. The problem wasn’t effort. It was that I was reaching for the wrong tools entirely.
The fix turned out to be a technique I’d walked past a hundred times in Photoshop’s layer effects panel without fully understanding what it could do. In this Aaron Nace (PHLEARN) tutorial, Watch the full tutorial on YouTube, Aaron breaks down a pseudo-3D texture method that uses Bevel and Emboss not as a cheesy edge effect but as a full lighting simulation system. The result looks like your texture has actual depth, with directional highlights and shadows that respond to a light source you control.
What makes this technique genuinely useful for working designers is that it’s not destructive, it’s non-specific (works on text, shapes, or any layer), and it takes maybe ten minutes once you understand the logic. Here’s how it works.
Step 1: Open Your Texture Photo and Define It as a Pattern
 Selecting all on a texture image before defining pattern
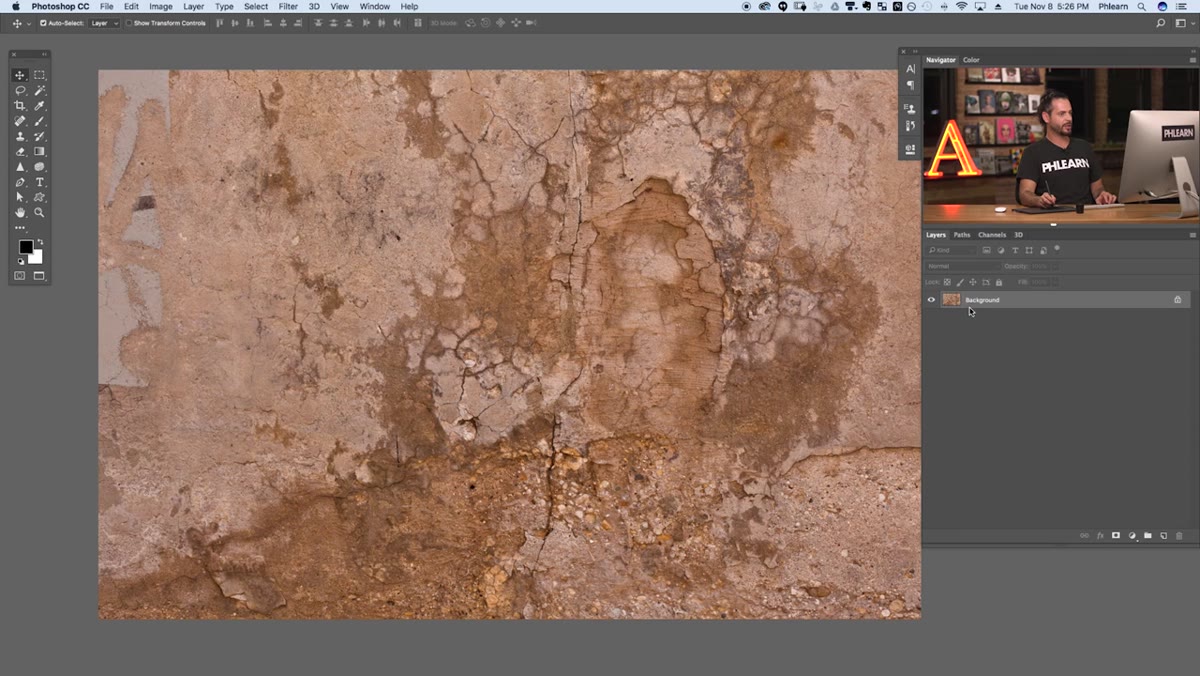
Start with any photograph of a real-world texture, whether that’s concrete, wood grain, crumpled paper, or in Aaron’s example, a grungy surface. Open the file in Photoshop, then hit Cmd+A (Mac) or Ctrl+A (Windows) to select the entire canvas. From there, go to Edit > Define Pattern, give it a name you’ll actually recognize later, and hit OK. That’s it. Photoshop has now stored this image as a repeating pattern tile in its internal library.
Selecting all on a texture image before defining pattern
Start with any photograph of a real-world texture, whether that’s concrete, wood grain, crumpled paper, or in Aaron’s example, a grungy surface. Open the file in Photoshop, then hit Cmd+A (Mac) or Ctrl+A (Windows) to select the entire canvas. From there, go to Edit > Define Pattern, give it a name you’ll actually recognize later, and hit OK. That’s it. Photoshop has now stored this image as a repeating pattern tile in its internal library.
This step matters more than it sounds. You’re not just saving the image as a pattern for cosmetic use. You’re loading it into a system that Bevel and Emboss can read and use to calculate where highlights and shadows should fall, based on the luminosity values inside the texture itself. Brighter areas in the texture will catch light; darker areas will recede. The texture becomes a displacement map of sorts, except Photoshop is handling all the math.
Step 2: Add Your Text (or Any Layer You Want to Texture)
 Bold “GRUNGE” text typed large on canvas
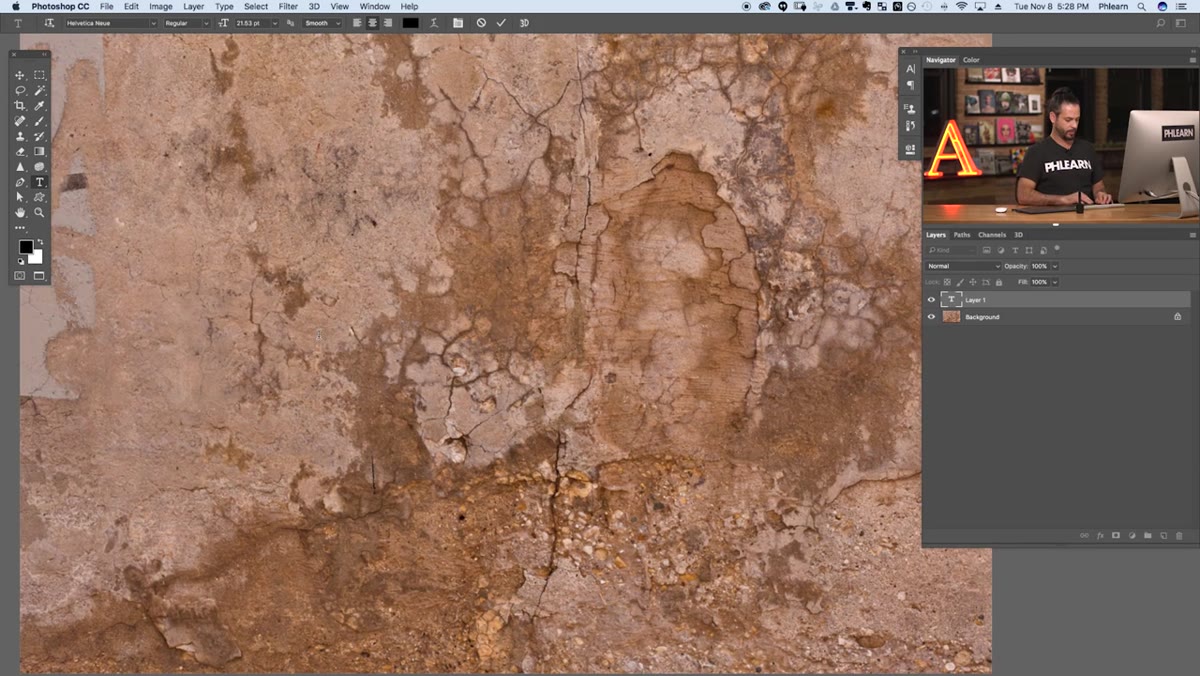
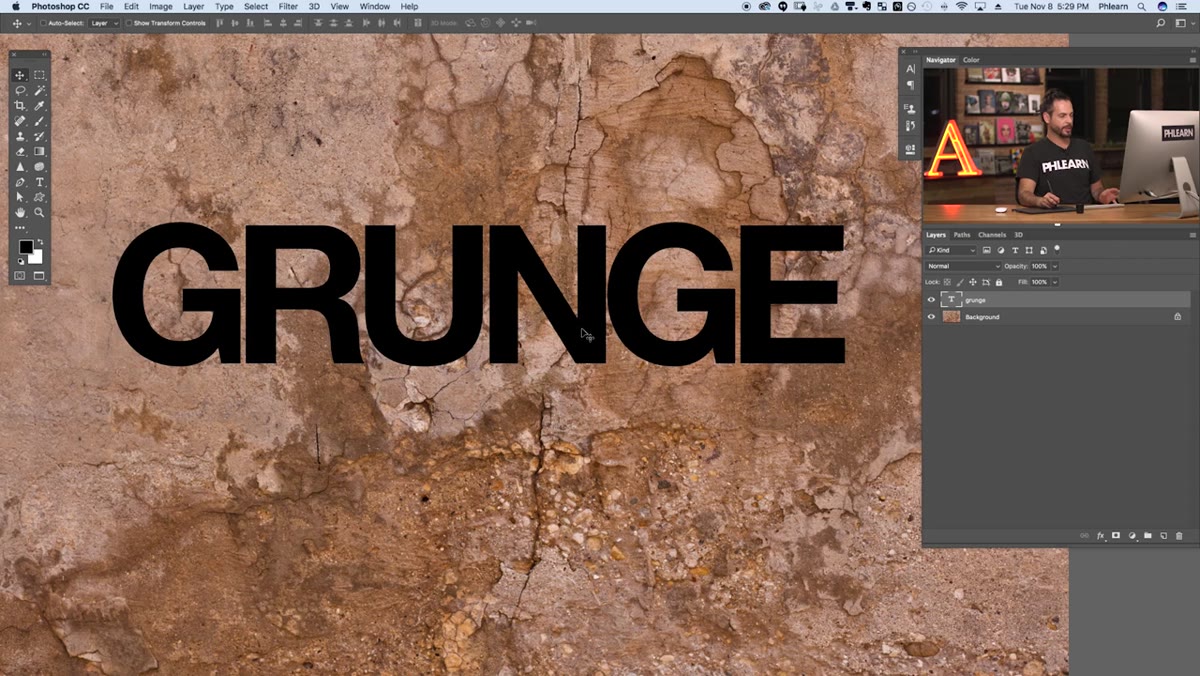
Hit T for the Type tool, type your word, and size it up large. Aaron uses the word “GRUNGE” in a bold, tightly-spaced font, which is a smart demo choice because the chunky letterforms give Bevel and Emboss a lot of surface area to work with. That said, this technique is not limited to text. You can run it on a shape layer, a solid color layer, or even a masked photo layer. The layer type doesn’t matter. What matters is that the layer has edges and a surface for the effect to map onto.
Bold “GRUNGE” text typed large on canvas
Hit T for the Type tool, type your word, and size it up large. Aaron uses the word “GRUNGE” in a bold, tightly-spaced font, which is a smart demo choice because the chunky letterforms give Bevel and Emboss a lot of surface area to work with. That said, this technique is not limited to text. You can run it on a shape layer, a solid color layer, or even a masked photo layer. The layer type doesn’t matter. What matters is that the layer has edges and a surface for the effect to map onto.
If you’re applying this to text, don’t rasterize it yet. Keep it as a live type layer so you can still edit the words or swap fonts while you’re experimenting with the effect settings.
Step 3: Open Layer Effects and Enable Bevel and Emboss
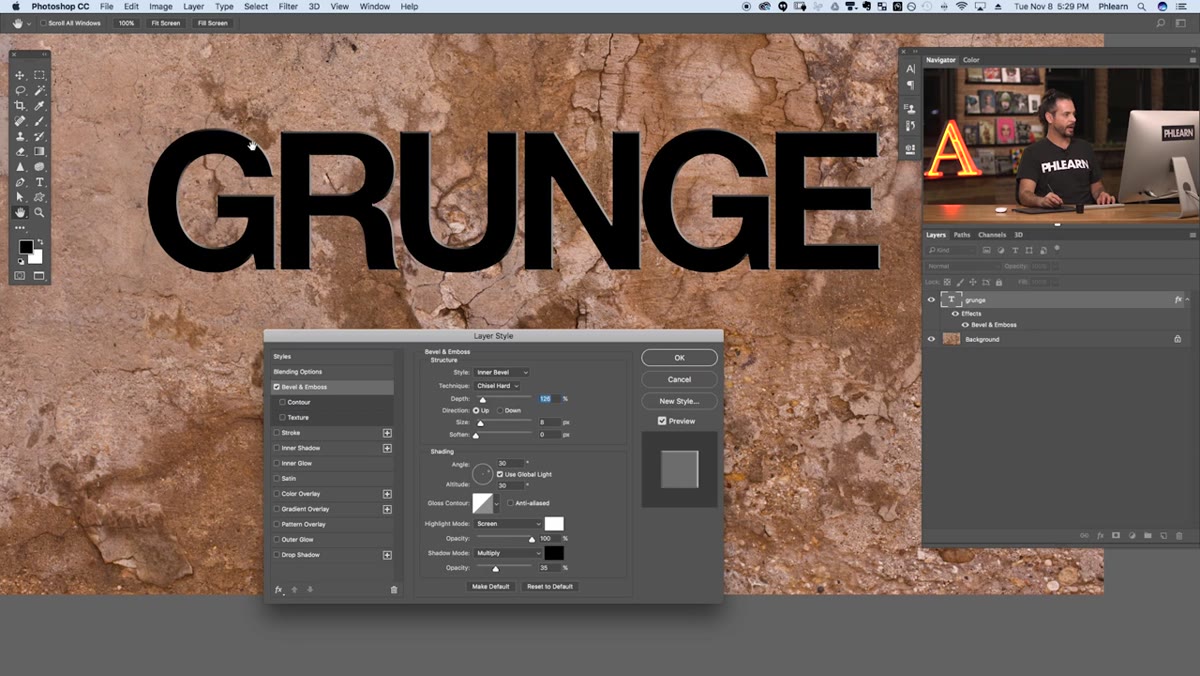
 Layer Effects dialog open with Bevel and Emboss checked
With your layer selected, click the FX button at the bottom of the Layers panel and choose Blending Options. In the Layer Style dialog that opens, click directly on the words “Bevel and Emboss” (not just the checkbox) so you land on that panel’s full settings. You’ll immediately see a highlight appear on one side of your letterforms and a shadow on the other. At default settings it looks a little plasticky, but don’t judge it yet.
Layer Effects dialog open with Bevel and Emboss checked
With your layer selected, click the FX button at the bottom of the Layers panel and choose Blending Options. In the Layer Style dialog that opens, click directly on the words “Bevel and Emboss” (not just the checkbox) so you land on that panel’s full settings. You’ll immediately see a highlight appear on one side of your letterforms and a shadow on the other. At default settings it looks a little plasticky, but don’t judge it yet.
This is the control center for the whole effect. Everything that makes this technique work lives in this panel, and you’re about to push it well past its default behavior.
Step 4: Change the Technique to Chisel Hard and Increase Depth
 Bevel and Emboss settings with depth and technique adjusted
Under the Structure section at the top of the Bevel and Emboss panel, change the Technique dropdown from Smooth to Chisel Hard. This sharpens the way the effect reads edge transitions, which gives the texture a more carved, physical quality rather than a soft plastic look. Then push the Depth slider up, Aaron takes it quite high, well above 100%, to amplify the contrast between the light and shadow sides of the effect.
Bevel and Emboss settings with depth and technique adjusted
Under the Structure section at the top of the Bevel and Emboss panel, change the Technique dropdown from Smooth to Chisel Hard. This sharpens the way the effect reads edge transitions, which gives the texture a more carved, physical quality rather than a soft plastic look. Then push the Depth slider up, Aaron takes it quite high, well above 100%, to amplify the contrast between the light and shadow sides of the effect.
Size controls how far the bevel extends inward from the edges of your layer. Soften controls how feathered that transition is. For a texture effect that’s meant to look like stone or rough material, keep Soften low. You want hard edges. You want it to look like something you could scrape your knuckles on.
Step 5: Swap the Texture Source in the Texture Sub-Panel
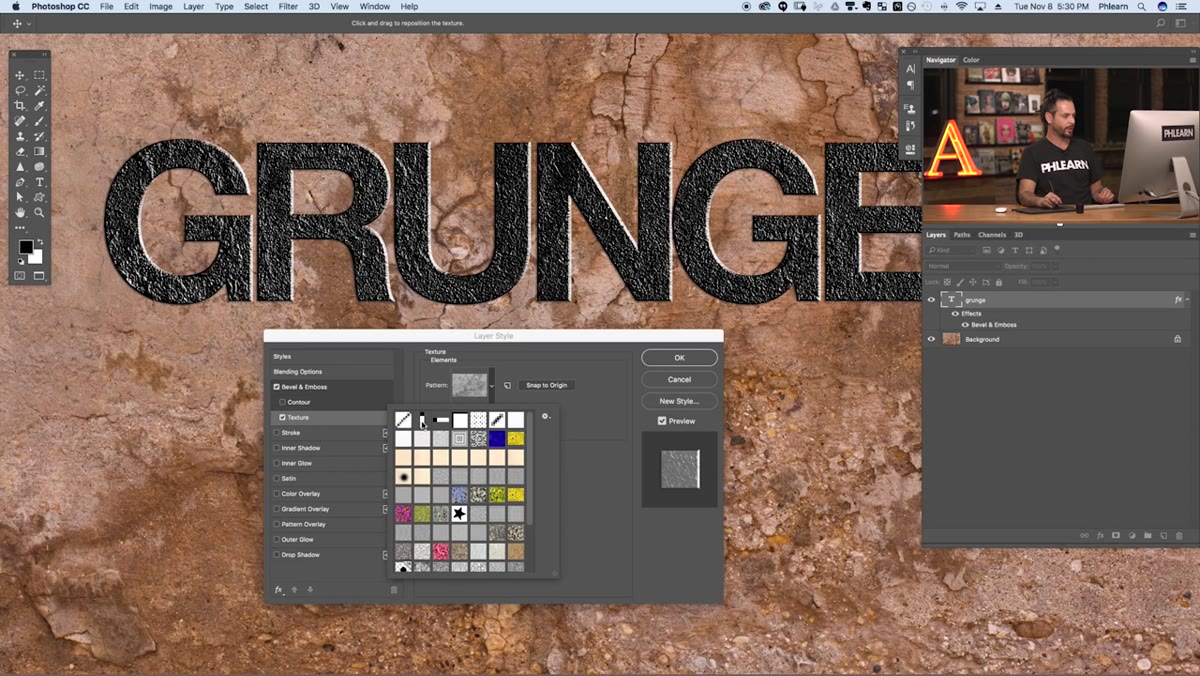
 Texture sub-panel inside Bevel and Emboss with pattern selected
Still inside the Bevel and Emboss section, look for the Texture option in the left sidebar of the Layer Style dialog. Click it. This sub-panel lets you assign a pattern to drive the surface detail of the bevel effect. Click the pattern thumbnail dropdown and select the texture you defined back in Step 1. Bump the Scale and Depth sliders until the texture starts reading clearly across your layer’s surface.
Texture sub-panel inside Bevel and Emboss with pattern selected
Still inside the Bevel and Emboss section, look for the Texture option in the left sidebar of the Layer Style dialog. Click it. This sub-panel lets you assign a pattern to drive the surface detail of the bevel effect. Click the pattern thumbnail dropdown and select the texture you defined back in Step 1. Bump the Scale and Depth sliders until the texture starts reading clearly across your layer’s surface.
This is the moment where the technique clicks. The bevel is no longer just responding to the edges of your letterforms. It’s now using the luminosity of your texture photograph to push and pull the surface in three dimensions. Bright spots in the texture catch the simulated light source. Dark spots fall into shadow. The whole surface starts to feel like it has physical mass.
Step 6: Rotate the Light Source to Sell the Illusion
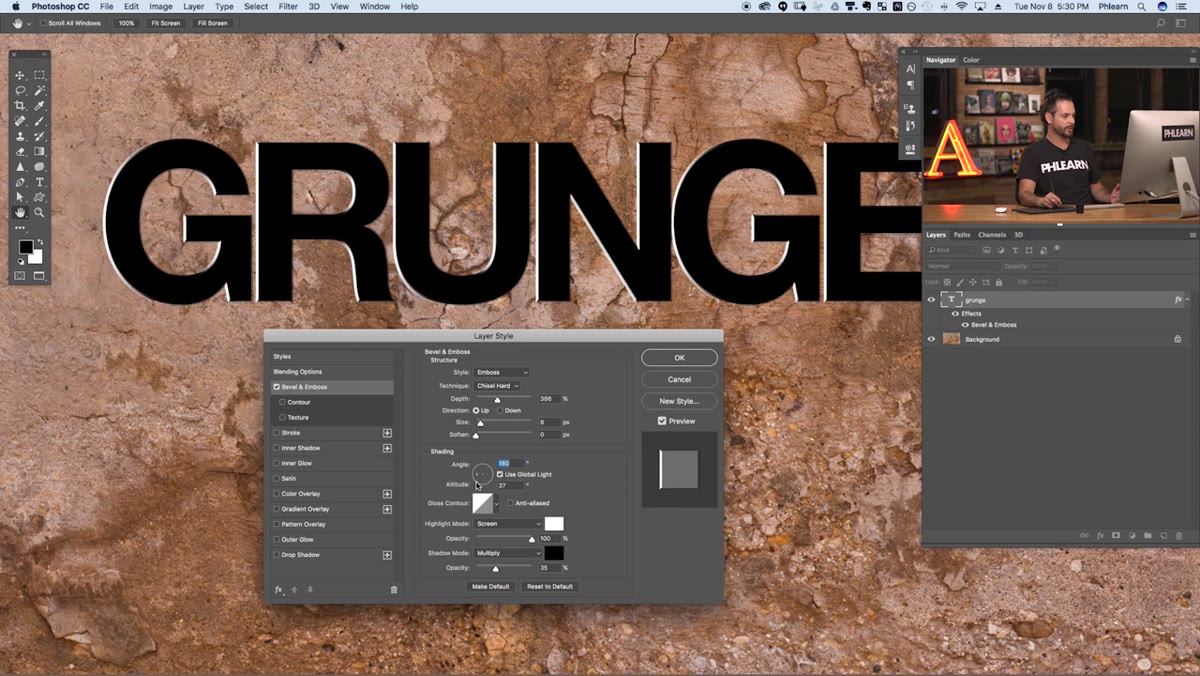
 Shading section of Bevel and Emboss with angle dial being adjusted
Scroll down to the Shading section of the Bevel and Emboss panel. There’s a circular angle dial that controls the direction of your simulated light source. Drag it around and watch what happens. The highlights and shadows shift across your texture in real time, making it look like you’ve moved a lamp around the room. This is the part that separates this technique from a simple pattern overlay.
Shading section of Bevel and Emboss with angle dial being adjusted
Scroll down to the Shading section of the Bevel and Emboss panel. There’s a circular angle dial that controls the direction of your simulated light source. Drag it around and watch what happens. The highlights and shadows shift across your texture in real time, making it look like you’ve moved a lamp around the room. This is the part that separates this technique from a simple pattern overlay.
For a texture applied to a scene that already has a light source, match your angle here to the direction of light in the rest of the image. That consistency is what makes composites look real rather than pasted-together.
One Thing Aaron Doesn’t Cover (That’s Bitten Me Before)
Pattern scale is session-relative in a way that can quietly wreck you. If you define a pattern from a 300dpi texture file and then apply it to a 72dpi web comp, the pattern tile will look massive and obviously tiled. Conversely, a small texture applied to a large print file can turn into a blurry mess. Before you commit to a pattern, check that your texture source file is at a comparable resolution to your working document. I learned this the expensive way on a large-format print job where the “stone texture” on the final file looked like someone had photographed bathroom tile from three feet away.
Also worth noting: Bevel and Emboss is technically a raster effect when it renders, so if you’re working on a smart object or a live type layer, the effect previews at screen resolution. Always do a final zoom-out at 100% to judge how it’ll actually print or export.
The single most important idea in this whole technique is that Photoshop’s Bevel and Emboss isn’t just an edge effect. It’s a full lighting simulation that can read the luminosity of any pattern and translate it into a three-dimensional surface. Once that clicks, a panel you’ve probably been ignoring becomes one of the most powerful tools in your layer effects kit.
Watch the full tutorial on YouTube to see Aaron walk through all of this live, including some additional color control tricks in the highlight and shadow blend modes that are worth seeing in motion.
Comments
Leave a Comment