I’ll be honest: for a long time I assumed serious landscape photographers were just out there slapping every filter known to humanity onto their lenses and calling it craft. I do most of my work in Photoshop, so I figured anything happening in-camera was either compensating for a skill gap or just expensive gear theater. Then I watched Watch the full tutorial on YouTube from landscape photographer Mark Denney, and I had to reckon with the fact that I was partially right, and partially very wrong.
Denney makes a point early in the video that I think every Photoshop-first person needs to hear: modern camera sensors have gotten so good, and post-processing techniques have advanced so far, that most filters are genuinely no longer necessary. That sentence alone should either relieve your wallet or validate every workflow decision you’ve made for the last five years. But here’s the catch he drops almost immediately after. There is one type of filter whose effect cannot be replicated in post, no matter how many adjustment layers or blend modes you throw at it. That got my attention.
If you’ve ever tried to fake a long exposure in Photoshop using motion blur or a radial filter and thought “this looks close but not quite right,” this is the tutorial that explains why, and what to actually do about it.
Step 1: Understand the Two Filter System Types
 Side-by-side of screw-on lens filter versus slide-in filter holder
Before you spend a single dollar, Denney draws a clear line between the two ways physical filters attach to a lens. The first type screws directly onto the lens thread. The second type requires a filter holder that clips to the front of the lens, which then lets you slide filters in and out of dedicated slots. This might sound like a minor logistical detail, but it matters a lot once you start combining multiple filters for a single shot. Screw-on filters can be fiddly to stack and rotate when you’re standing in cold water at 5am trying to catch golden hour. Slide-in systems win on speed and flexibility.
Step 2: Choose a Filter Holder System That Fits Multiple Lenses
 NiSi filter holder and adapter rings laid out on a surface
Denney uses the NiSi filter system, which he’s been running for two years at the time of filming. The kit includes adapter rings in 67mm, 72mm, and 77mm thread sizes, which means one holder works across several different lenses without needing to rebuy the whole setup. The holder clips to the adapter ring on the front of the lens and has three separate slots for stacking filters. If you’re going the filter route, this multi-lens compatibility is a real cost saver, and honestly it’s the kind of practical detail that gets glossed over in most gear reviews but matters immediately the first time you switch lenses on location.
Step 3: Use a Solid Neutral Density Filter to Control Shutter Speed
 Camera display showing shutter speed change from 1/2000 to 1/60 with ND filter applied
This is the big one. A solid neutral density filter is essentially a piece of darkened glass that blocks light from reaching the sensor, nothing more complicated than that. Blocking light means the camera needs more time to expose properly, which means a slower shutter speed, which is exactly what creates those silky smooth water effects and cloud streaks you see in dramatic landscape shots. Denney demonstrates with a 6-stop ND filter. At his lake location, the camera meters the scene at 1/2000 of a second without the filter. With the 6-stop ND in place, the shutter drops to 1/60. From there you switch to manual mode and push the shutter to 15, 30, or even longer exposures. The water stops looking like water. It starts looking like glass. This is the effect that Photoshop motion blur cannot convincingly fake because it’s real light accumulating over real time.
Step 4: Switch to Manual Mode and Push the Exposure Long
 Camera in manual mode, aperture and ISO being adjusted by hand
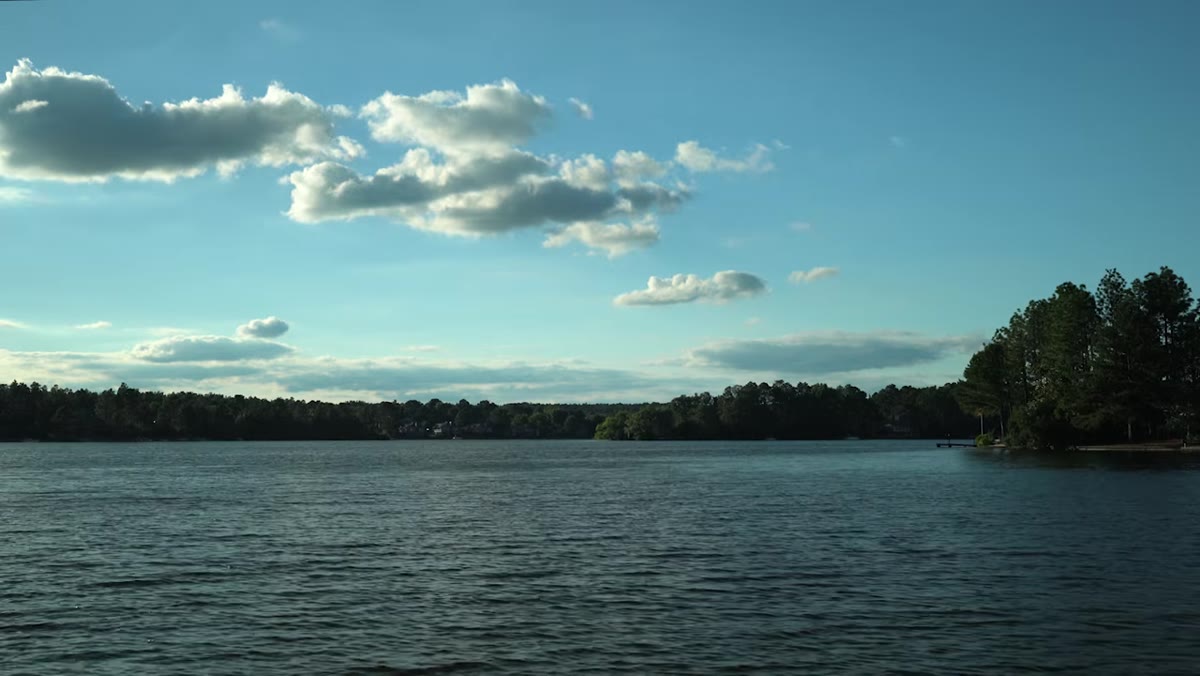
Once the ND filter is in place, Denney’s approach is to take the camera off auto entirely and start dialing in the look manually. Adjusting aperture and ISO alongside the shutter speed gives you creative control over how dramatic the long exposure looks. A wider aperture lets in more light, so you might need to compensate with a longer shutter to get the motion blur you’re after. Lower ISO keeps the image clean during those extended exposures where sensor noise can creep in. The example image he shows, straight out of camera, is a 15-second exposure where the water has gone completely smooth and the clouds have started to stretch and streak. No Lightroom. No Photoshop. Just time, glass, and patience.
Step 5: Add a Graduated ND Filter for High-Contrast Scenes
 Graduated ND filter being slid into holder, darker half aligned with sky
The second filter type Denney uses is a graduated neutral density filter, specifically a 3-stop soft grad. The top portion of the filter is darkened by 3 stops and gradually fades to completely clear at the bottom. The practical use case is any scene where the sky is dramatically brighter than the foreground, which describes basically every sunrise and sunset you’ll ever try to shoot. Without this filter, you’re choosing between a properly exposed sky with a black foreground, or a properly exposed foreground with a blown-out sky. The grad ND splits the difference in camera, before you ever open an editing app. Yes, you can approximate this in Lightroom with a graduated filter adjustment. But if the sky is 5 or 6 stops brighter than the ground, you’re often pulling detail out of highlights that was never really there.
What I’d Add From the Photoshop Side
Here’s where I’ll push back gently on the “post-processing can’t do everything” framing, because context matters. If you’re shooting RAW, especially with a modern mirrorless sensor, you have more dynamic range latitude than ever before. A well-exposed RAW file can handle a surprising sky-to-ground exposure gap in post using luminosity masking in Photoshop. I’ve built up sky-ground composites using two bracketed exposures and a luminosity mask in about ten minutes that looked just as clean as a grad ND shot. So the graduated filter is more optional than the solid ND, in my opinion, especially if you’re already comfortable with masking.
The solid ND is a different story. I spent an embarrassing amount of time in Photoshop once trying to fake long-exposure water on a waterfall composite a client sent over. Radial blur, smart filters, multiple passes. It looked like a bad oil painting. There is no Photoshop substitute for actual moving water captured over 15 seconds of real time. That is the one case where the filter wins, full stop.
If you’re a photographer first and a Photoshop user second, or if you’re trying to reduce your editing workload on location, Denney’s filter system is a well-reasoned, practical toolkit. The solid ND filter is the one piece of gear in this whole conversation that earns its place unconditionally.
Watch the full tutorial on YouTube to see the actual side-by-side comparisons Denney shows, especially the 15-second lake exposure straight from camera. It’s the kind of visual that makes the argument better than any gear spec sheet ever could.
Comments (2)
This is exactly what I needed today. Been struggling with this for weeks.
The before and after really sells it. Incredible difference.
Leave a Comment