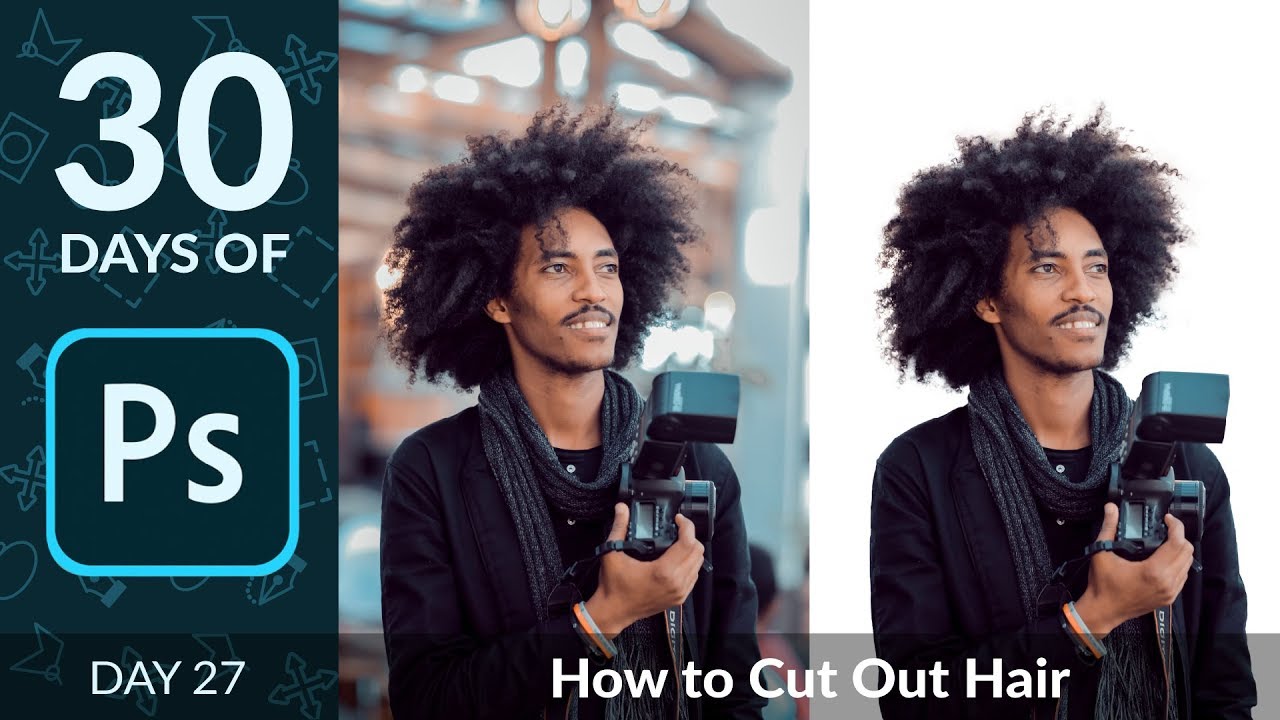
Hair has humbled me more times than I care to admit. Early in my freelance career I spent the better part of an afternoon trying to manually cut a model’s curly hair from a busy background using the Lasso tool, like some kind of digital caveman chipping away at stone. The result looked like someone had taken hedge clippers to her head. The client was polite about it. I was not polite to myself.
The good news is that Photoshop has genuinely good tools for this now, and in this Aaron Nace (PHLEARN) tutorial from his 30 Days of Photoshop series, he walks through a workflow that combines automated selection with the Select and Mask workspace to handle even complicated, wispy hair against a non-trivial background. The subject in his example has a lot going on, hair-wise, and the background isn’t a clean studio white. That’s intentional. Aaron picks the hard version so you can see what the technique actually does under pressure.
The core idea is simple: use “Select Subject” to get a rough cut, clean up the obvious mistakes manually, and then let the Refine Edge Brush inside Select and Mask do the heavy lifting on the hair. It’s a two-phase attack, and once you understand the logic, it becomes a reliable part of your toolkit.
Step 1: Run Select Subject to Get Your Starting Point
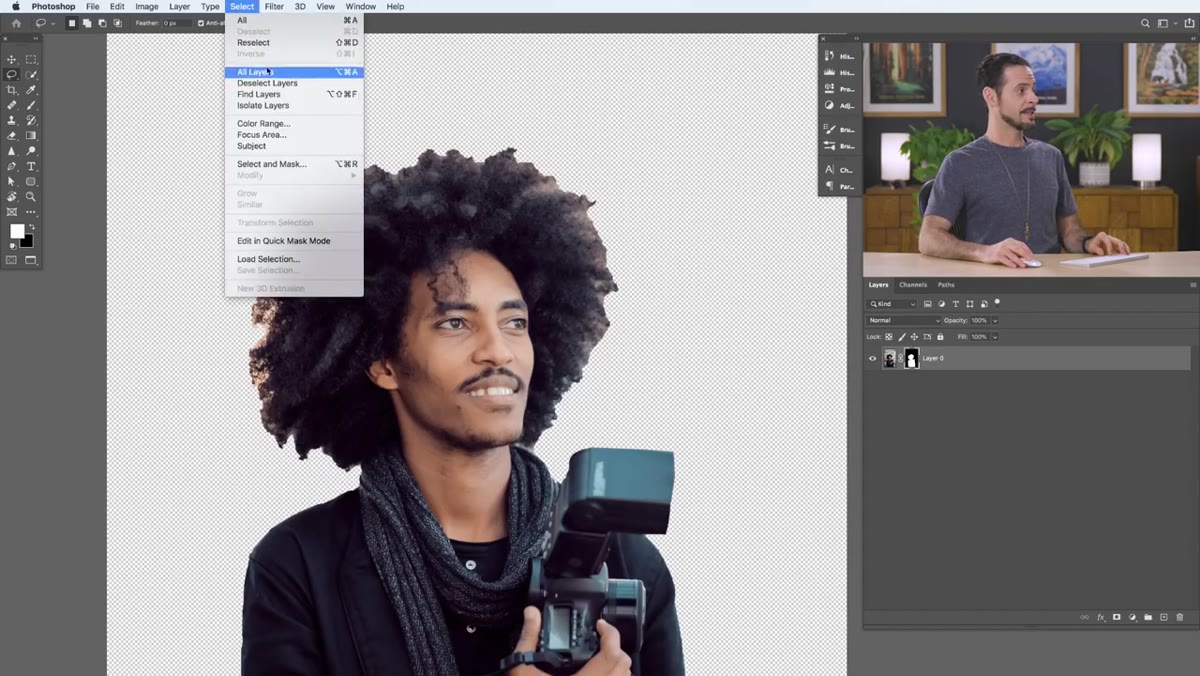
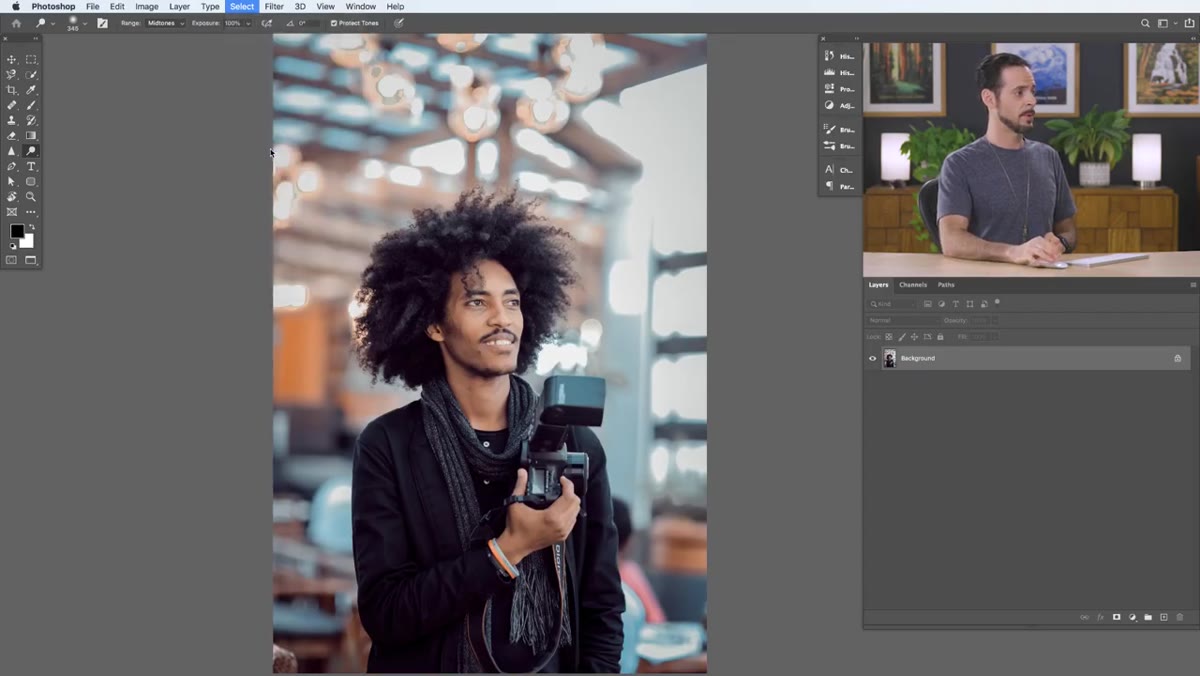 Select Subject option highlighted under the Select menu
Go to Select, then choose “Select Subject.” In Photoshop CC 2020 and later, this AI-powered option analyzes the image and makes a best guess at what deserves to be selected. It’s not magic, and Aaron is upfront about that. You’ll likely get some areas that are included when they shouldn’t be, and some that are missed entirely. The goal here isn’t a perfect selection. It’s a solid 80 percent starting point that saves you from building everything from scratch.
Select Subject option highlighted under the Select menu
Go to Select, then choose “Select Subject.” In Photoshop CC 2020 and later, this AI-powered option analyzes the image and makes a best guess at what deserves to be selected. It’s not magic, and Aaron is upfront about that. You’ll likely get some areas that are included when they shouldn’t be, and some that are missed entirely. The goal here isn’t a perfect selection. It’s a solid 80 percent starting point that saves you from building everything from scratch.
Step 2: Clean Up the Rough Edges with the Lasso Tool
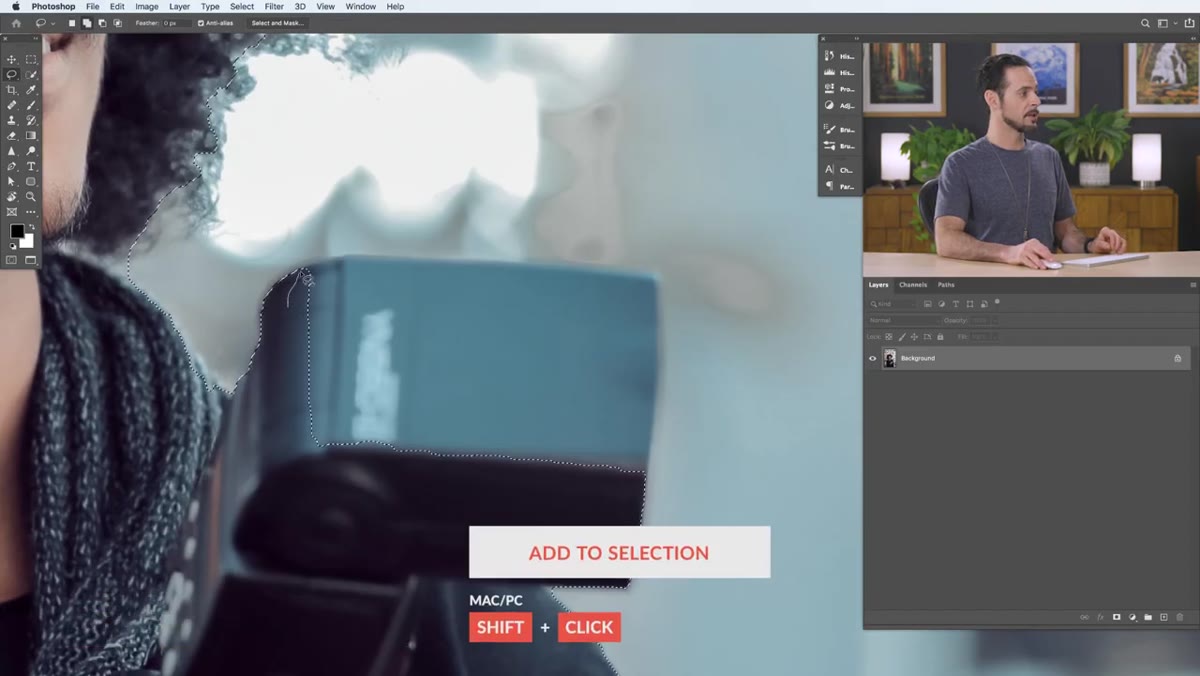 Lasso tool active, adding to selection around missed area
Once you have your initial selection, switch to the Lasso tool and do some manual cleanup on the obvious problem areas. Hold Shift while drawing to add to the selection, and hold Alt (Windows) or Option (Mac) to subtract from it. Aaron notes that for this tutorial he’s not going for perfection on the body, just decent, because the real focus is the hair. If you need crisp, clean edges on clothes, skin, or hard objects, the Pen tool is the right call there. But for getting the general shape of a person selected well enough to move on, a few passes with the Lasso will do the job.
Lasso tool active, adding to selection around missed area
Once you have your initial selection, switch to the Lasso tool and do some manual cleanup on the obvious problem areas. Hold Shift while drawing to add to the selection, and hold Alt (Windows) or Option (Mac) to subtract from it. Aaron notes that for this tutorial he’s not going for perfection on the body, just decent, because the real focus is the hair. If you need crisp, clean edges on clothes, skin, or hard objects, the Pen tool is the right call there. But for getting the general shape of a person selected well enough to move on, a few passes with the Lasso will do the job.
Step 3: Apply a Layer Mask to See What You’re Working With
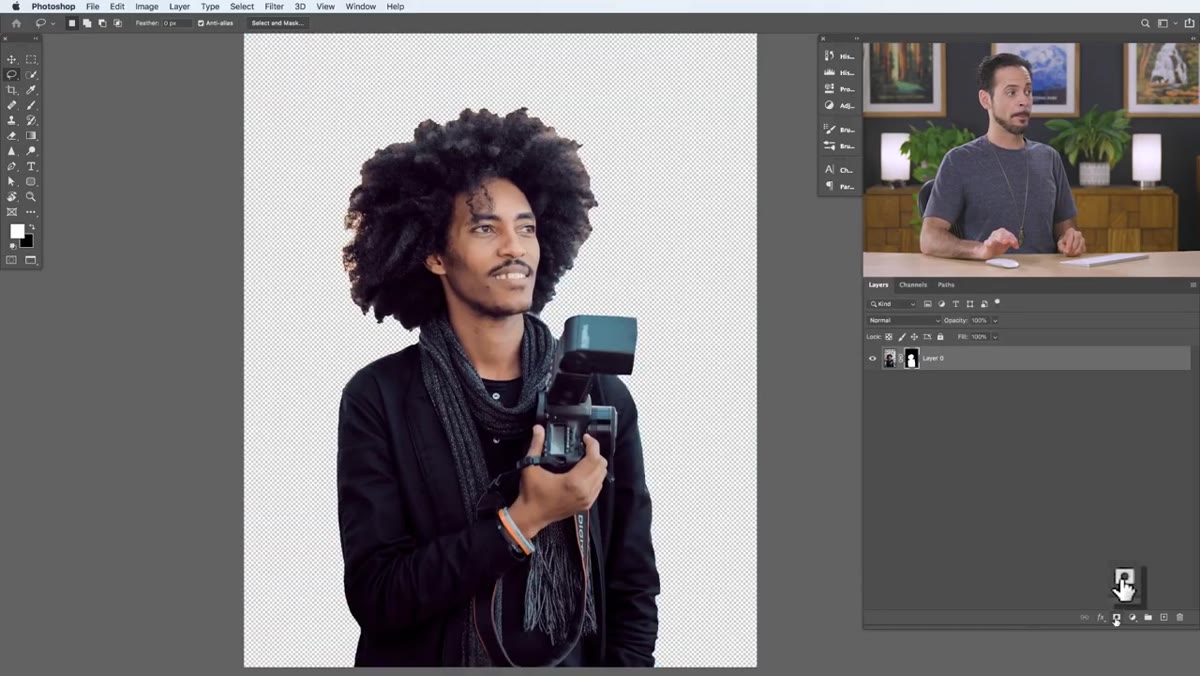 Layer mask applied, subject isolated with rough hair edges visible
With your selection active, click the Layer Mask icon at the bottom of the Layers panel. This hides the background and shows you exactly where your selection stands. This is the moment of truth, and honestly, it’s usually a little depressing. The hair will almost certainly look rough, with jagged edges or chunks of background color bleeding in. That’s expected. Don’t panic. The point of this step is to visualize the problem before you go into Select and Mask to fix it.
Layer mask applied, subject isolated with rough hair edges visible
With your selection active, click the Layer Mask icon at the bottom of the Layers panel. This hides the background and shows you exactly where your selection stands. This is the moment of truth, and honestly, it’s usually a little depressing. The hair will almost certainly look rough, with jagged edges or chunks of background color bleeding in. That’s expected. Don’t panic. The point of this step is to visualize the problem before you go into Select and Mask to fix it.
Step 4: Open Select and Mask
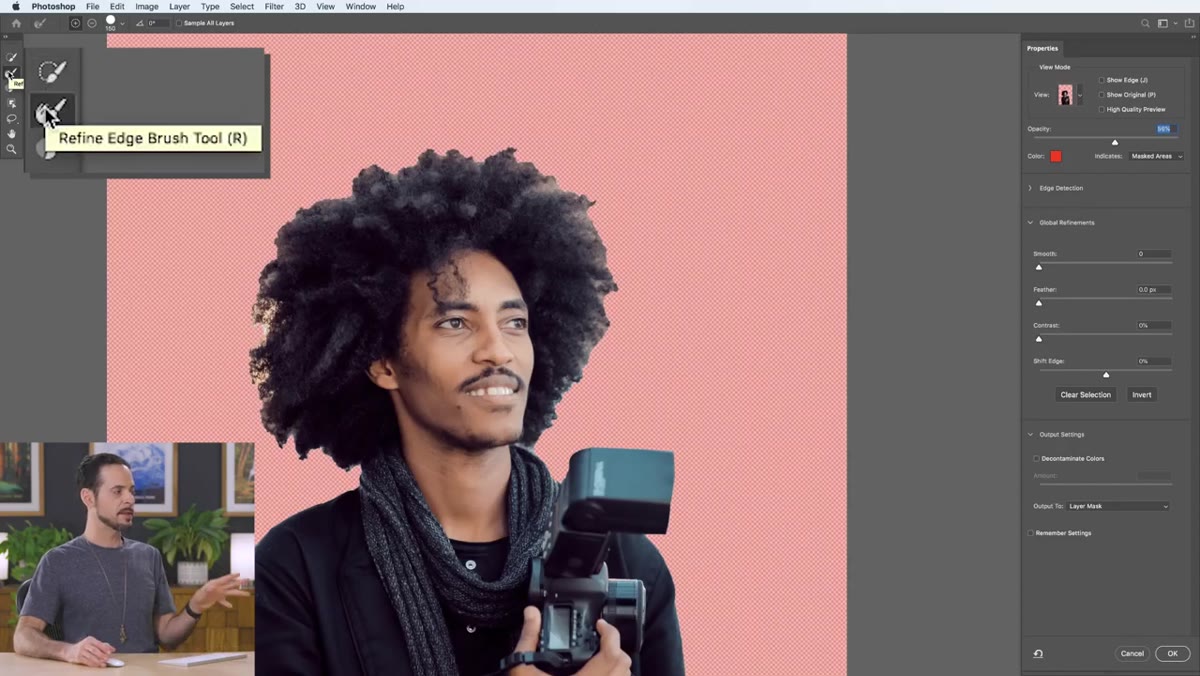
 Select and Mask dialog open, Overlay view active showing red background
Click on your layer mask thumbnail in the Layers panel to make sure it’s active, then go to Select and choose “Select and Mask.” This opens the dedicated workspace for refining your selection. Your first move here is to pick a view that makes sense for your image. Aaron recommends the Overlay view, which shows your subject on a red background. It makes it much easier to see what’s masked and what isn’t. You can adjust the opacity of the overlay to get a clearer look if needed.
Select and Mask dialog open, Overlay view active showing red background
Click on your layer mask thumbnail in the Layers panel to make sure it’s active, then go to Select and choose “Select and Mask.” This opens the dedicated workspace for refining your selection. Your first move here is to pick a view that makes sense for your image. Aaron recommends the Overlay view, which shows your subject on a red background. It makes it much easier to see what’s masked and what isn’t. You can adjust the opacity of the overlay to get a clearer look if needed.
Step 5: Use the Refine Edge Brush on the Hair
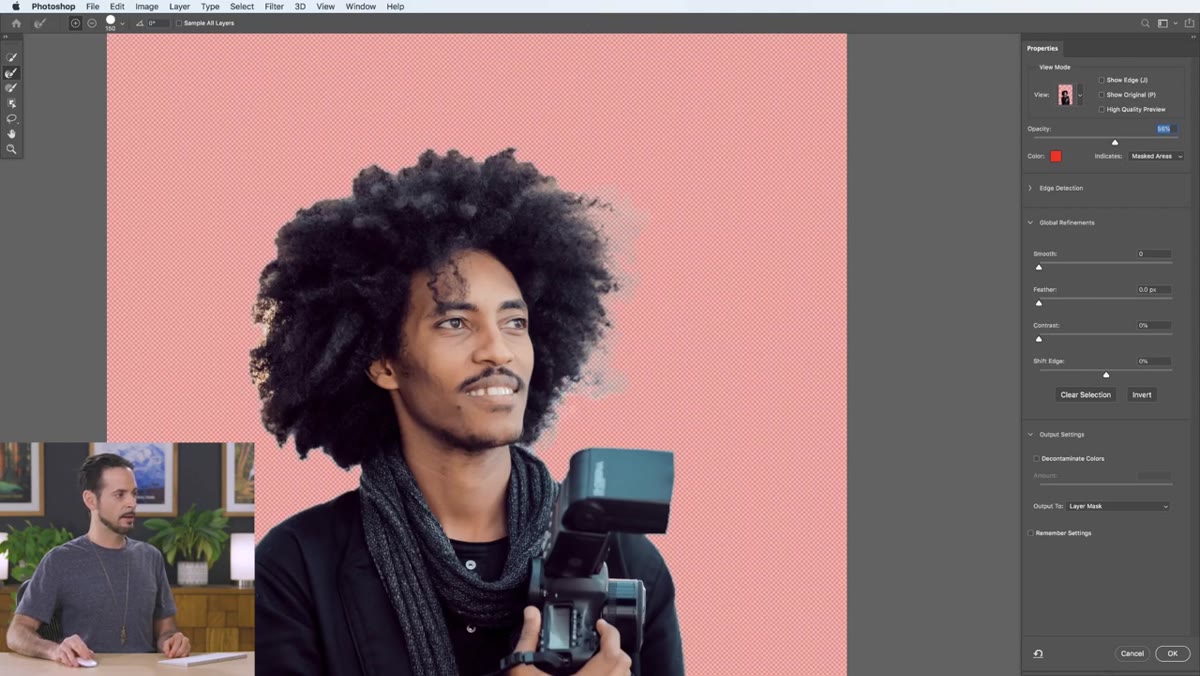
 Refine Edge Brush being painted over hair area along the edges
This is the step that does the real work. On the left side of the Select and Mask workspace, select the Refine Edge Brush tool. It looks like a circular brush with a dotted edge. Paint over the areas where hair meets background. What this tool does is analyze the pixels in that transition zone and figure out which ones belong to hair and which ones belong to the background. It then adjusts the mask edge accordingly. Work around the perimeter of the hair in broad strokes. You don’t need to be surgical here. The tool is looking for contrast and detail at the edge, so painting roughly in that zone is usually enough to get a dramatic improvement.
Refine Edge Brush being painted over hair area along the edges
This is the step that does the real work. On the left side of the Select and Mask workspace, select the Refine Edge Brush tool. It looks like a circular brush with a dotted edge. Paint over the areas where hair meets background. What this tool does is analyze the pixels in that transition zone and figure out which ones belong to hair and which ones belong to the background. It then adjusts the mask edge accordingly. Work around the perimeter of the hair in broad strokes. You don’t need to be surgical here. The tool is looking for contrast and detail at the edge, so painting roughly in that zone is usually enough to get a dramatic improvement.
Step 6: Output Your Refined Selection as a New Layer Mask
 Output settings dropdown in Select and Mask, New Layer with Layer Mask selected
When you’re happy with how the hair looks in the preview, scroll down in the Properties panel on the right side of the Select and Mask workspace to find the Output Settings section. From the Output To dropdown, choose “New Layer with Layer Mask.” This gives you a clean, non-destructive result without touching your original layer. Hit OK and you’re done. You should now have your subject cut out with a mask that handles the hair edges far better than any manual approach would have gotten you in the same amount of time.
Output settings dropdown in Select and Mask, New Layer with Layer Mask selected
When you’re happy with how the hair looks in the preview, scroll down in the Properties panel on the right side of the Select and Mask workspace to find the Output Settings section. From the Output To dropdown, choose “New Layer with Layer Mask.” This gives you a clean, non-destructive result without touching your original layer. Hit OK and you’re done. You should now have your subject cut out with a mask that handles the hair edges far better than any manual approach would have gotten you in the same amount of time.
One Thing I’d Add From My Own Experience
The Refine Edge Brush works best when there’s actual tonal contrast between the hair and the background. When I’ve tried this on images where the hair color is very close to the background color, like dark brown hair against a deep shadow, the brush struggles. It’s not doing anything wrong, it just doesn’t have much information to work with. In those cases I’ve had better luck duplicating the layer, boosting the contrast with a temporary Levels adjustment before entering Select and Mask, and then deleting that adjustment after I’m done. Give the algorithm something to see and it’ll see it.
Also, and I cannot stress this enough: zoom in before you call the result finished. What looks clean at full-image view can have some genuinely weird artifacts at 100 percent. A few seconds of inspection will save you from a client noticing something you missed.
Hair cutouts used to be the job I’d quietly dread whenever it showed up in a brief. Now it’s a workflow I can move through in a few minutes. The combination of Select Subject plus the Refine Edge Brush inside Select and Mask handles the majority of cases well, and knowing what the tool is actually doing, reading pixel contrast at the edge, helps you troubleshoot the cases where it doesn’t.
Watch the full tutorial on YouTube to see Aaron walk through the whole thing on a real image. Watching the Refine Edge Brush actually do its thing in motion is one of those moments where Photoshop feels genuinely impressive.
Comments (3)
Simple but effective. Sometimes that's all you need.
Quality content like this is rare. Keep it up.
Love this. I referenced a similar technique in one of my recent posts. Always good to see other perspectives.
Leave a Comment