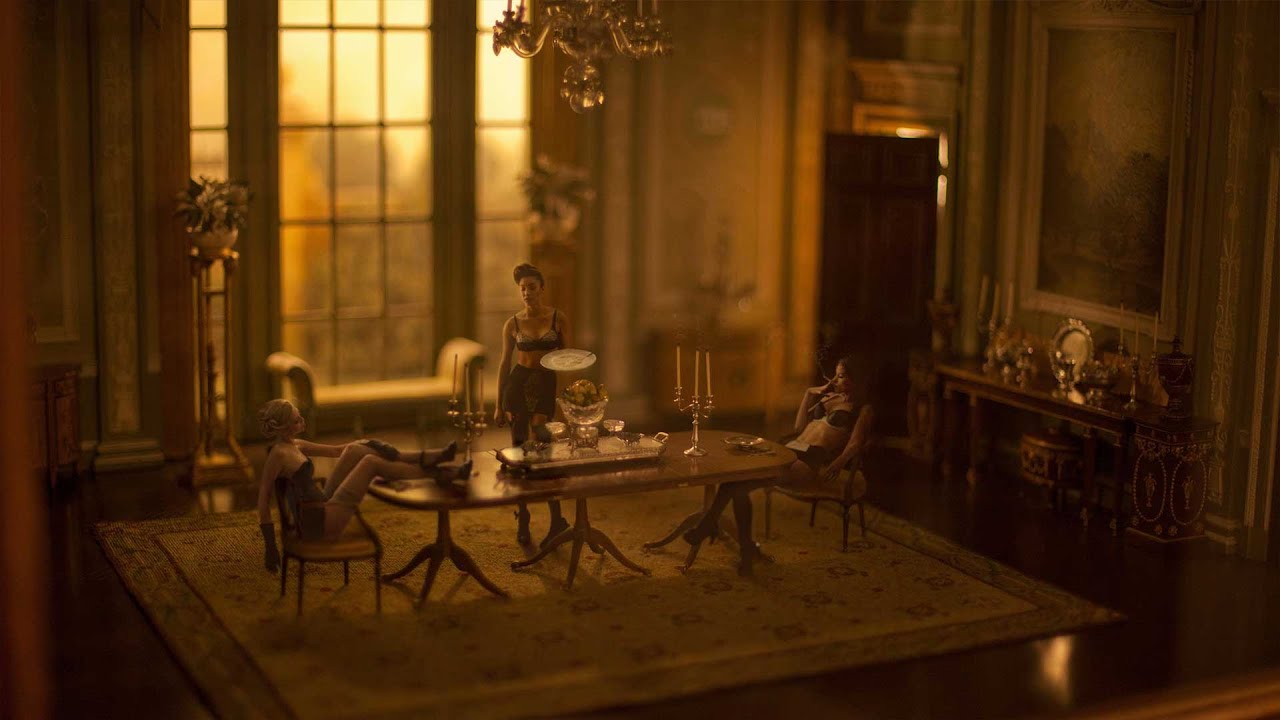
If you’ve ever finished a photo composite or a piece of digital art and thought “this would make a sick desktop wallpaper” — and then had absolutely no idea what to do next — you’re not alone. I’ve been there. I’ve exported things at the wrong resolution, uploaded files that looked great on my monitor and blurry on everything else, and once spent an embarrassing amount of time trying to figure out where to even host the thing so other people could grab it. The workflow felt weirdly undocumented for something so common.
That’s exactly the gap this tutorial fills. In this Aaron Nace (PHLEARN) tutorial, Watch the full tutorial on YouTube, Aaron walks through the entire pipeline from creating a correctly sized document to exporting multiple images and getting them online. It was a community-requested episode, which means it solves a real problem real people actually have. I picked up a few things I hadn’t been doing, and I’ll break down the full process below so you can follow along without pausing every 30 seconds.
Step 1: Check Your Screen Resolution Before You Build Anything
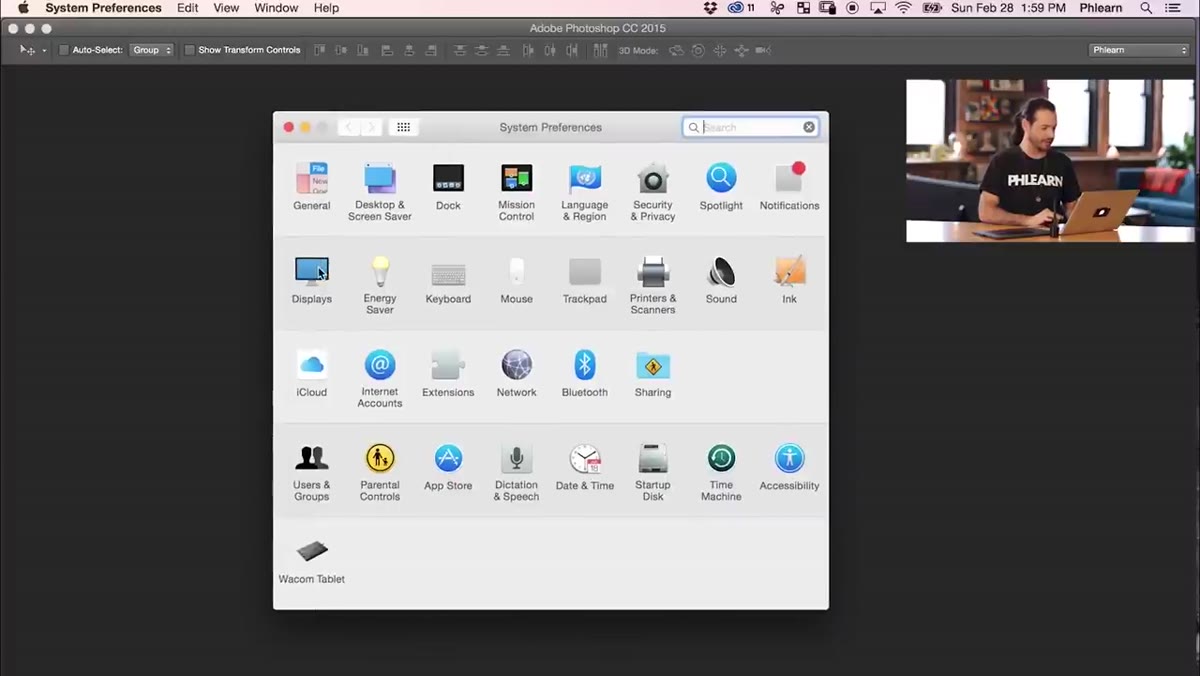 Mac Display preferences open showing resolution settings
Before you open a new document, you need to know what size you’re actually building for. On a Mac, go to System Preferences, click Displays, and hover over the “Scaled” option. Your current resolution will show up as a tooltip. Aaron’s laptop showed 1440 x 900, which became his first document size. His 27-inch iMac runs at 2560 x 1440, so that was his second.
Mac Display preferences open showing resolution settings
Before you open a new document, you need to know what size you’re actually building for. On a Mac, go to System Preferences, click Displays, and hover over the “Scaled” option. Your current resolution will show up as a tooltip. Aaron’s laptop showed 1440 x 900, which became his first document size. His 27-inch iMac runs at 2560 x 1440, so that was his second.
The point here is: don’t guess. Different monitors have different native resolutions, and if you’re offering wallpapers for download, you want to cover more than one screen size. Grab your numbers first, then build.
Step 2: Create a New Document at the Correct Pixel Dimensions
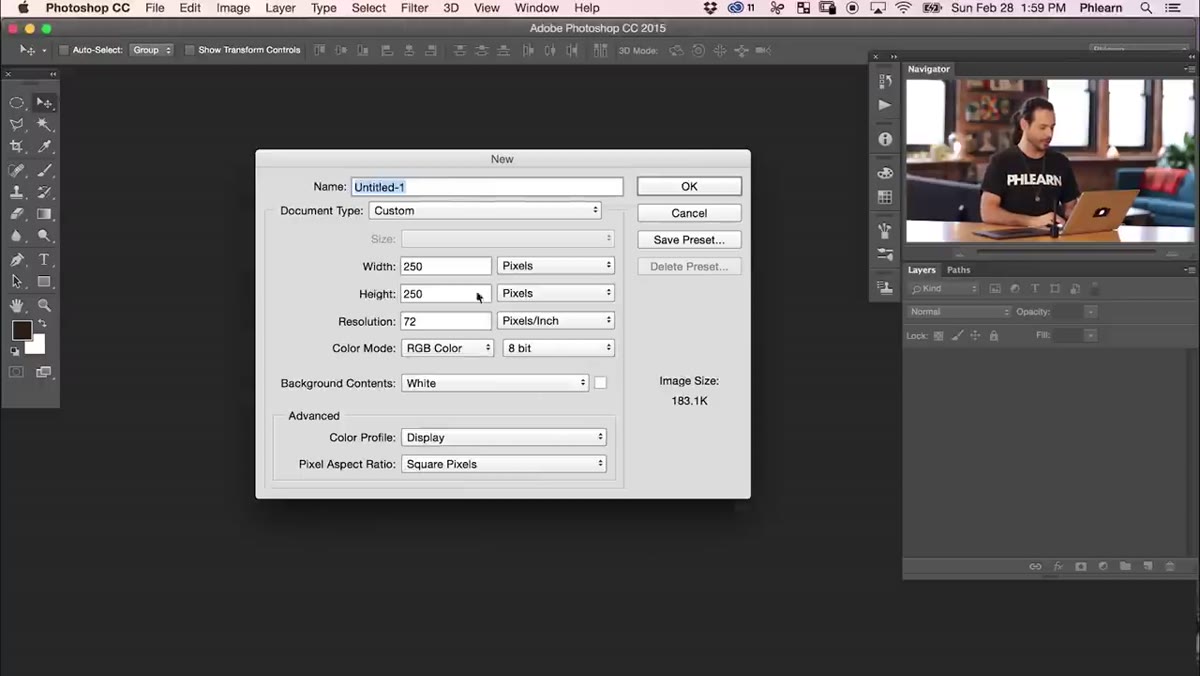 New Document dialog with 1440 x 900 entered in width and height fields
Hit Command + N (Ctrl + N on Windows) to open the New Document dialog. Enter your resolution values in pixels – width first, then height. For the laptop size: 1440 wide, 900 tall. Hit OK. Then repeat the process for any other sizes you want to support. Aaron creates two documents side by side: one for the laptop, one for the iMac.
New Document dialog with 1440 x 900 entered in width and height fields
Hit Command + N (Ctrl + N on Windows) to open the New Document dialog. Enter your resolution values in pixels – width first, then height. For the laptop size: 1440 wide, 900 tall. Hit OK. Then repeat the process for any other sizes you want to support. Aaron creates two documents side by side: one for the laptop, one for the iMac.
Resolution here means pixel dimensions, not DPI. For screen display, DPI doesn’t matter. What matters is that your canvas matches the pixel count of the target display. Keep it simple and stick to pixels as your unit.
Step 3: Load All Your Photos Into a Single Layered File
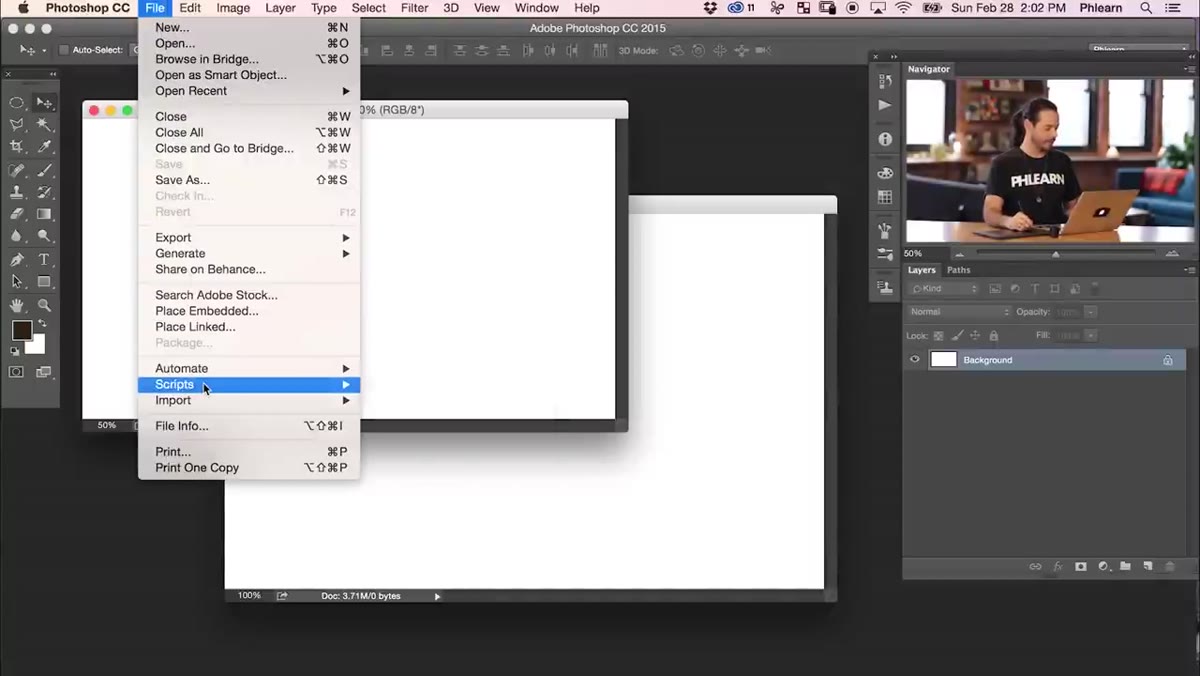 File > Scripts > Load Files into Stack menu path visible
Instead of opening each image individually and dragging them in one by one, use Photoshop’s built-in stack loader. Go to File, then Scripts, then “Load Files into Stack.” Click Browse, select all the images you want to use, and hit OK. Photoshop will open every image as a separate layer inside one document automatically.
File > Scripts > Load Files into Stack menu path visible
Instead of opening each image individually and dragging them in one by one, use Photoshop’s built-in stack loader. Go to File, then Scripts, then “Load Files into Stack.” Click Browse, select all the images you want to use, and hit OK. Photoshop will open every image as a separate layer inside one document automatically.
This is one of those “why didn’t I know about this sooner” features. If you’re building a set of wallpapers from a series of photos, this saves you five minutes of tedious drag-and-drop work right off the bat. Aaron’s working with a composite series he shot at an art museum – multiple images, all loaded at once, ready to go.
Step 4: Resize and Fit Each Image to Your Wallpaper Dimensions
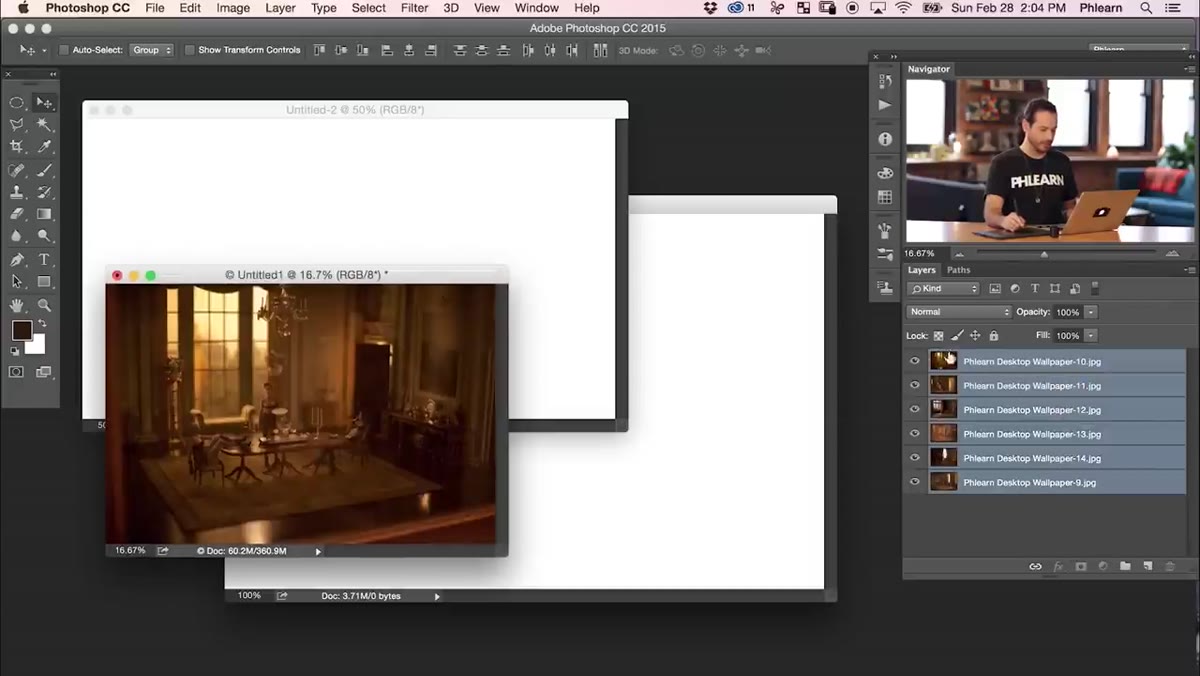 Layers panel showing multiple image layers shift-selected
These are high-resolution photos shot on a Canon 5D Mark II, so they’re coming in enormous – way bigger than any wallpaper needs to be. Aaron shift-clicks all the layers in the Layers panel to select them all at once, then drags them into one of the pre-sized wallpaper documents.
Layers panel showing multiple image layers shift-selected
These are high-resolution photos shot on a Canon 5D Mark II, so they’re coming in enormous – way bigger than any wallpaper needs to be. Aaron shift-clicks all the layers in the Layers panel to select them all at once, then drags them into one of the pre-sized wallpaper documents.
Once they’re in the correctly sized canvas, you can use Free Transform (Command + T) on each layer to scale it down to fit. Hold Shift while dragging a corner handle to constrain proportions – or in newer versions of Photoshop, proportional scaling is locked by default. The goal is to fill the canvas edge to edge without stretching or distorting the image. Do this for each layer individually so you have full control over the crop and framing.
Step 5: Export Each Layer as a Separate File Automatically
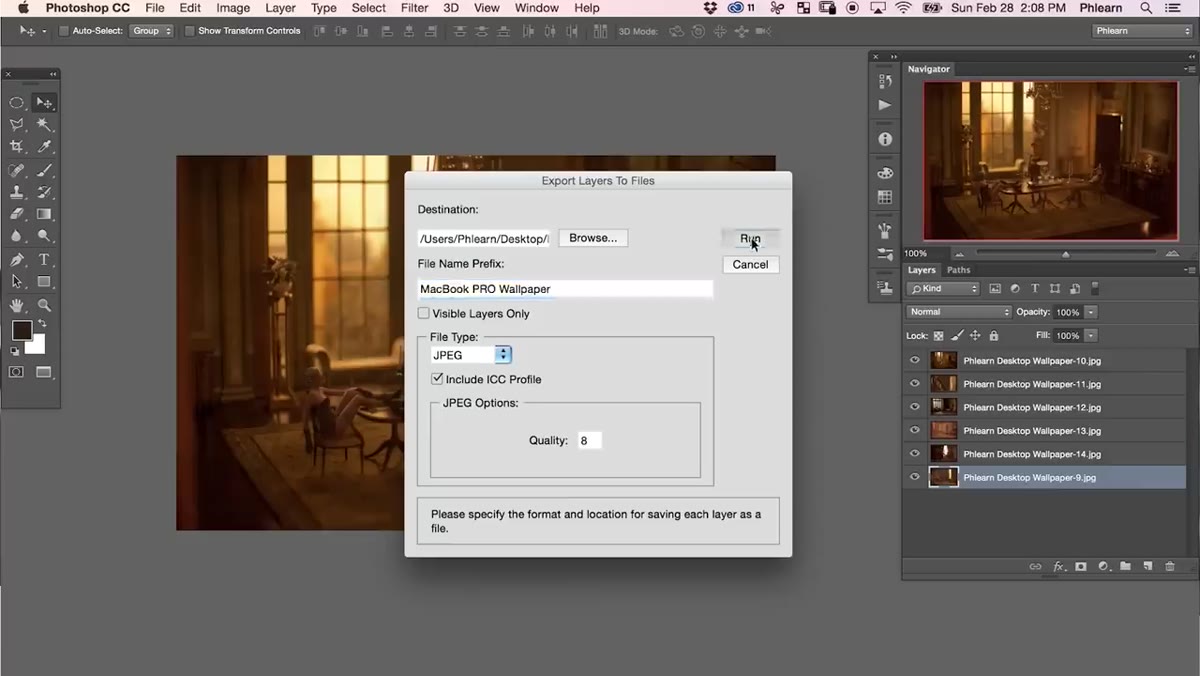 Export layers as files option referenced in tutorial intro
Here’s where things get really efficient. Instead of manually hiding layers and exporting one at a time (which is how I used to do it, painfully), Photoshop can export every layer as its own file in one shot. Go to File, then Export, then “Export Layers to Files.” You choose your destination folder, your file format (JPEG works fine for wallpapers), and your quality settings. Hit Run and Photoshop does the rest.
Export layers as files option referenced in tutorial intro
Here’s where things get really efficient. Instead of manually hiding layers and exporting one at a time (which is how I used to do it, painfully), Photoshop can export every layer as its own file in one shot. Go to File, then Export, then “Export Layers to Files.” You choose your destination folder, your file format (JPEG works fine for wallpapers), and your quality settings. Hit Run and Photoshop does the rest.
If you’ve got ten images in your wallpaper set, this saves you the repetitive cycle of hide-export-unhide-repeat. Each layer becomes a standalone file, named and numbered automatically. For anyone building a wallpaper pack, this is the move.
Step 6: Upload Your Files So Others Can Actually Download Them
 Context of sharing and uploading discussed in tutorial intro segment
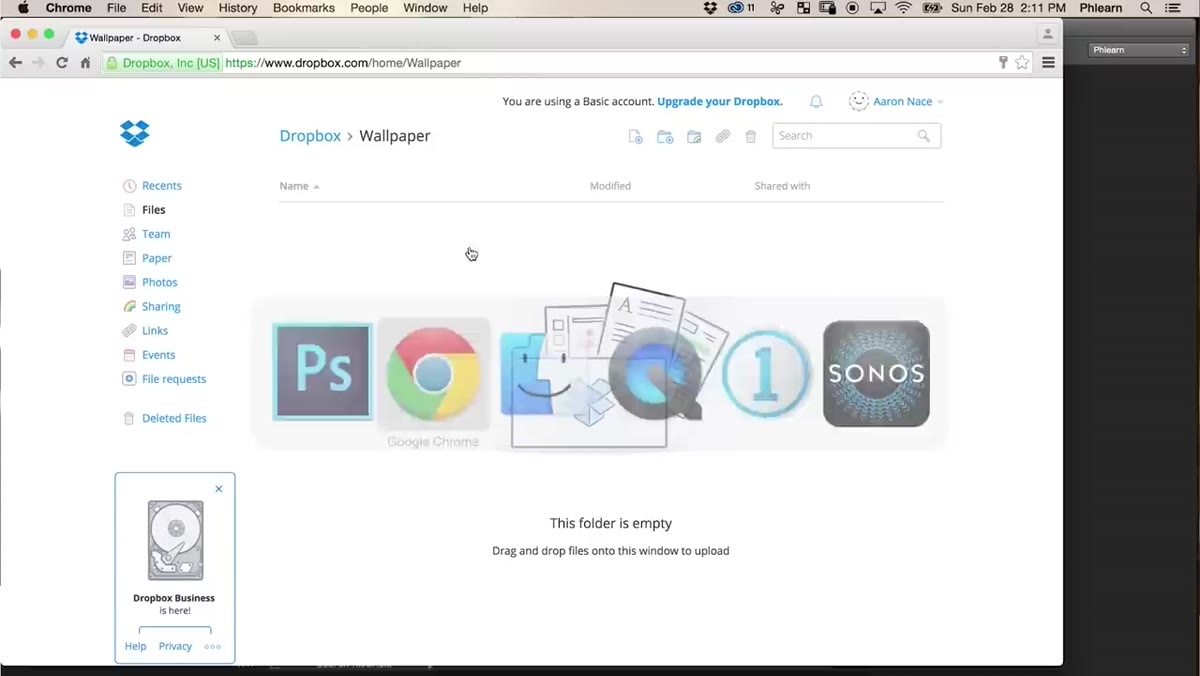
Once your files are exported, you need somewhere to host them. Aaron mentions uploading them to a website so visitors can download and use the wallpapers on their own computers. If you have your own site, a simple download link pointing to the hosted file is all you need. If you don’t, services like Google Drive, Dropbox, or even a dedicated wallpaper site work fine.
Context of sharing and uploading discussed in tutorial intro segment
Once your files are exported, you need somewhere to host them. Aaron mentions uploading them to a website so visitors can download and use the wallpapers on their own computers. If you have your own site, a simple download link pointing to the hosted file is all you need. If you don’t, services like Google Drive, Dropbox, or even a dedicated wallpaper site work fine.
The key is making sure the file downloads at full resolution and doesn’t get compressed by the platform. Some social sharing platforms will recompress images automatically, which defeats the whole purpose. Link directly to the original file wherever possible.
My Take: Do the Multiple-Size Thing From the Start
I’ll be honest – my old habit was to build one size, call it done, and just let people deal with it. Then I started getting messages from people saying the wallpaper looked stretched on their ultrawide or soft on their 4K display, and I realized I was making extra work for myself after the fact.
The smarter move is what Aaron demonstrates here: set up two or three canvas sizes from the beginning, while your layers are already open and your workflow is still warm. Duplicating a sized-down layer from your 1440 x 900 document into your 2560 x 1440 document takes thirty seconds. Rebuilding everything after the fact because someone complained about resolution takes thirty minutes and a lot of sighing. Save yourself the trouble. Also, if you’re working with smart objects, resizing becomes almost entirely non-destructive – which is worth a whole other article.
The single most important thing I took from this tutorial is that the sizing and exporting steps aren’t afterthoughts – they’re part of the design process. Getting your document dimensions right before you place a single photo means everything downstream works cleanly. It’s boring infrastructure, but it’s the difference between a polished wallpaper pack and a folder of random JPEGs that barely fit anyone’s screen.
Watch the full tutorial on YouTube to see Aaron’s full walkthrough, including a look at the composite series he built for this exact project.
Comments (1)
The before and after really sells it. Incredible difference.
Leave a Comment