
Client work comes in waves. One week you’re doing banner ads, the next someone slides into your DMs asking if you can make “something that moves but also doesn’t really move.” That’s a cinemagraph. And the first time I tried to figure one out on my own, I wasted an afternoon producing a GIF that looked less like art and more like a broken webpage. What I needed was someone to walk me through both sides of the problem: what you do on set before you touch Photoshop, and what you actually do inside Photoshop to make the loop work.
That’s exactly what Aaron Nace covers in this PHLEARN tutorial. Watch the full tutorial on YouTube before or after reading this, but I’d suggest using this breakdown as your working reference while you’re actually at your desk trying to build one. The tutorial is split cleanly into two phases: shooting the footage correctly, and assembling the loop in Photoshop. Both matter. Skip the camera section and you’ll be fighting your own footage the entire time.
A cinemagraph is, at its core, a short video clip that loops so seamlessly the viewer can’t tell where it ends and restarts. It gets exported as a GIF and lives on the web as this hypnotic, almost-alive image. The magic is in the planning as much as the editing.
Step 1: Understand What Makes a Good Cinemagraph Subject
 Aaron explaining what a cinemagraph is and how it loops
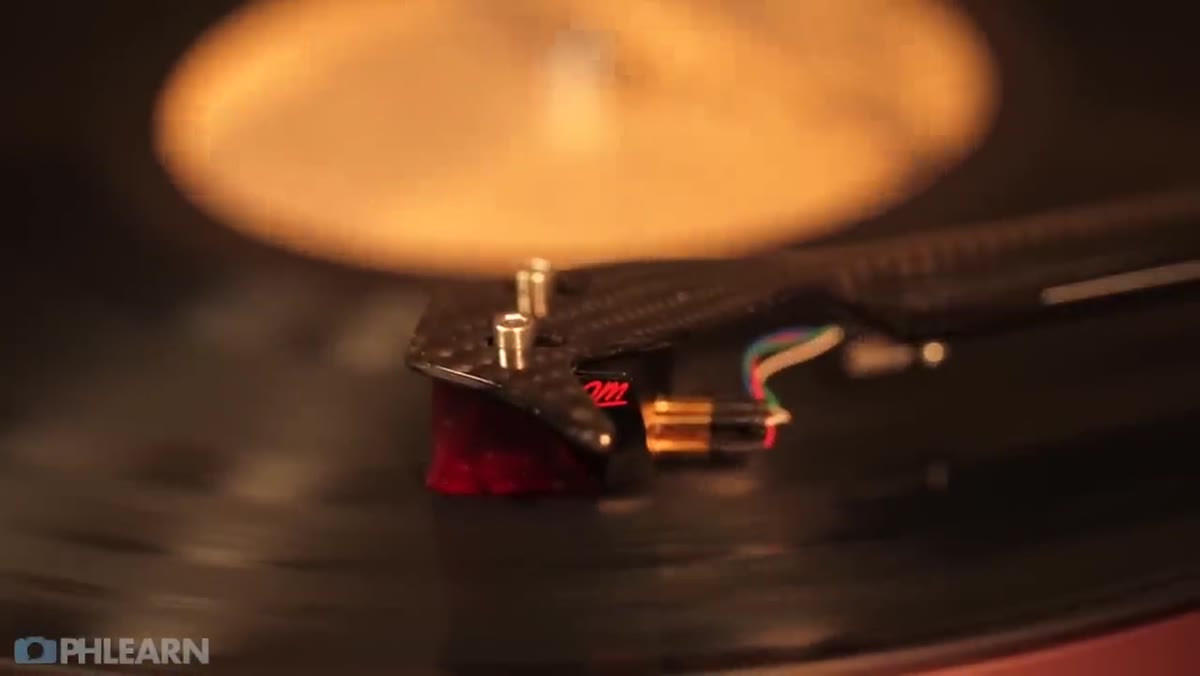
Not every moving thing works. The golden rule is that your subject’s motion has to end in exactly the same position it started. A spinning record. A flowing waterfall. Smoke rising from a coffee cup. These work because the movement is either cyclical or continuous enough that you can find a clean loop point.
Aaron explaining what a cinemagraph is and how it loops
Not every moving thing works. The golden rule is that your subject’s motion has to end in exactly the same position it started. A spinning record. A flowing waterfall. Smoke rising from a coffee cup. These work because the movement is either cyclical or continuous enough that you can find a clean loop point.
Aaron’s example of what doesn’t work is a dog running around a kitchen, and honestly, same. Unpredictable motion with no return point kills the effect before you even open Photoshop. Pick something with a predictable, repeating arc and you’ll save yourself real pain in the editing stage.
Step 2: Lock Down Your Camera Rig
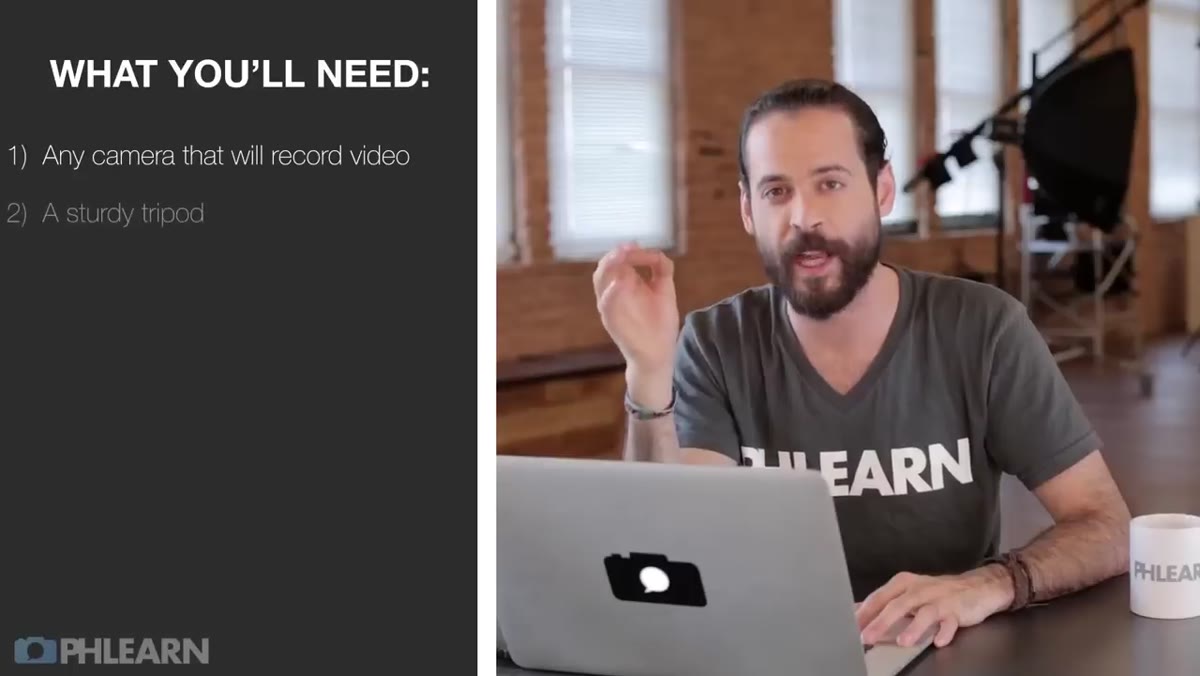 Tripod and camera setup shown for the record player shoot
A tripod isn’t optional here. It’s the whole game. The reason a cinemagraph works visually is that the background is perfectly static while one element moves. If there’s any camera shake or drift between your first frame and your last frame, the still portions of your image will visibly shimmer when the loop cycles, and the effect falls apart completely.
Tripod and camera setup shown for the record player shoot
A tripod isn’t optional here. It’s the whole game. The reason a cinemagraph works visually is that the background is perfectly static while one element moves. If there’s any camera shake or drift between your first frame and your last frame, the still portions of your image will visibly shimmer when the loop cycles, and the effect falls apart completely.
Aaron’s team shot on a Canon 5D Mark II at 1080p, 30 frames per second, with a 1/60 shutter speed, f/8 aperture, and ISO 800. Your settings will vary depending on your light conditions, but those are a solid baseline for an indoor subject with controlled lighting. The key principle is: expose for consistency, not creativity. You want flat, even footage you can work with, not cinematic drama that makes your Photoshop job harder.
Step 3: Shoot with Buffer Footage on Both Ends
 Camera recording the record player with extra footage before and after
Here’s a practical tip Aaron drops that I wish someone had told me earlier: record more than you need. Give yourself extra footage before the motion starts and after the loop point ends. That buffer gives you flexibility when you’re trimming in Photoshop. If you cut too close to your loop point in camera, you have almost no room to find the exact frame where the end matches the beginning. Extra footage means extra options.
Camera recording the record player with extra footage before and after
Here’s a practical tip Aaron drops that I wish someone had told me earlier: record more than you need. Give yourself extra footage before the motion starts and after the loop point ends. That buffer gives you flexibility when you’re trimming in Photoshop. If you cut too close to your loop point in camera, you have almost no room to find the exact frame where the end matches the beginning. Extra footage means extra options.
Think of it like leaving handles on a cut in video editing. You don’t have to use them, but you’ll be very glad they’re there when you’re scrubbing frame by frame looking for your match point.
Step 4: Import Your Video into Photoshop
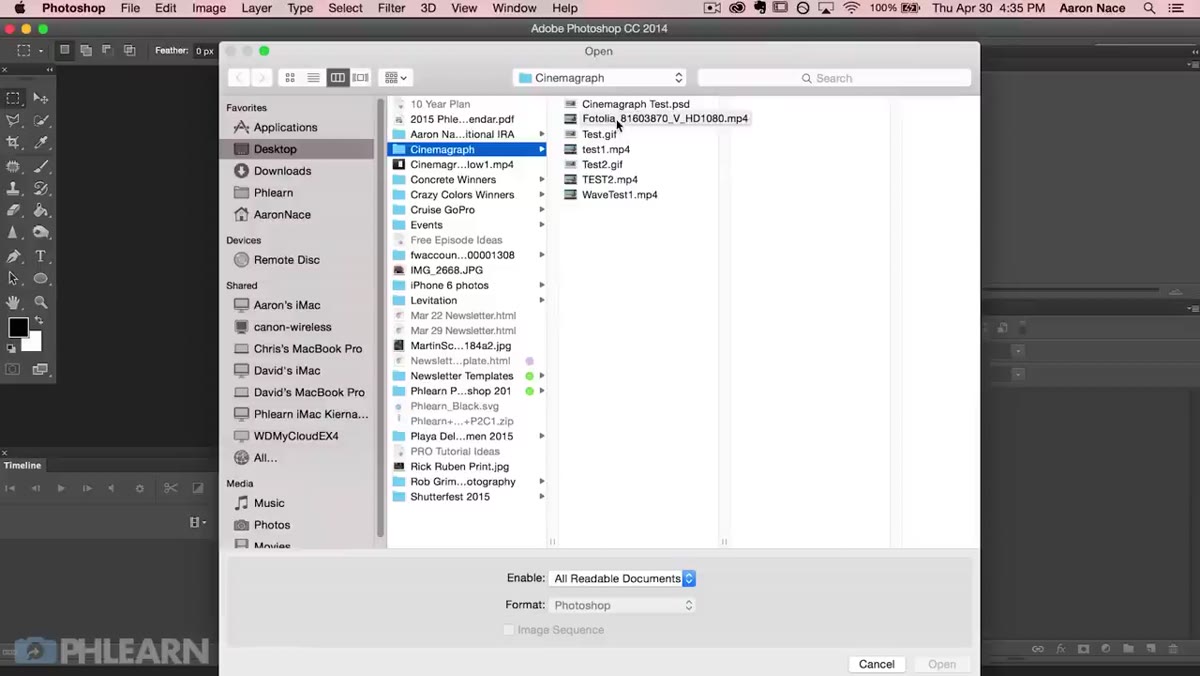
 Opening the video file in Photoshop using File > Open
This part trips people up the first time. Opening a video in Photoshop works exactly the same as opening a still image. Use Ctrl/Cmd + O, navigate to your video file, and open it. Photoshop will load it into the Timeline panel as a video layer. If your Timeline panel isn’t visible, go to Window and enable it.
Opening the video file in Photoshop using File > Open
This part trips people up the first time. Opening a video in Photoshop works exactly the same as opening a still image. Use Ctrl/Cmd + O, navigate to your video file, and open it. Photoshop will load it into the Timeline panel as a video layer. If your Timeline panel isn’t visible, go to Window and enable it.
Aaron uses stock footage from Fotolia for the main tutorial demo, which is worth noting if you don’t have your own footage yet and want to follow along right now. Licensing a short clip lets you practice the Photoshop workflow without needing to go out and shoot something first. Get the technique down, then go film your own subject.
Step 5: Find Your Loop Points and Trim the Clip
 Timeline panel showing the video clip being trimmed in Photoshop
This is the most technically demanding part of the whole process. You need to scrub through your footage and identify the two frames where the motion is identical. Frame one of your clip should match frame last of your clip as closely as possible. That match is what creates the seamless loop.
Timeline panel showing the video clip being trimmed in Photoshop
This is the most technically demanding part of the whole process. You need to scrub through your footage and identify the two frames where the motion is identical. Frame one of your clip should match frame last of your clip as closely as possible. That match is what creates the seamless loop.
In Photoshop’s Timeline, you can drag the endpoints of your video layer inward to trim it. Use the scrubber to get precise. Zoom into the timeline if you need more control at the frame level. The tighter the match between your start and end frame, the more convincing the final loop will be. If you’re working with a spinning subject, look for a recognizable reference point, like a label or a mark on the object, and use that as your anchor for matching.
Step 6: Export as a GIF for Web
 Aaron mentioning saving the cinemagraph as a GIF for upload online
Once your loop is trimmed and looks clean, you export it as an animated GIF using File > Export > Save for Web (Legacy). Set it to GIF, dial in your color settings, and make sure looping is set to Forever. Keep your dimensions reasonable since GIF file sizes balloon fast. Dropping to 720px wide or even smaller is often enough for web use, and your viewers will thank you for the faster load time.
Aaron mentioning saving the cinemagraph as a GIF for upload online
Once your loop is trimmed and looks clean, you export it as an animated GIF using File > Export > Save for Web (Legacy). Set it to GIF, dial in your color settings, and make sure looping is set to Forever. Keep your dimensions reasonable since GIF file sizes balloon fast. Dropping to 720px wide or even smaller is often enough for web use, and your viewers will thank you for the faster load time.
Aaron’s workflow keeps things efficient here. The goal is a file that loops invisibly and loads fast. If your GIF takes ten seconds to load, nobody’s going to wait around long enough to be impressed by it.
What I’d Add from My Own Experience
The transcript cuts off before Aaron gets deep into the Photoshop compositing stage, but one thing I’ve learned doing these myself is that masking is where the real artistry lives. Once you have your loop, you can paint a mask that reveals motion only in a specific region of the frame and keeps everything else completely frozen. That selective motion is what makes cinemagraphs feel uncanny and beautiful rather than just “a GIF.” Experiment with a soft brush on your mask edges. Hard masks look like a cutout. Soft masks look like magic.
Also: if you’re getting a subtle flicker at the loop point even when the frames look matched, try adding a very short crossfade between the end and the beginning in the timeline. Sometimes what the eye is catching isn’t the position of the subject but a slight exposure shift between frames. A two or three frame dissolve smooths that right out.
The single most important thing Aaron gets right in this tutorial is treating the shoot and the edit as one connected workflow, not two separate problems. The decisions you make on set determine what’s actually possible in Photoshop. Get a tripod. Pick a subject with a natural loop. Shoot more than you think you need. Everything after that is just editing.
Watch the full tutorial on YouTube to see Aaron’s complete walkthrough including the full Photoshop compositing and export process.
Comments
Leave a Comment