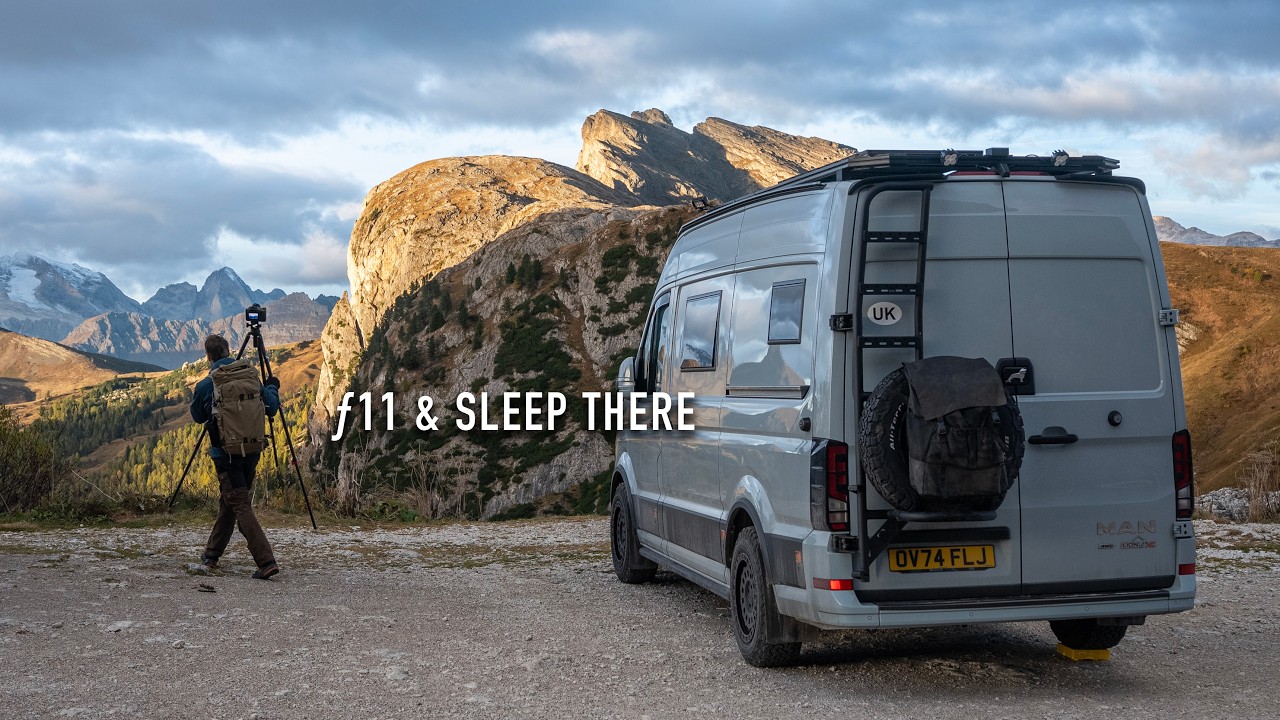
There’s a specific kind of photographic problem I keep running into when I’m editing landscape shots for clients: the image is technically fine, but it’s flat. The mountains are there, the sky is there, everything is in focus, and somehow it looks like a screensaver from 2004. Most of the time, the issue isn’t the edit at all. It’s that the original capture didn’t account for how dramatic light actually behaves on terrain. Once I started paying closer attention to photographers who shoot in the field rather than just talking about it, a lot clicked into place.
In this Thomas Heaton tutorial, he drives his van from the UK to the Italian Dolomites for an autumn photography road trip and hikes up to Cinque Torri, a famous cluster of five rock towers, during the evening golden hour. The video is less “here are your settings” and more “watch how a working landscape photographer thinks in real time.” And honestly, that’s more useful. Watch the full tutorial on YouTube
What follows is my breakdown of the core technique he demonstrates. Whether you’re shooting mountains, cliffs, or anything with strong directional light and elevation, this approach translates directly.
Step 1: Get to the Location with Time to Spare
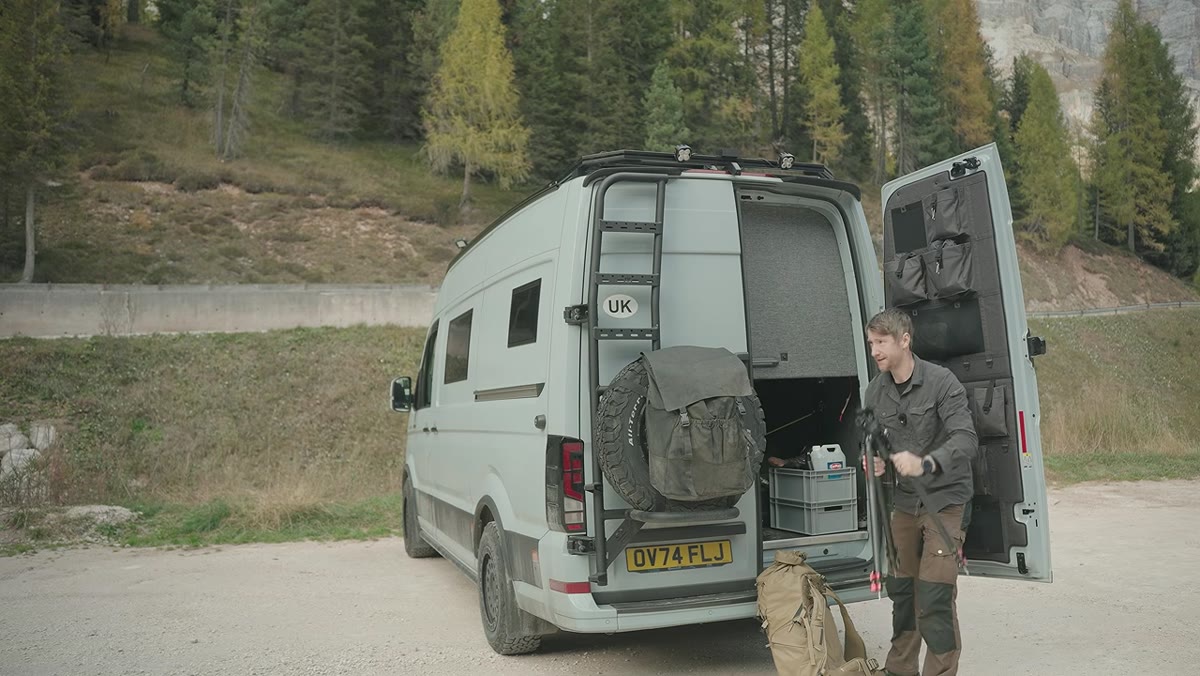 Thomas hiking urgently toward Cinque Torri before sunset
Heaton arrives at the base of Cinque Torri later than he’d like, and he is visibly moving fast. That urgency is the first lesson. Golden hour light on mountain peaks is brutally short. The alpenglow that makes those jagged summits glow orange and pink lasts maybe 15 to 20 minutes. If you arrive at the location when the light is already happening, you’re already behind.
His recommendation, read between the lines here, is to scout and position yourself before the light arrives. Know roughly where you’re standing before you need to make creative decisions quickly. Heaton spends the walk up mentally preparing, which means when the light hits, he’s already thinking about lenses, not scrambling to find a viewpoint.
Step 2: Let the Light Tell You Where to Point the Camera
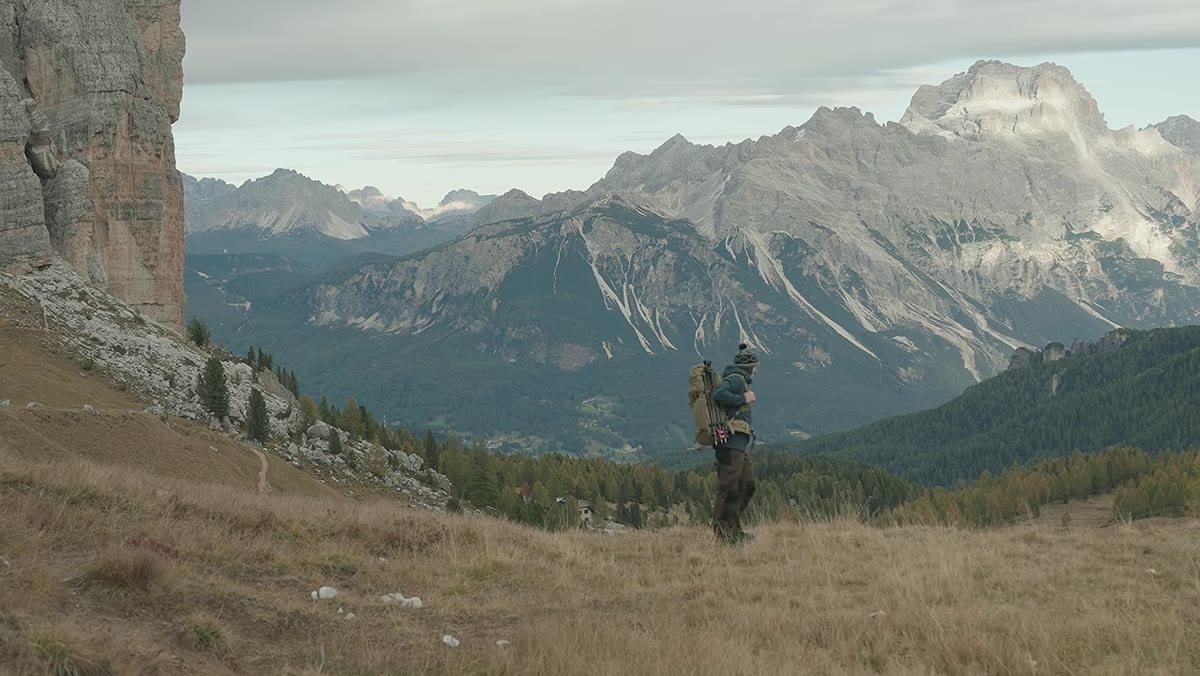 Light raking across the sharp Dolomite peaks on the far valley side
When Heaton reaches the top, he does something that a lot of photographers don’t do: he looks away from the famous subject. The Cinque Torri rock formations are right there, impressive and very photogenic. But he notices something more interesting developing on the opposite side of the valley, where raking sidelight is catching the sharp peaks and creating a high-contrast glow.
This is a discipline worth building. When you arrive at a known location, resist the urge to immediately point your camera at the thing everyone photographs. Spend two minutes looking at what the light is actually doing. The famous subject will still be there. But that dramatic secondary light? That might disappear in ten minutes.
Step 3: Start with Your Best Focal Length Guess, Then Adjust
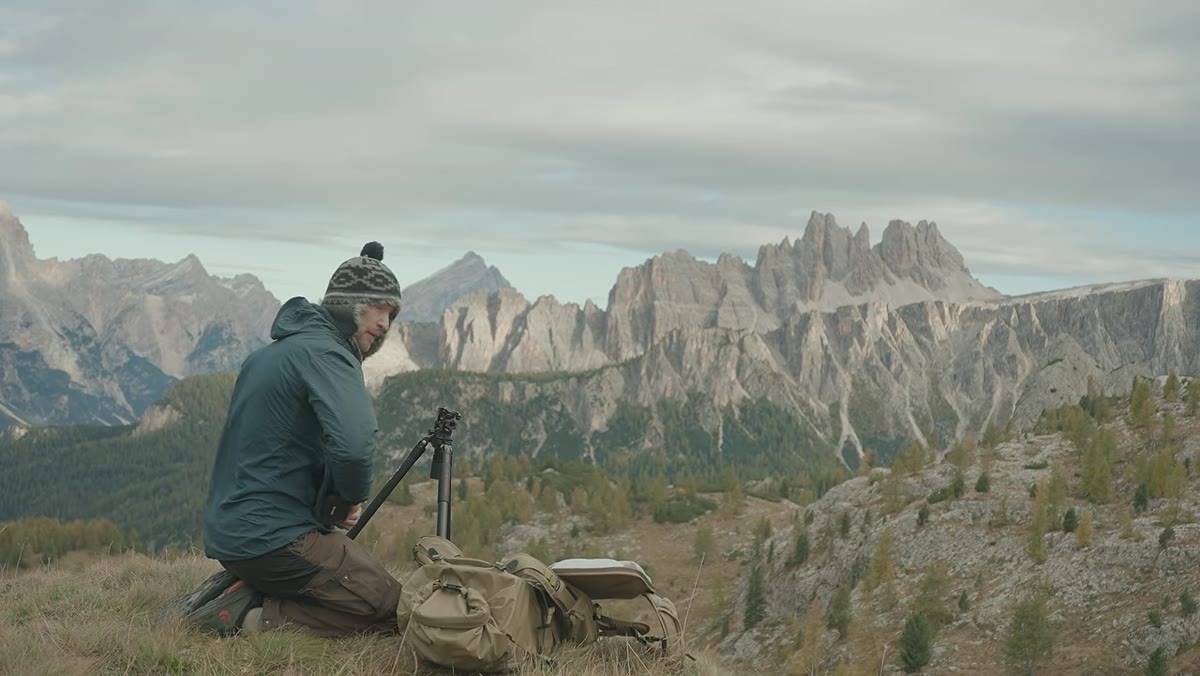 Heaton switching to 55mm lens and composing toward the lit peaks
Heaton pulls out a 55mm lens first and immediately acknowledges he’s not always right about his initial optics choice. He frames up the lit peaks, assesses the composition, then later swaps to a 90mm to compress the scene and isolate the light more tightly.
The practical takeaway here is to think about what the focal length is doing for your story. A wider lens includes more foreground and context. A longer lens removes distracting elements and makes the light feel more intense by compressing distance between the peaks. If the dramatic element in your scene is the light on a distant subject, a longer focal length is almost always the right move. Don’t lock in your first guess.
Step 4: Expose for the Highlights on the Peaks
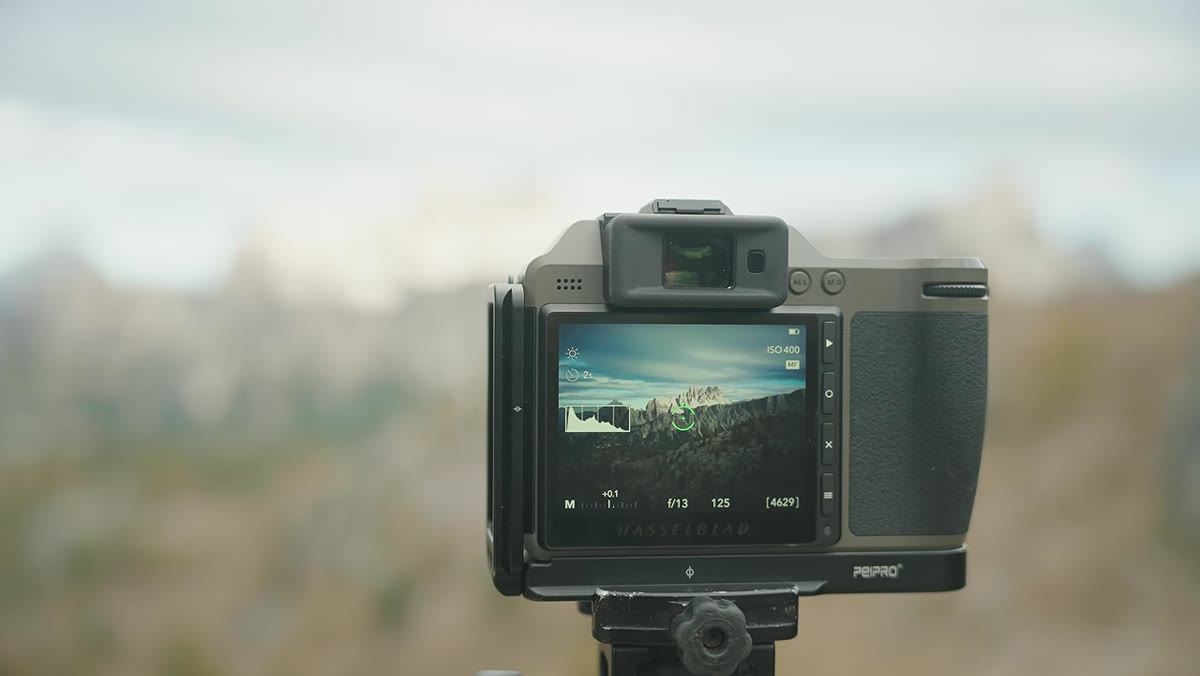 Lit mountain peaks contrasting sharply against a dark shadowed valley
This is the crux of the whole technique. Heaton explicitly explains his exposure decision: he meters and exposes for the bright, lit areas on the mountain peaks. The result is that the foreground, the valley, the larch trees in autumn color, all drop into deep shadow under a dramatically dark sky.
Most beginners fight this. They try to balance the exposure so they can see detail everywhere. But that’s exactly what kills the drama. When you expose for the brightest part of a scene like this, you’re making an editorial decision: the light is the subject. Everything else is context. The high contrast between the glowing peaks and the dark foreground is what makes the image feel cinematic. In post, you can lift shadow detail slightly if needed, but if you try to recover everything, you’ll flatten the mood right back out.
Step 5: Work Both Orientations Before Moving On
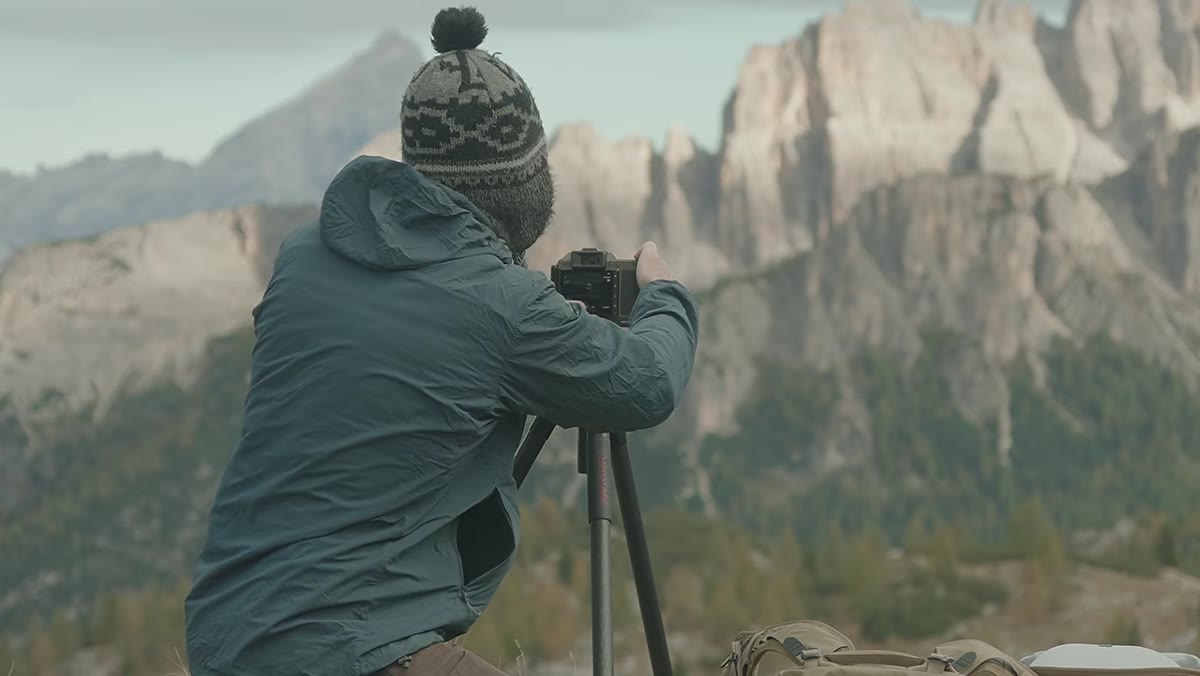 Heaton switching to a vertical frame with the 90mm lens
After establishing his horizontal composition, Heaton switches to portrait orientation. This isn’t just covering your bases for stock libraries or Instagram. Vertical framing on tall mountain subjects often emphasizes the height and scale of the peaks in a way that landscape orientation can’t. The towers reach up into the frame, and the eye travels upward to the light.
If you have a strong scene, shoot it both ways before you move. Composition decisions that feel obvious in the field often look different on a monitor, and giving yourself both options costs you maybe 90 seconds.
Step 6: Circle the Subject to Find New Angles
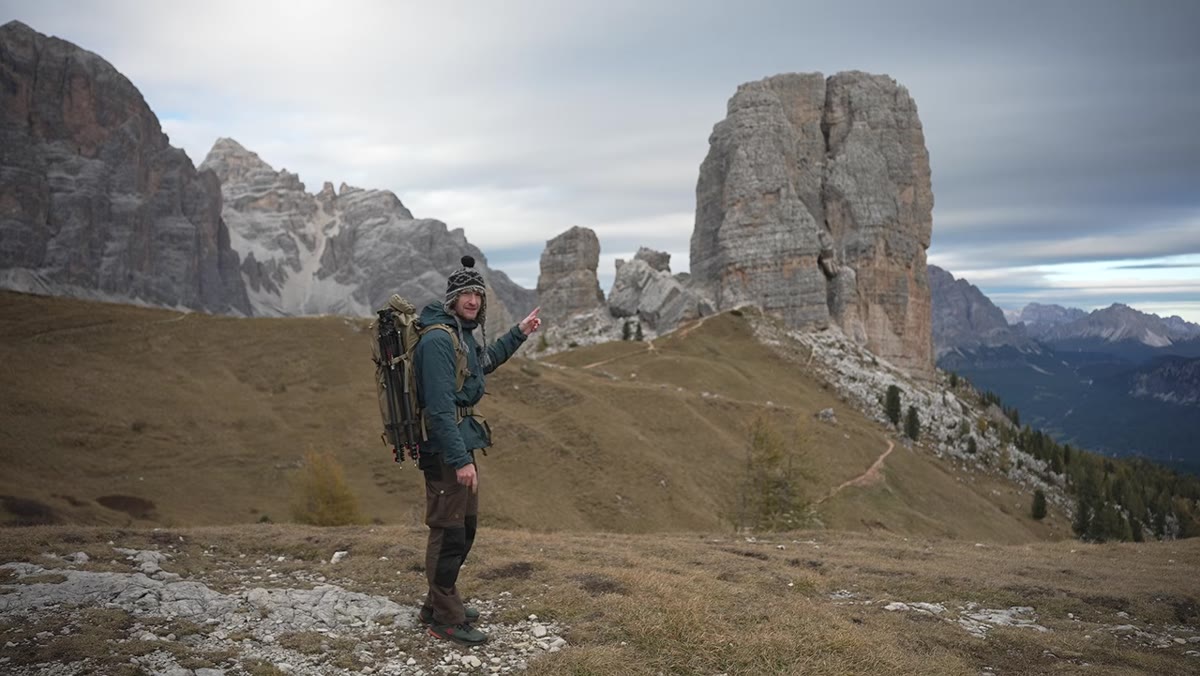 Thomas moving around Cinque Torri to scout shooting positions
With the valley light captured, Heaton turns his attention back to the Cinque Torri themselves. Rather than shooting from the obvious front-on position that every other photographer uses, he heads around the formation to see what other angles are available. He’s looking for compositions that aren’t the default.
This habit, circling a subject before committing to a position, is something I’ve had to consciously build. The first clear sightline to a subject is rarely the best one. Walk around it. Look at it from lower. Look at it from higher. The extra ten minutes almost always turns up something more interesting than the obvious shot.
My Take: This Applies Directly to Compositing Work
Here’s where this connects to the Photoshop side of things for me. When I’m building composite landscape images, the single most common mistake I see in my own work and in work people send me is that the lighting logic is inconsistent. A sky with dramatic directional light gets dropped onto a foreground that’s lit flatly. The result looks fake even if the masking is clean.
What Heaton demonstrates in the field is exactly what you need to reverse-engineer in a composite. The light source has a direction. Anything it hits directly goes bright and warm. Anything not in that direct path falls into cool shadow. If you expose (or paint) your composite elements with that same logic, letting the foreground drop dark when the sky is dramatic, the image stops looking like a cutout pasted onto a background and starts feeling like it was captured in a single moment.
The single most important thing Heaton does in this video is resist the urge to balance everything out. He sees dramatic, uneven light and leans into it instead of trying to smooth it over. That instinct applies whether you’re shooting in the Dolomites or editing a composite at a coffee shop in Austin. Let the light do the work. Watch the full tutorial on YouTube and pay attention to the moment he consciously chooses shadow over detail. That’s the whole lesson.
Comments
Leave a Comment