There’s a moment in every freelance designer’s life where a client asks for “something with a little movement” and you either know exactly what to do or you spend four hours Googling yourself into a corner. I’ve done both. For a long time, animation in Photoshop felt like a hidden room I didn’t have the key to. I knew the timeline existed. I’d opened it by accident more times than I’d opened it on purpose. But once I started digging into what it could actually do with layer styles and patterns, the whole game changed.
In this KelbyOne episode of Photoshop User TV, hosts Cory Barker and Pete Collins walk through a genuinely clever technique: animating a parallax camera pan using layer styles and a tiled pattern, with no actual video footage or 3D tools involved. Watch the full tutorial on YouTube. The core idea is that objects closer to the viewer appear to move faster than objects in the distance, and you can fake that in Photoshop by moving different layers at different speeds across the timeline. It sounds simple. It is, once someone shows you the trick.
What makes this technique useful in a real working context is that it applies to illustrated scenes, painted backgrounds, digital art compositions, anything where you need a subtle animated loop or a short cinematic clip without touching After Effects. Let me walk you through exactly how it works.
Step 1: Separate Your Scene Into Layers by Depth
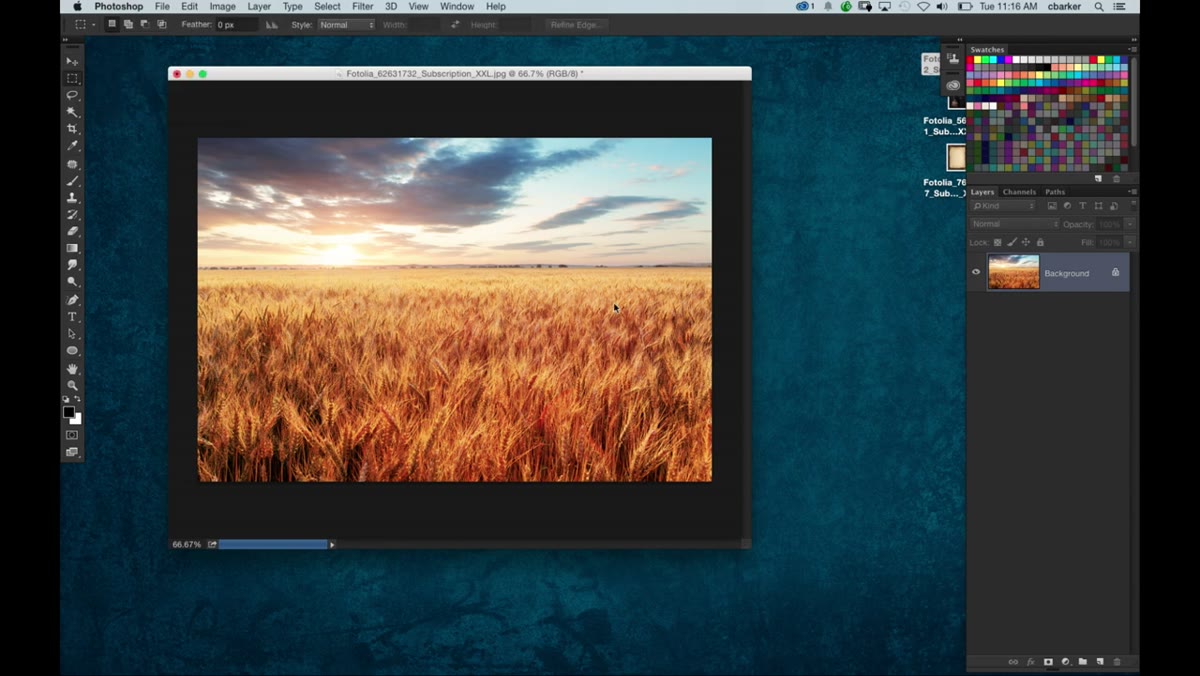 Painter scene broken into sky and foreground layers
The whole technique depends on having your scene split into at least two layers: a background (sky, distant elements) and a foreground (ground, grass, closer details). If you’re working on a flat, merged image, you’ll need to do some selection work first. Use the sky layer as your furthest plane - select it and hit Command+J to copy it to a new layer. The foreground stays on its own layer for now, but you won’t animate it the same way.
The logic here mirrors how parallax actually works in real life. If you’ve ever driven past a field and watched how the fence posts blur past while the horizon barely moves, that’s exactly the visual principle you’re recreating. Distance equals slower apparent movement.
Step 2: Use Offset to Check Your Foreground Tile
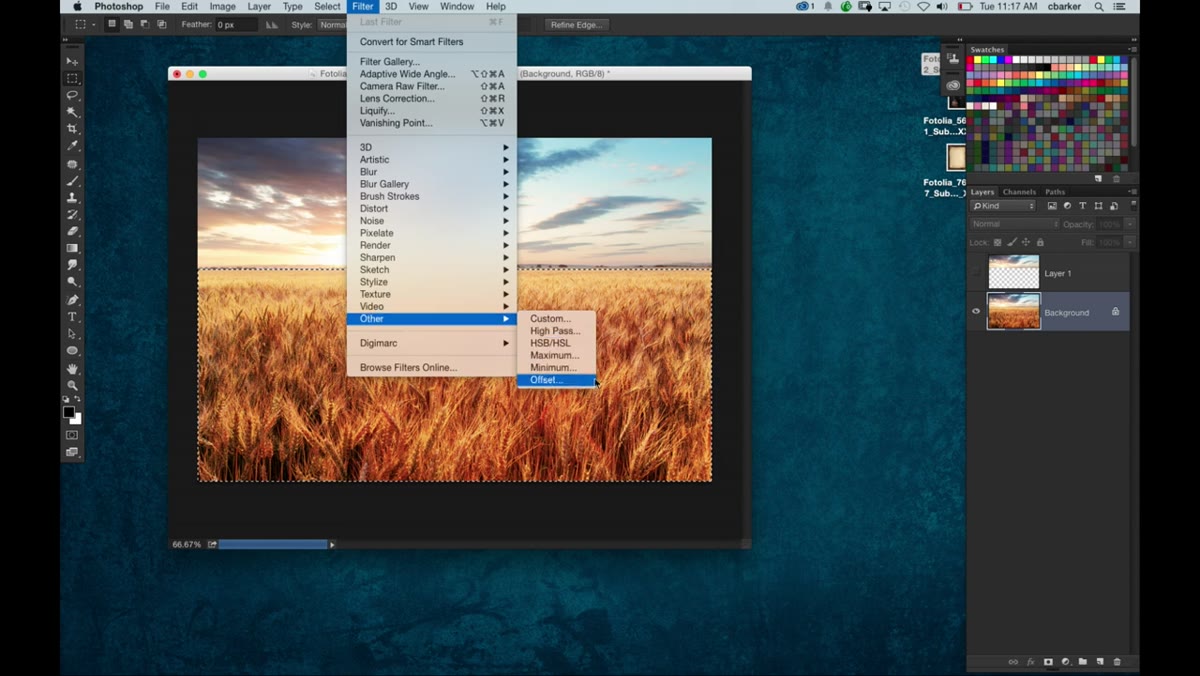 Offset filter dialog with foreground field layer active
Before you define your foreground as a pattern, you need to make sure it tiles cleanly. With the foreground layer selected, go to Filter, then Other, then Offset. Slide the horizontal value until you can see where the two edges of the image would meet if the layer were tiled. You’re looking for a seam - a visible line where the left and right edges don’t match up.
Once you’ve spotted it, click OK and grab the Patch Tool. Draw a selection around the seam area and drag it to a nearby patch of texture that blends better. Work it until the transition is invisible. The goal is a foreground element that could loop horizontally without the viewer ever seeing a join.
Step 3: Define the Foreground as a Pattern
 Edit menu open with Define Pattern option highlighted
With your foreground looking seamless, make a selection of the entire layer - Command+A works fine here - and go to Edit, then Define Pattern. Give it a name you’ll actually remember. That foreground element is now saved as a repeating tile in Photoshop’s pattern library.
This is the clever part of the whole technique. Instead of moving an actual layer across the canvas (which would require the layer to be wider than your document), you’re going to use a Pattern Overlay layer style to fill a blank layer. The pattern can scroll infinitely because it tiles. No stretching, no edge problems, no layer that’s three times the width of your document.
Step 4: Scale Out the Sky Layer Horizontally
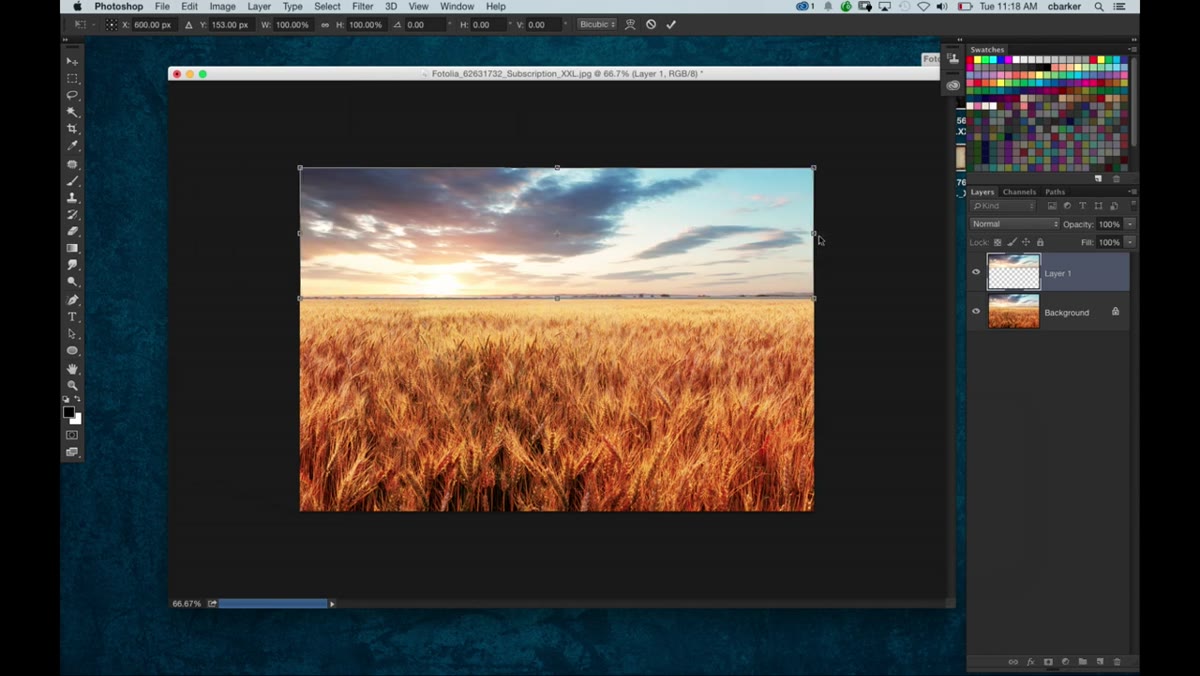 Sky layer being scaled horizontally with Option key held
Select your sky layer. Because you’re going to pan it across the timeline, you need it to be wider than the canvas - otherwise, as it moves, you’ll start seeing the original background underneath it. Hold down Option (Alt on PC) and drag the left or right edge of the layer outward. You’re scaling it wider, not taller, so hold Shift to constrain if needed.
You don’t need to go crazy with the scale. A subtle stretch is fine for a distant sky - the movement is going to be slow enough that any slight distortion in the clouds won’t read on screen.
Step 5: Animate the Sky Pan on the Timeline
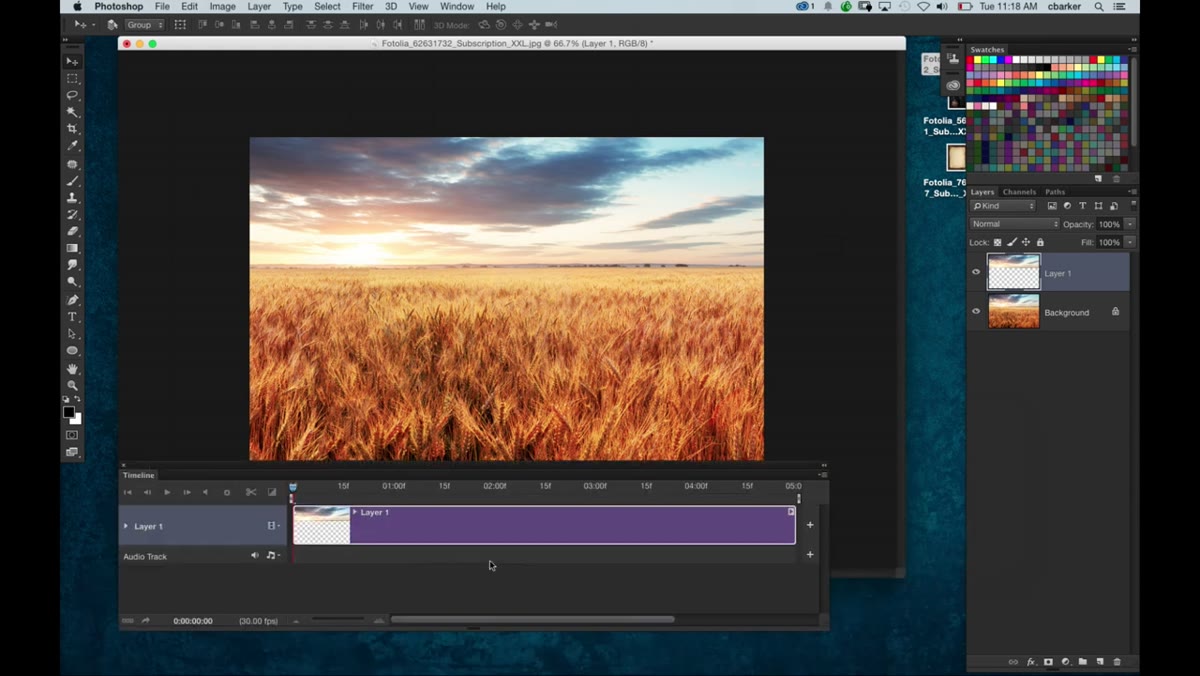 Timeline panel open with position keyframes on sky layer
Open the Timeline panel via Window, then Timeline. Click “Create Video Timeline.” Find your sky layer in the timeline, twirl it open, and you’ll see the animatable properties including Position. Move your playhead to the very start of your clip, then click the stopwatch icon next to Position to set your first keyframe. Now physically drag the sky layer so its right edge is flush with the right edge of your document canvas.
Move the playhead to the end of your clip (the tutorial uses 5 seconds as a reference). Holding Shift, drag the sky layer to the left until its left edge lines up with the left edge of your canvas. Photoshop will automatically drop a second keyframe. Hit the spacebar and watch it play. That’s your slow background drift.
Step 6: Create a New Layer and Apply a Pattern Overlay for the Foreground
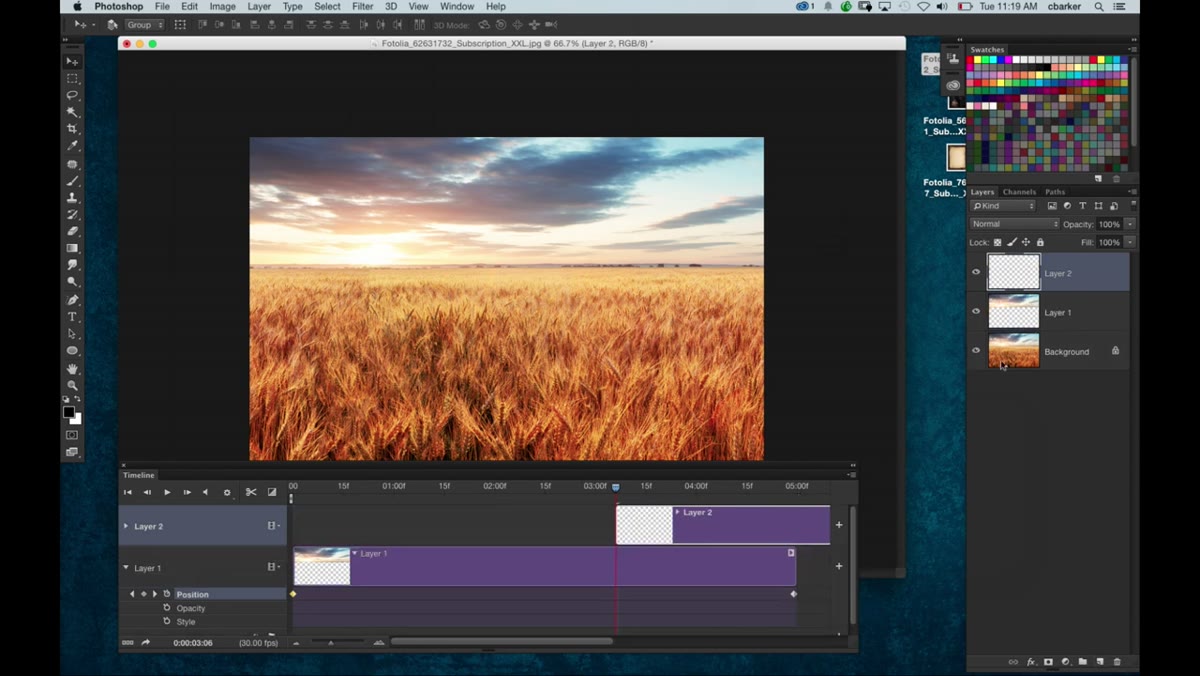 New blank layer created above background layers in panel
Create a new blank layer above everything else. This is going to become your animated foreground. Go to Layer, Layer Style, Pattern Overlay. Choose the foreground pattern you defined earlier. Set the scale to match how it looked in your original scene.
The key setting here is the X offset inside the Pattern Overlay options. That’s what you’re going to animate on the timeline. Because the pattern tiles, you can scroll it horizontally forever and it will never run out of content. Set your first keyframe at the start position with the offset at 0, then at the end of your clip, crank the offset significantly to the right. Use a larger value than you used for the sky layer - remember, the foreground moves faster.
A Note on Easing and Loop Points
The one thing I’d add from my own experience is to pay attention to your keyframe interpolation. By default, Photoshop sets keyframes to linear, which means the movement starts and stops at the same speed. Right-click your keyframes in the timeline and look for easing options. For a looping clip, linear is actually fine. But if you want it to feel like a camera smoothly starting a pan, ease in and out of your keyframes makes a noticeable difference. Also, if you’re exporting this as a GIF or looping video, make sure your offset values at the end of the clip correspond exactly to one full tile width - that way the loop is invisible.
The single biggest takeaway here is that Photoshop’s pattern system is way more powerful than most people give it credit for, especially when you combine it with the timeline. You don’t need a wide-format image or complex motion paths. You just need a seamless tile and a layer style you can keyframe.
Watch the full tutorial on YouTube to see Cory walk through the complete process, including additional tips on the Pattern Overlay settings and how the full scene comes together on export.
Comments (4)
Quality content like this is rare. Keep it up.
This is the kind of content that keeps me coming back.
The tip about animate a parallax pan in phot was the missing piece for me. Thank you.
Just used this on a wedding shoot edit. Client was thrilled.
Leave a Comment