
I’ve lost count of how many times I’ve squinted at a logo on a coffee cup, a sign on the street, or some packaging at the grocery store and thought “what font is that?” I’d spend twenty minutes reverse-engineering it in Photoshop, eyeballing letter curves like some kind of typographic detective. Turns out I had a tool in my Adobe subscription the whole time that would’ve solved this in about thirty seconds. Classic.
In this Matt Kloskowski tutorial, part of his series on squeezing value out of the $9.99 Adobe Photography Plan, he walks through Adobe Capture, a free mobile app available on iOS and Android that connects directly to your Creative Cloud account. If you’re paying for Lightroom and Photoshop and ignoring everything else in the ecosystem, this one’s worth your attention. Watch the full tutorial on YouTube
The app uses your phone camera as the input device for a handful of creative tools. You’re not editing photos here. You’re capturing raw creative material – fonts, shapes, color palettes – and piping them straight into your desktop workflow. Here’s how it actually works.
Step 1: Download Adobe Capture and Open the App
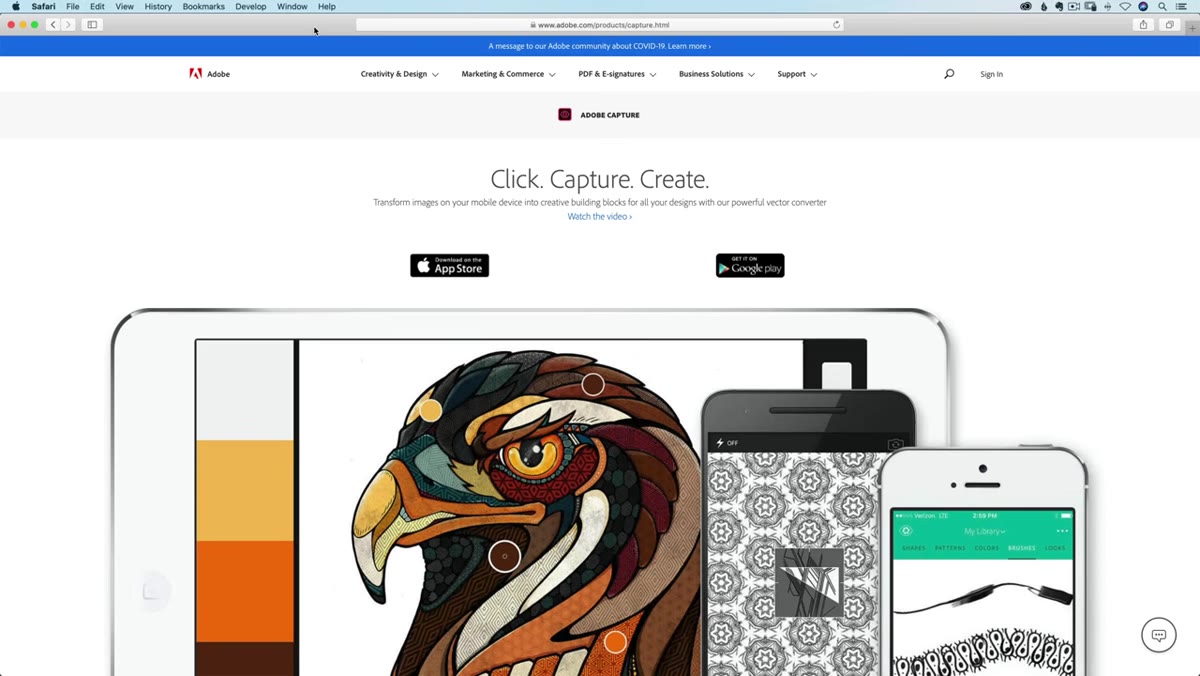 Adobe Capture app page shown on desktop browser
Search “Adobe Capture” in Google or in your phone’s app store and install it. It’s free and tied to your existing Adobe account, so no new subscription needed. Sign in with your Creative Cloud credentials and you’re in. The app opens into a camera view – your phone lens is the starting point for everything inside it.
Adobe Capture app page shown on desktop browser
Search “Adobe Capture” in Google or in your phone’s app store and install it. It’s free and tied to your existing Adobe account, so no new subscription needed. Sign in with your Creative Cloud credentials and you’re in. The app opens into a camera view – your phone lens is the starting point for everything inside it.
Once you’re in, you’ll see a row of modes along the bottom of the screen. Matt runs through several of them in the tutorial, but we’re going to focus on the two that are most immediately useful for Photoshop users: Type and Shapes.
Step 2: Use the Type Feature to Identify and Save Fonts
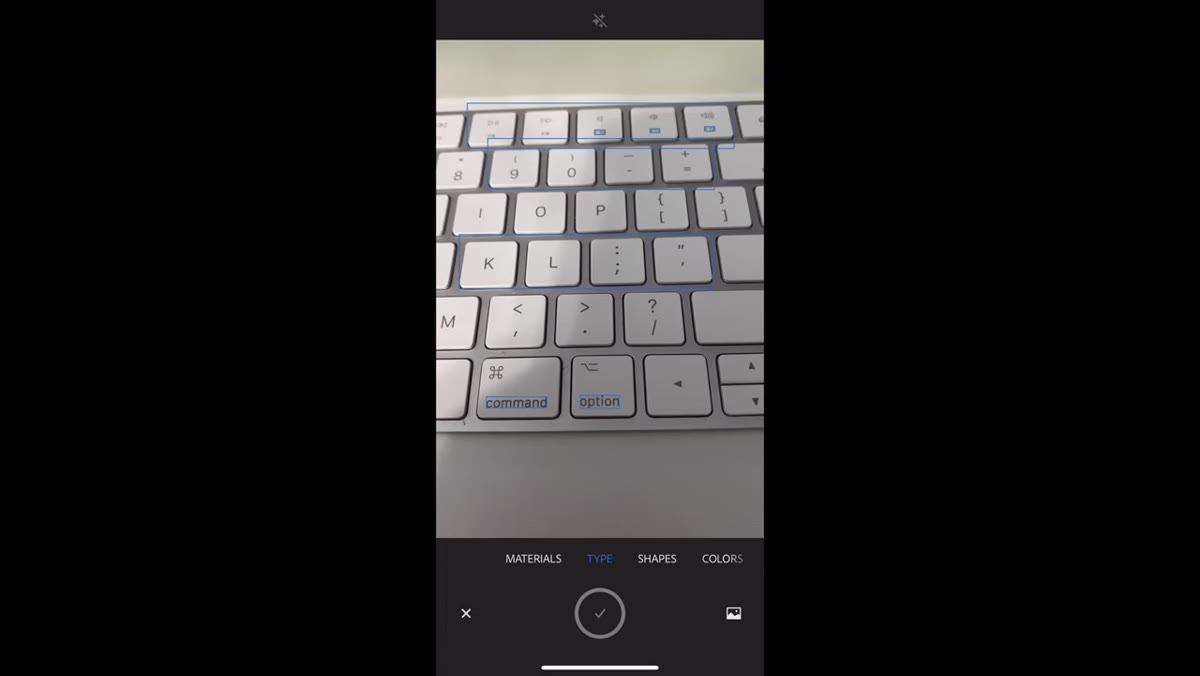 App scanning text on a physical object to detect font
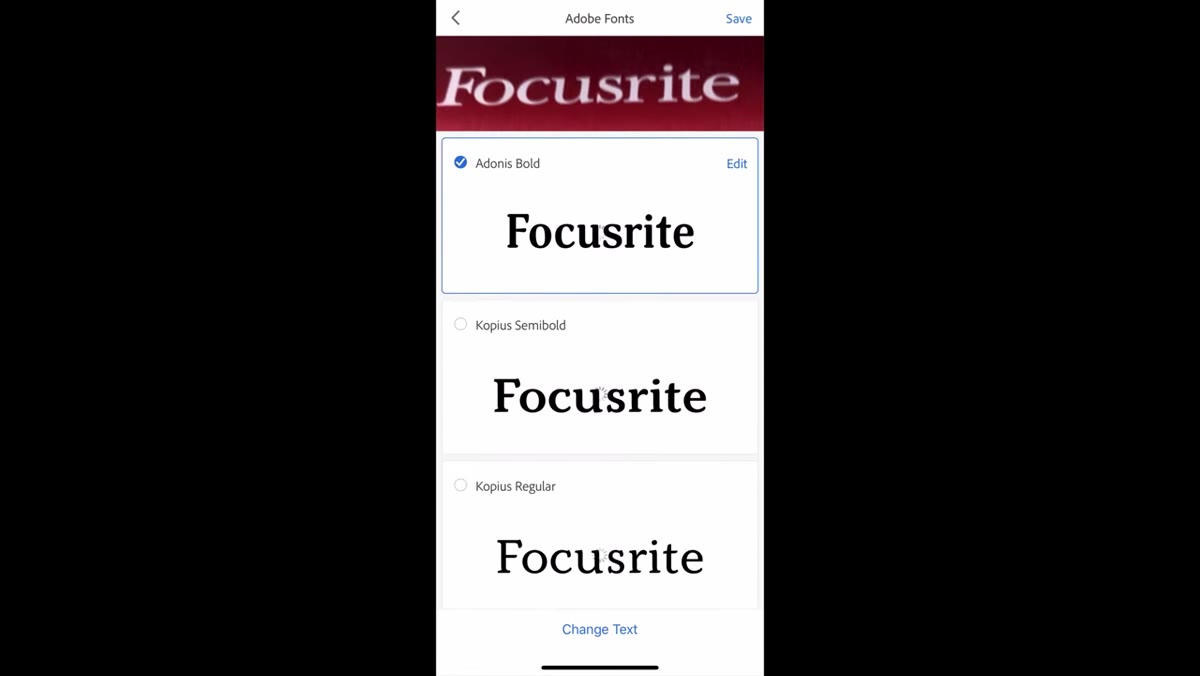
Point your camera at any printed text – packaging, a book cover, a sign, even the label on your USB hub – and switch to the Type mode inside the app. Capture will scan the text in real time and attempt to identify the closest matching Adobe Font. When it locks on, you’ll see a font name appear with a preview.
App scanning text on a physical object to detect font
Point your camera at any printed text – packaging, a book cover, a sign, even the label on your USB hub – and switch to the Type mode inside the app. Capture will scan the text in real time and attempt to identify the closest matching Adobe Font. When it locks on, you’ll see a font name appear with a preview.
Hit the checkmark at the bottom center of the screen to confirm the capture. The app then searches the Adobe Fonts library, which contains thousands of fonts included with your subscription, and surfaces the nearest match. If you find one you like, tap Save in the top right corner. That font gets added to your Adobe Fonts account and becomes immediately available inside Photoshop, Illustrator, or wherever else you work. No downloading, no dragging files around. It just shows up.
Step 3: Switch to Shapes Mode to Capture a Vector Outline
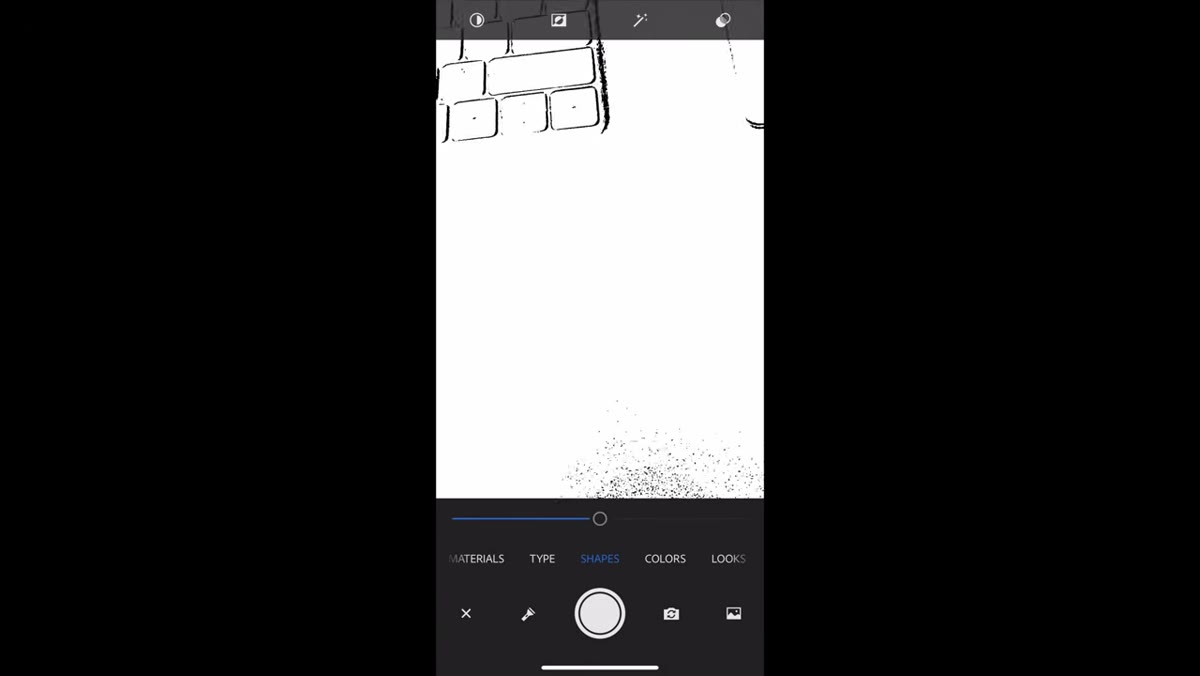 Phone camera framing a physical object for shape capture
This is where things get a little more interesting for anyone who does design work. Switch to the Shapes mode and point your camera at any object with a defined silhouette. The app will isolate the outline in real time, treating it like a vector extraction.
Phone camera framing a physical object for shape capture
This is where things get a little more interesting for anyone who does design work. Switch to the Shapes mode and point your camera at any object with a defined silhouette. The app will isolate the outline in real time, treating it like a vector extraction.
Once you’ve framed your shot, press the capture button at the bottom center of the screen. The app processes the shape and pulls it from the background. Matt points his camera at a small USB microphone and the app picks up the shape of it cleanly. You get a black-and-white silhouette that represents the captured form.
Step 4: Refine Your Shape Using the Built-In Editing Tools
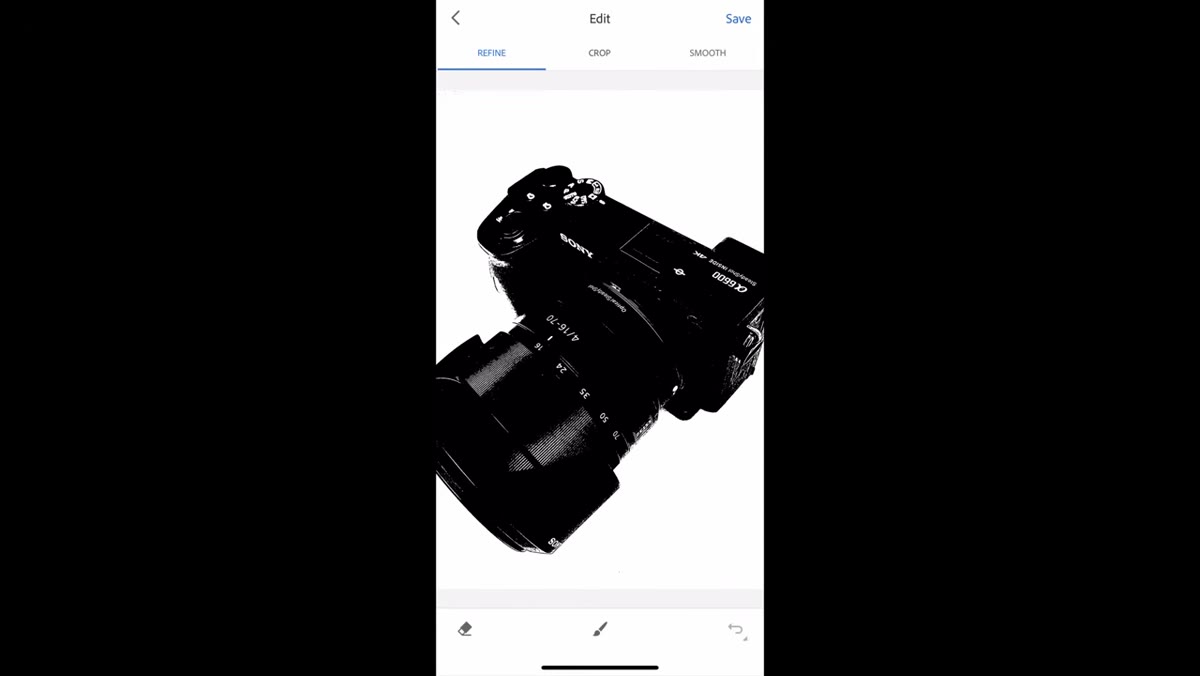 Shape editing screen showing refine, crop, and smooth options
After capturing, the app drops you into a refinement screen. Along the top you’ll see options labeled Refine, Crop, and Smooth. On the bottom left is an eraser tool and in the middle is a brush tool. Use the eraser to clean up parts of the silhouette you don’t want, and the brush to add back any areas that got dropped during capture.
Shape editing screen showing refine, crop, and smooth options
After capturing, the app drops you into a refinement screen. Along the top you’ll see options labeled Refine, Crop, and Smooth. On the bottom left is an eraser tool and in the middle is a brush tool. Use the eraser to clean up parts of the silhouette you don’t want, and the brush to add back any areas that got dropped during capture.
The Smooth option is worth turning on, especially if you plan to use this shape in Photoshop. It applies anti-aliasing to the edges, which softens the jaggy, pixel-grabbed quality you’d otherwise get. Matt is upfront that this takes some processing time – the more complex the object, the longer it runs. But for anything you’re going to scale up or reuse in a comp, smoother edges are always worth the wait.
Step 5: Save the Asset and Access It in Photoshop
 Save button in top right corner of the app interface
Once you’re happy with the shape, save it. Adobe Capture pushes the asset to your Creative Cloud Libraries, which means it becomes available in Photoshop through the Libraries panel (Window > Libraries). You don’t have to export anything, email yourself a file, or deal with file formats. It syncs automatically.
Save button in top right corner of the app interface
Once you’re happy with the shape, save it. Adobe Capture pushes the asset to your Creative Cloud Libraries, which means it becomes available in Photoshop through the Libraries panel (Window > Libraries). You don’t have to export anything, email yourself a file, or deal with file formats. It syncs automatically.
Inside Photoshop, open your Libraries panel, find the asset, and drag it into your document. It comes in as a vector shape, which means you can scale it up without degrading the edges. That’s the move. Raw phone capture, refined on the device, deployed as a scalable asset on the desktop.
What I’d Add From My Own Experience
The font identification feature alone has paid for itself in time saved. But the real unlock for me was realizing I could walk around with my phone and essentially collect shapes from the real world – a textured surface, the outline of a prop, the shadow pattern through a window – and have them waiting in my Libraries when I sat down to work. It removes the “I wish I’d photographed that” regret.
One honest caveat though: the Shapes feature works best with high-contrast objects against clean backgrounds. Complex or busy scenes will confuse the capture and leave you with a noisy silhouette that takes more cleanup than it’s worth. Take a second to hold the object against a plain background or move somewhere with better light. The capture quality goes up significantly.
Also, I’ll note that the tutorial briefly mentions a Materials section inside the app, which is geared toward 3D workflows. If you’re a Blender or Dimension person, it might be worth exploring. If you’re like me and your brain turns to static at the mere mention of 3D, skip it and focus on Type and Shapes. That’s where the practical daily value lives.
The single most important thing I took from this tutorial: you’re probably paying for tools you don’t know exist. Adobe Capture is free with your subscription, it’s on your phone right now, and it connects directly to Photoshop without any friction. The font-matching feature alone is worth the five minutes it takes to set up.
Watch the full tutorial on YouTube and see Matt walk through the whole app – including the Libraries sync – in real time.
Comments
Leave a Comment