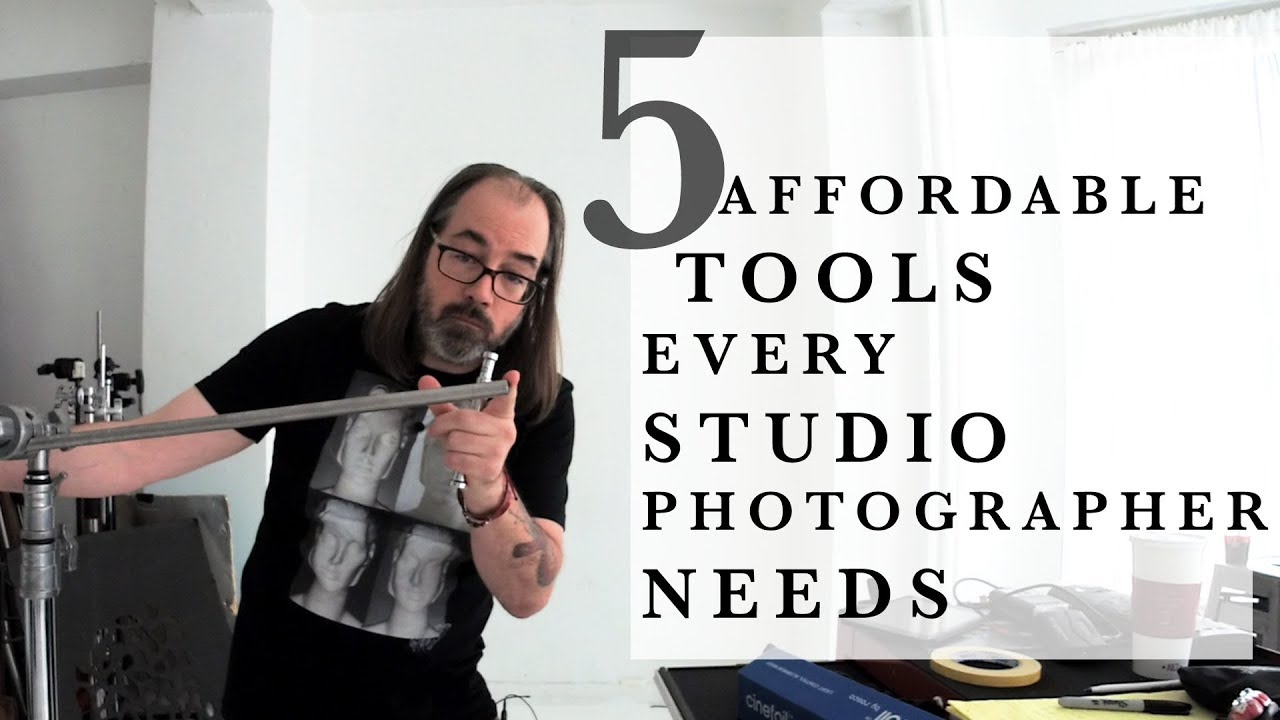
There’s a weird phase every photographer goes through where they convince themselves the next big piece of kit will fix everything. A new lens. A better strobe. A camera body that costs more than a used car. I’ve been there. I’ve also been the guy who showed up to a studio shoot with a bag full of expensive gear and zero gaffer tape, which is how you end up duct-taping a cable to a backdrop stand and hoping nobody notices. The truth is, the stuff that keeps a studio running smoothly is rarely glamorous, and it almost never costs a lot.
In this Daniel Norton Photographer tutorial, he runs through five inexpensive tools that genuinely make studio shooting easier. Watch the full tutorial on YouTube – it’s short, practical, and refreshingly free of hype. What I want to do here is pull each item apart a little more so you can actually use this list on your next shoot, not just nod along and forget it.
These aren’t flashy. None of them have firmware updates. But I’ve seen photographers with $10,000 lighting rigs fumbling around because they didn’t have a single one of these things in their kit bag. So let’s get into it.
Step 1: Stock Up on Cinefoil
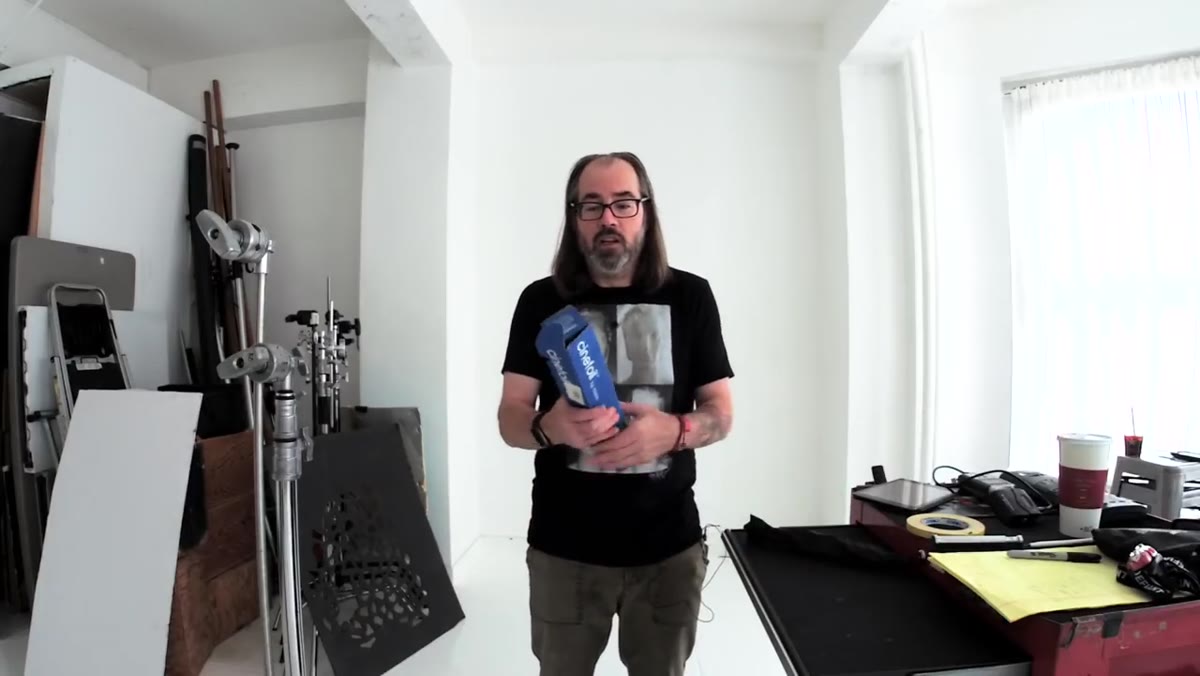 Roll of black cinefoil on a studio surface
Cinefoil – sometimes called black wrap – is essentially a thick, matte black aluminum foil. It comes in rolls of various widths, and it is one of those materials where once you have it, you can’t imagine working without it. The key word is “matte,” because regular kitchen foil reflects everywhere and creates unpredictable spill. Cinefoil absorbs and controls.
Roll of black cinefoil on a studio surface
Cinefoil – sometimes called black wrap – is essentially a thick, matte black aluminum foil. It comes in rolls of various widths, and it is one of those materials where once you have it, you can’t imagine working without it. The key word is “matte,” because regular kitchen foil reflects everywhere and creates unpredictable spill. Cinefoil absorbs and controls.
You can form it into a snoot to narrow a light beam, cut and fold it into a flag to block light from hitting your lens or background, or shape it into a rudimentary cookie to throw patterns onto a wall. It’s reusable, it holds its shape, and it tolerates heat from tungsten fixtures. Pick up a roll before your next shoot and just keep it in your bag permanently.
Step 2: Add Spike Tape to Your Cart Right Now
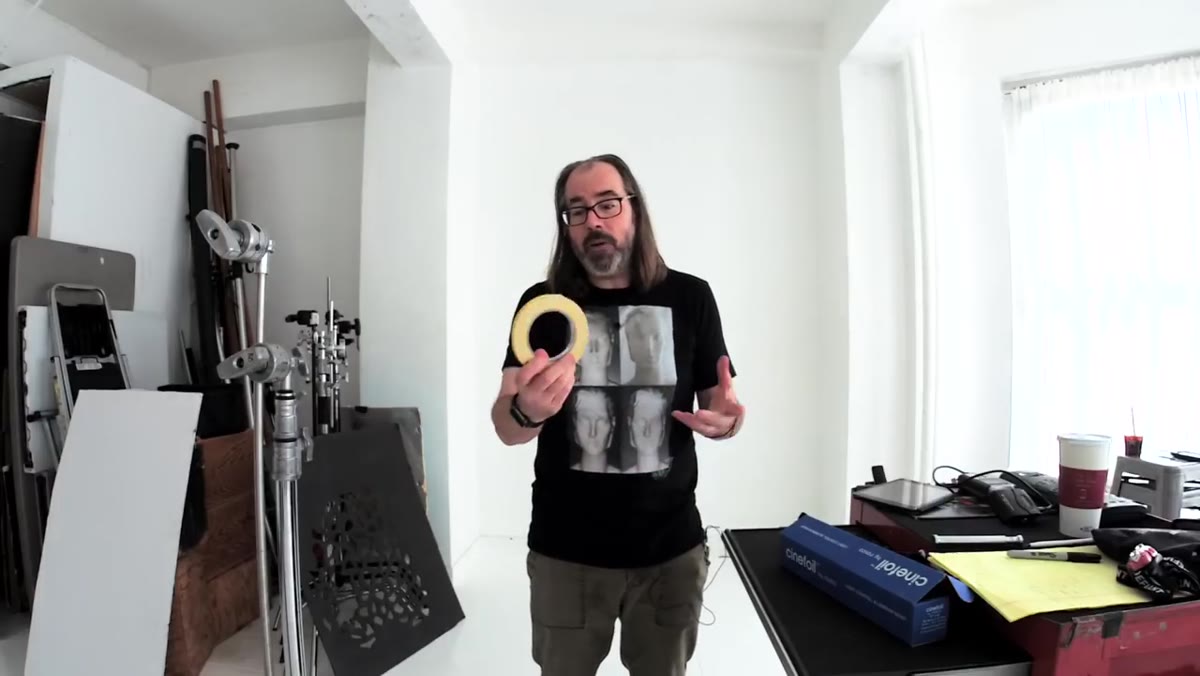 Rolls of spike tape in multiple colors
Most photographers know about gaffer tape. Spike tape is gaffer tape’s smaller, more organized sibling. It’s typically about half an inch wide and comes in a range of colors, which is the whole point. The narrow width makes it less aggressive on floors and less bulky on cables, and the color system is where the real value lives.
Rolls of spike tape in multiple colors
Most photographers know about gaffer tape. Spike tape is gaffer tape’s smaller, more organized sibling. It’s typically about half an inch wide and comes in a range of colors, which is the whole point. The narrow width makes it less aggressive on floors and less bulky on cables, and the color system is where the real value lives.
Daniel’s approach is simple and worth stealing: assign colors to specific purposes and stick with them. Green for your own equipment, yellow for shared or rental gear, whatever system makes sense for your workflow. On the floor, you’re using it to mark positions – where the subject stands, where an assistant should be, where a light’s baseplate is sitting. This sounds minor until you’re three hours into a shoot and need to reset a setup you nailed an hour ago. Spike tape is your memory.
Step 3: Use a 5/8" Pin on Every C-Stand
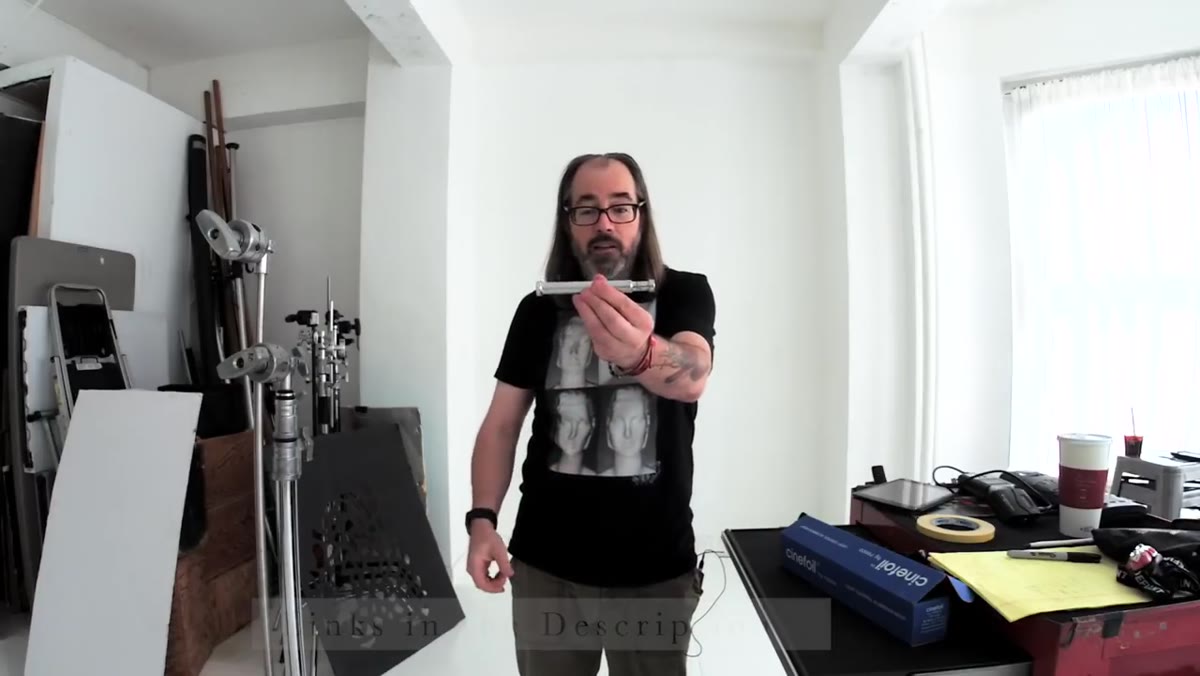 650 pin inserted into a C-stand head
This one might be the most practically important tip in the whole video, especially if you’re newer to working with C-stands and junior stands. The grip head on top of a C-stand is not where your light goes. It looks like it should be, but if you mount a monolight or strobe directly onto that head, you’re creating an unstable setup that can tip or rotate – and dropping a light is an expensive and potentially dangerous mistake.
650 pin inserted into a C-stand head
This one might be the most practically important tip in the whole video, especially if you’re newer to working with C-stands and junior stands. The grip head on top of a C-stand is not where your light goes. It looks like it should be, but if you mount a monolight or strobe directly onto that head, you’re creating an unstable setup that can tip or rotate – and dropping a light is an expensive and potentially dangerous mistake.
The fix is a 5/8" pin (sometimes called a baby pin or 650 pin). You insert it through the grip head so it sits horizontally, and then you mount your light onto the pin. The geometry completely changes. The load is distributed properly, the light won’t rotate even if things aren’t cranked down perfectly, and you can even hang a light inverted from a boom without it walking loose. These pins cost just a few dollars each. Buy several.
Step 4: Shoot a White Balance Card Before Every Tethered Session
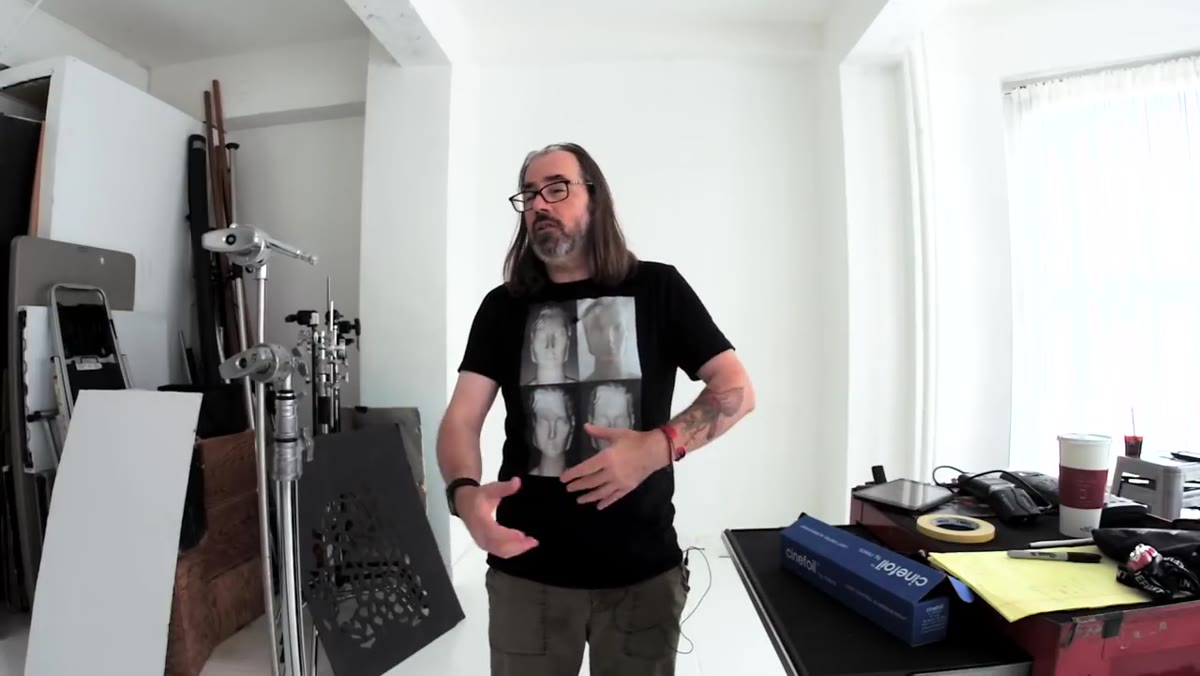 Photo Vision white balance card held up in frame
Even if you’re shooting in a controlled studio environment with consistent strobe output, your white balance can still drift based on ambient light contamination, modifier differences, or just the way your camera’s sensor interprets a particular color temperature. Fixing it in post is possible but adds time and introduces inconsistency across a set of images.
Photo Vision white balance card held up in frame
Even if you’re shooting in a controlled studio environment with consistent strobe output, your white balance can still drift based on ambient light contamination, modifier differences, or just the way your camera’s sensor interprets a particular color temperature. Fixing it in post is possible but adds time and introduces inconsistency across a set of images.
The workflow Daniel recommends is straightforward: keep a gray card or a dedicated white balance card like the Photo Viz 14-inch in your kit, shoot a reference frame at the start of each setup, and sync your white balance in Lightroom or Capture One from that frame. The card he uses has a silver reverse side that doubles as a compact reflector, which is a nice bonus. A smaller 6-inch version works fine for most tethered studio situations and costs considerably less.
Step 5: Keep a Stack of Foam Core Around
 Black foam core used as a negative fill panel
Foam core is one of those things that sounds too basic to bother mentioning until you’re in a studio with nothing to bounce light off of and you realize you’ve been building elaborate (and expensive) reflector setups for results you could have achieved with a $4 sheet from the art supply store.
Black foam core used as a negative fill panel
Foam core is one of those things that sounds too basic to bother mentioning until you’re in a studio with nothing to bounce light off of and you realize you’ve been building elaborate (and expensive) reflector setups for results you could have achieved with a $4 sheet from the art supply store.
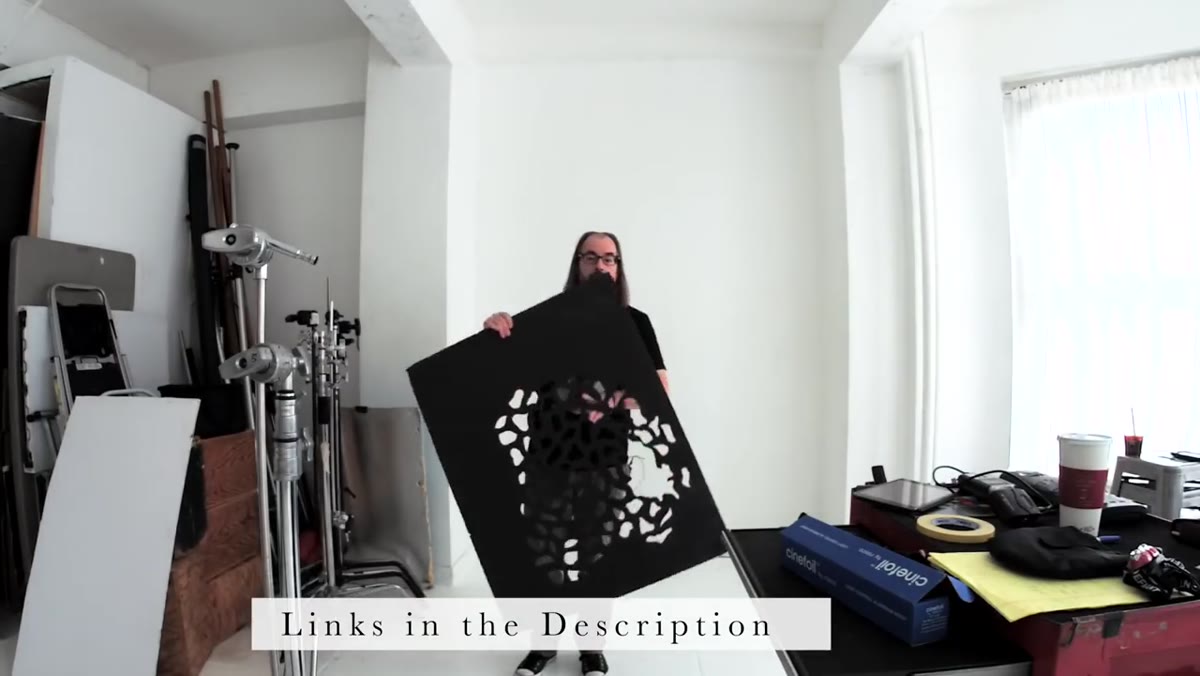
White foam core reflects and fills shadow areas. Black foam core acts as negative fill, pulling light away from a subject to deepen shadows and add contrast. You can use it as a quick product photography background, as a makeshift flag, or as a surface to shoot flat lay content on. It cuts easily, it’s lightweight, it doesn’t need a stand if you lean it right, and you can grab it at any office supply or art store when you inevitably forget to bring yours. Get both colors, get a few sizes.
What I’d Add From My Own Kit
One thing Daniel doesn’t mention that I’d put right alongside these five: a handful of binder clips in various sizes. They cost almost nothing and they solve a ridiculous number of problems. Clipping cinefoil in place, holding a piece of foam core to a stand, keeping a backdrop from sagging at the edges. I discovered this accidentally during a product shoot where I had nothing to hold a reflector at the right angle, grabbed a binder clip off a coffee shop counter, and improvised something that actually worked. They’ve lived in my kit bag ever since.
The broader point here is that the tools separating a chaotic studio session from a smooth one are almost never the expensive ones. Cinefoil, spike tape, a proper pin for your stand, a white balance card, and foam core – you could walk into a hardware store and an art supply shop and come out with all of this for under $50. That’s a better investment than another plugin you’ll use twice.
Watch the full tutorial on YouTube and keep Daniel’s channel bookmarked – his advice consistently cuts through the noise in a genre that loves to overcomplicate things.
Comments (2)
This saved me so much time on my last edit. Wish I'd found this sooner.
Never thought of approaching it this way. Really creative.
Leave a Comment